FAQ 25:

How do I add an App to my Launcher
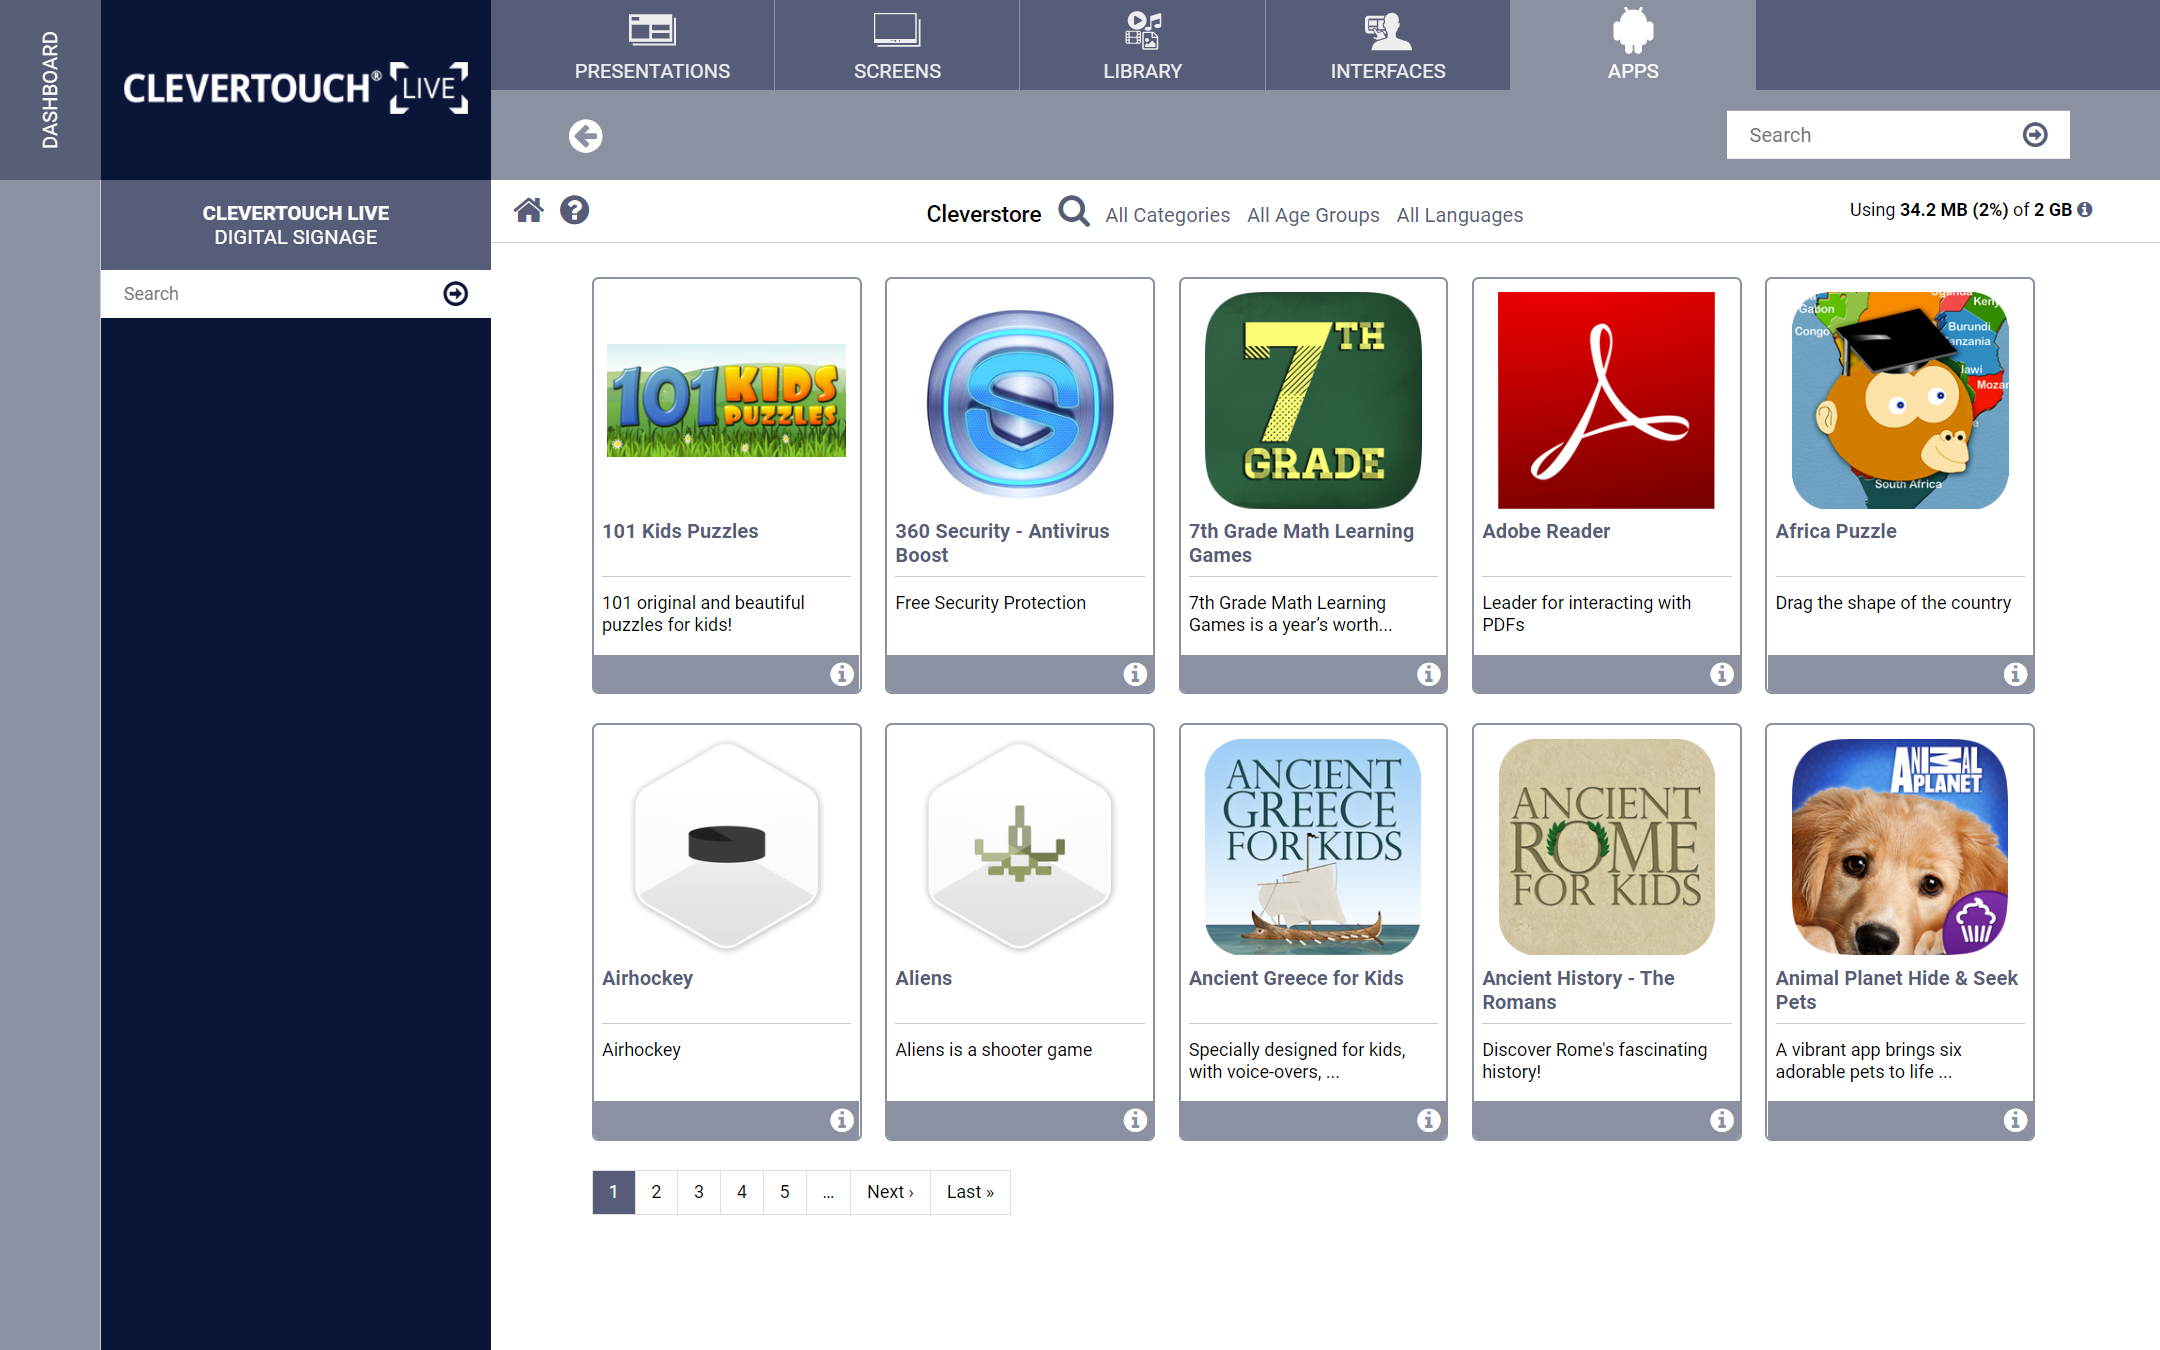
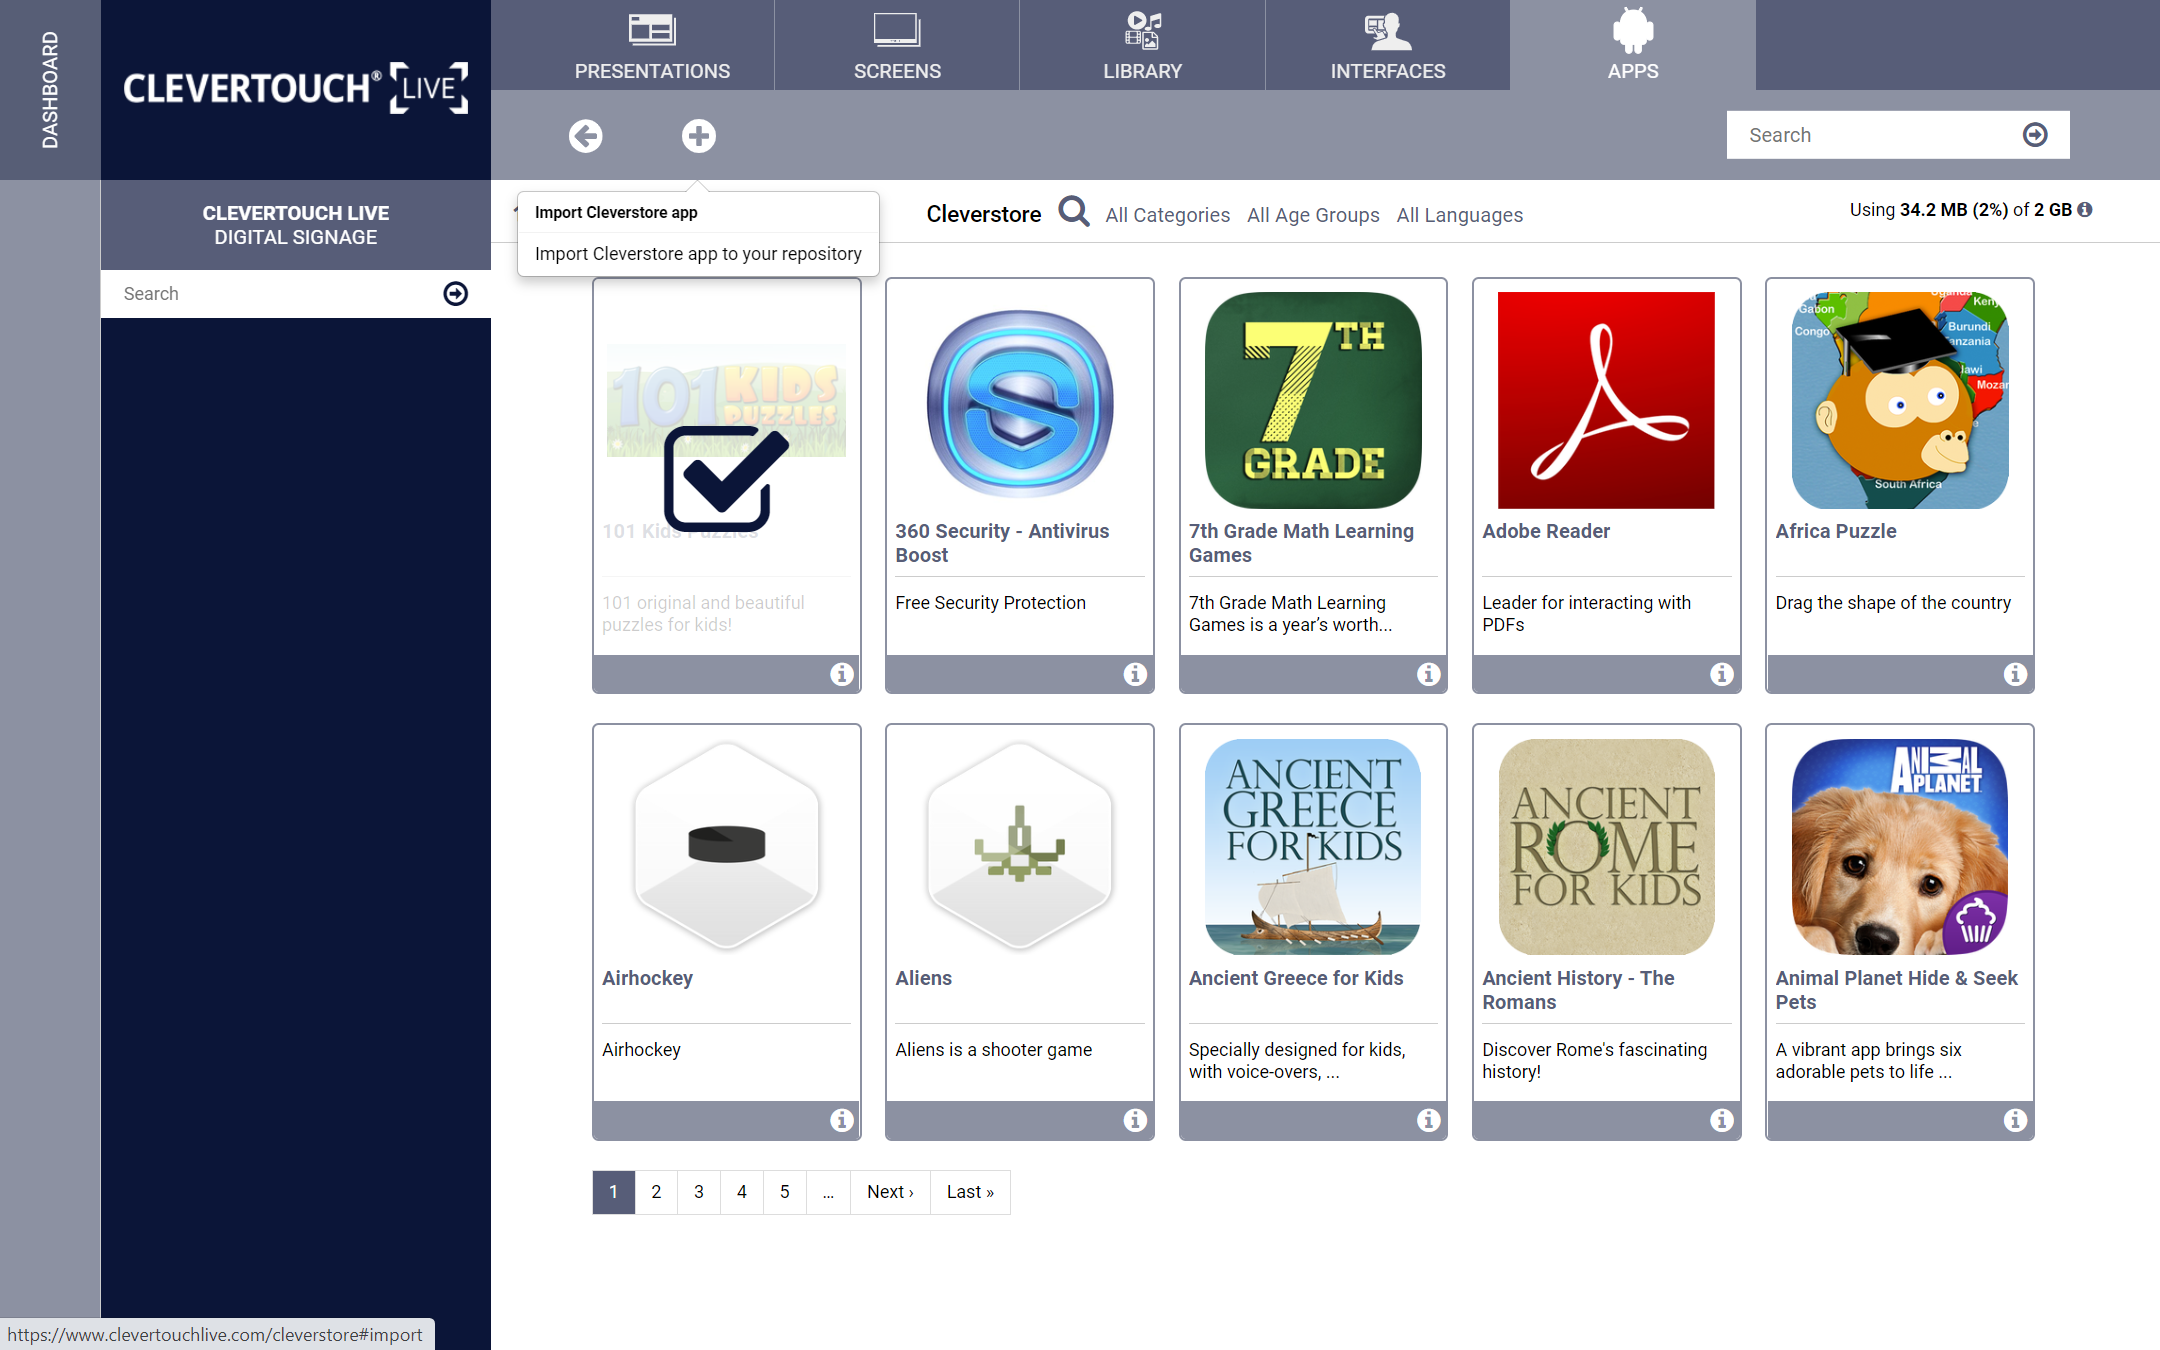
01 +
Image for FAQ step 1

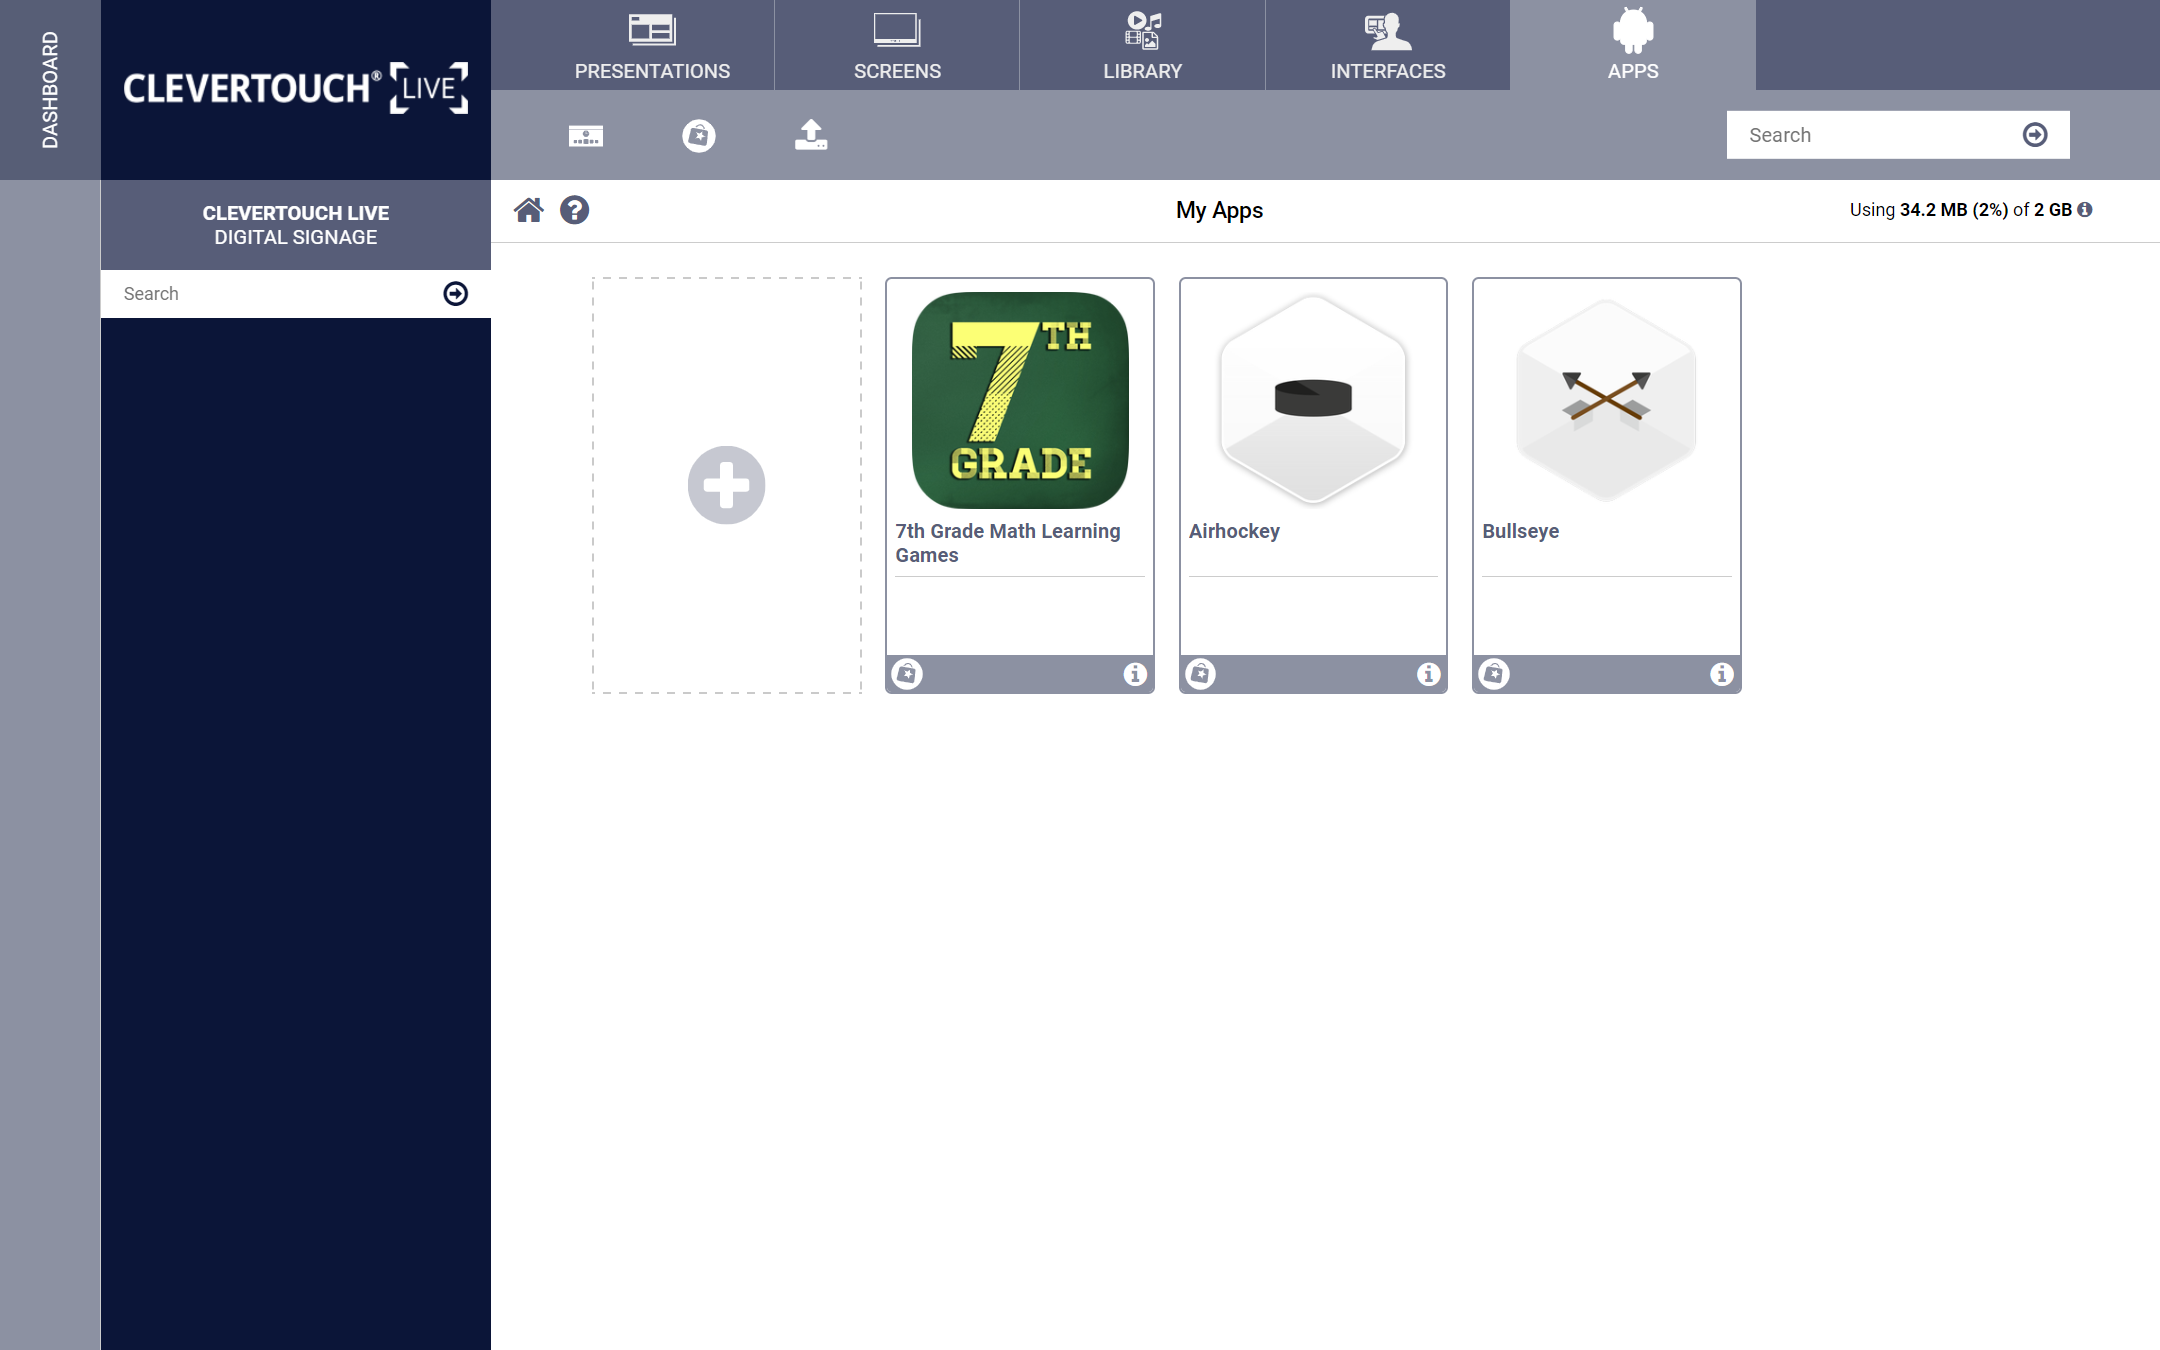
Select the ‘Apps’ option from the menu. If your app is present in the Cleverstore select the (+) button
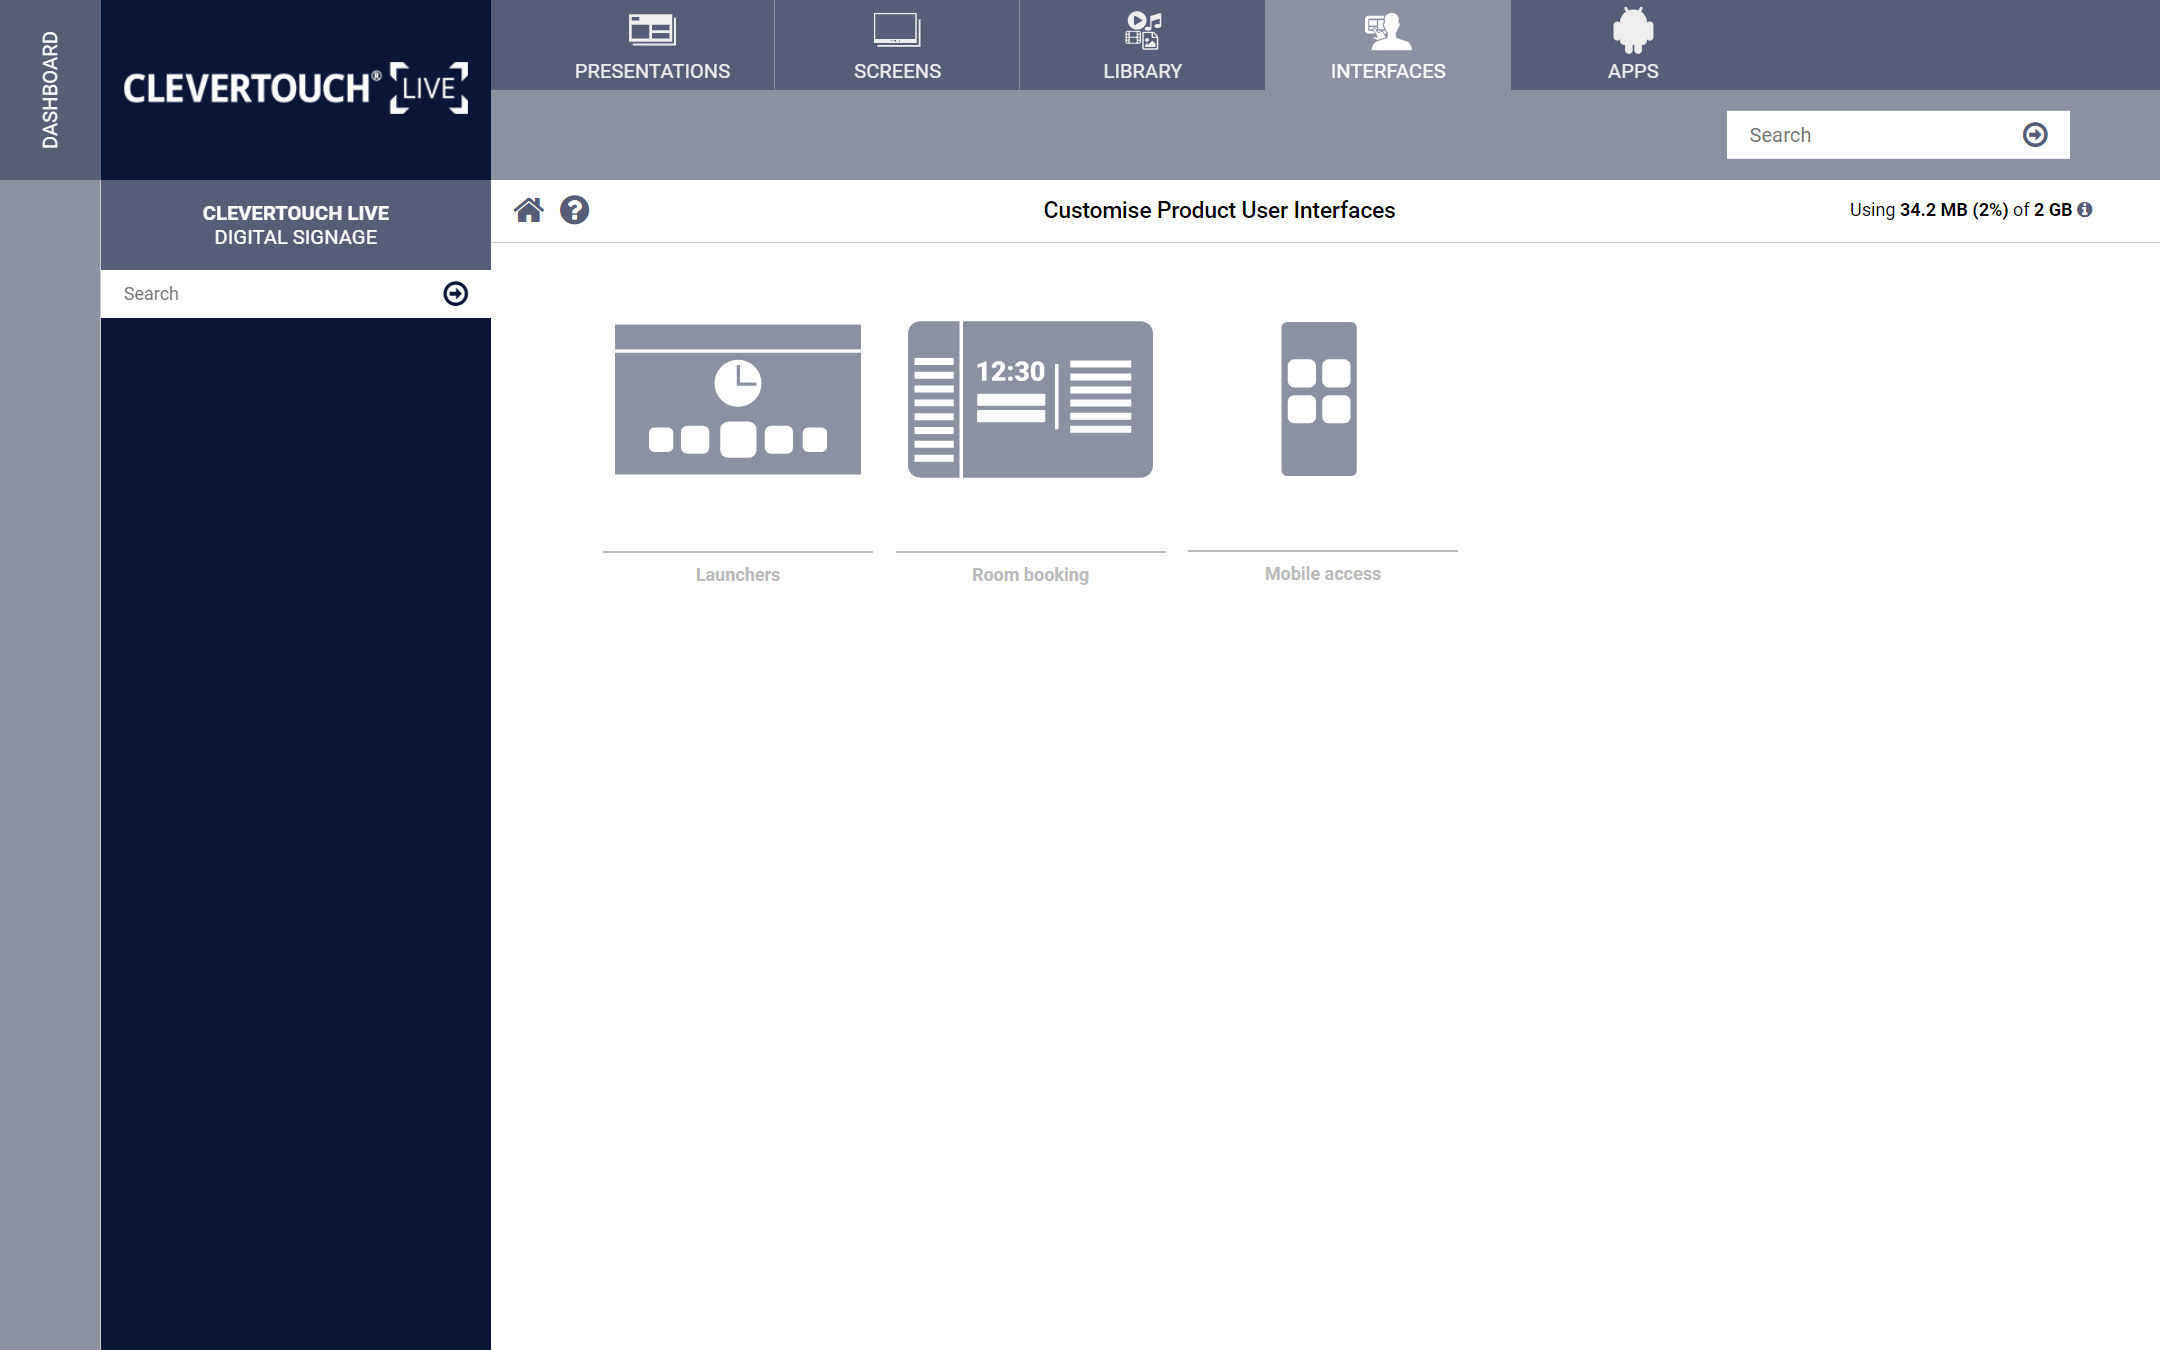
02 +
Image for FAQ step 2

Browse to select your app. Or use the search bar to navigate the menu.

03 +
Image for FAQ step 3

Select the app you wish to add, then choose the ‘Import Cleverstore App’ menu option.

04 +
Image for FAQ step 4

Apps can also be added to the system by selecting the ‘Upload app’ menu option

05 +
Image for FAQ step 5

Once the app has been chosen, select the interfaces tab and select the ‘Launchers’ menu option.

06 +
Image for FAQ step 6

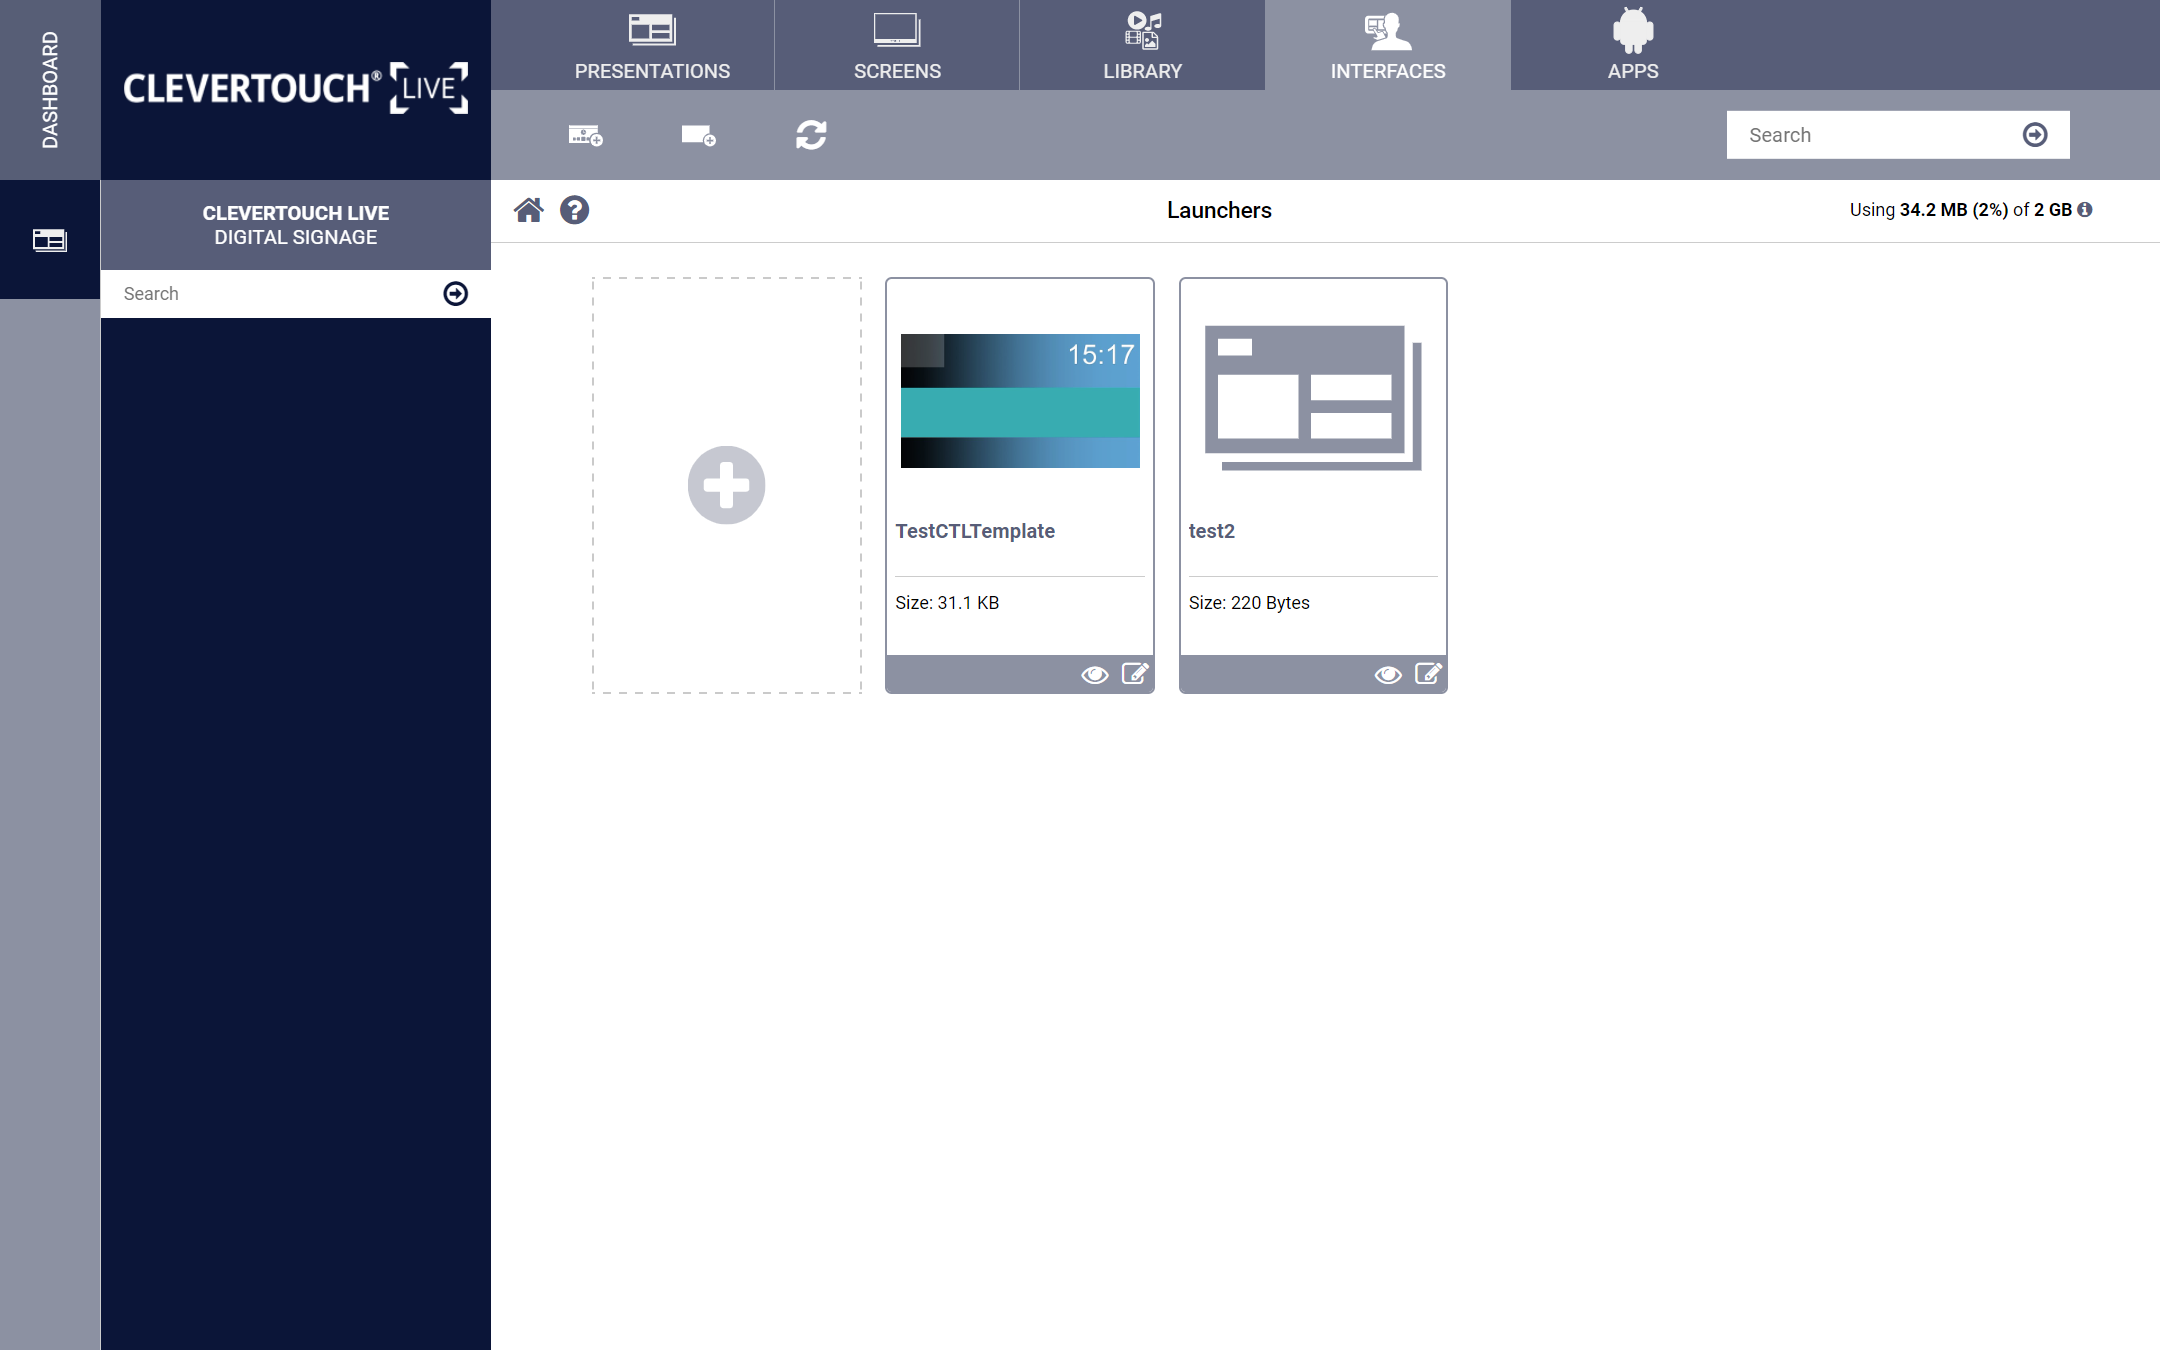
Select your preferred launcher and choose the edit option at the bottom-right of the individual panel.

07 +
Image for FAQ step 7

Choose the ‘Element App’ menu option.

08 +
Image for FAQ step 8

Set your Zone name via the dropdown list and select the ‘Save’ button.

09 +
Image for FAQ step 9

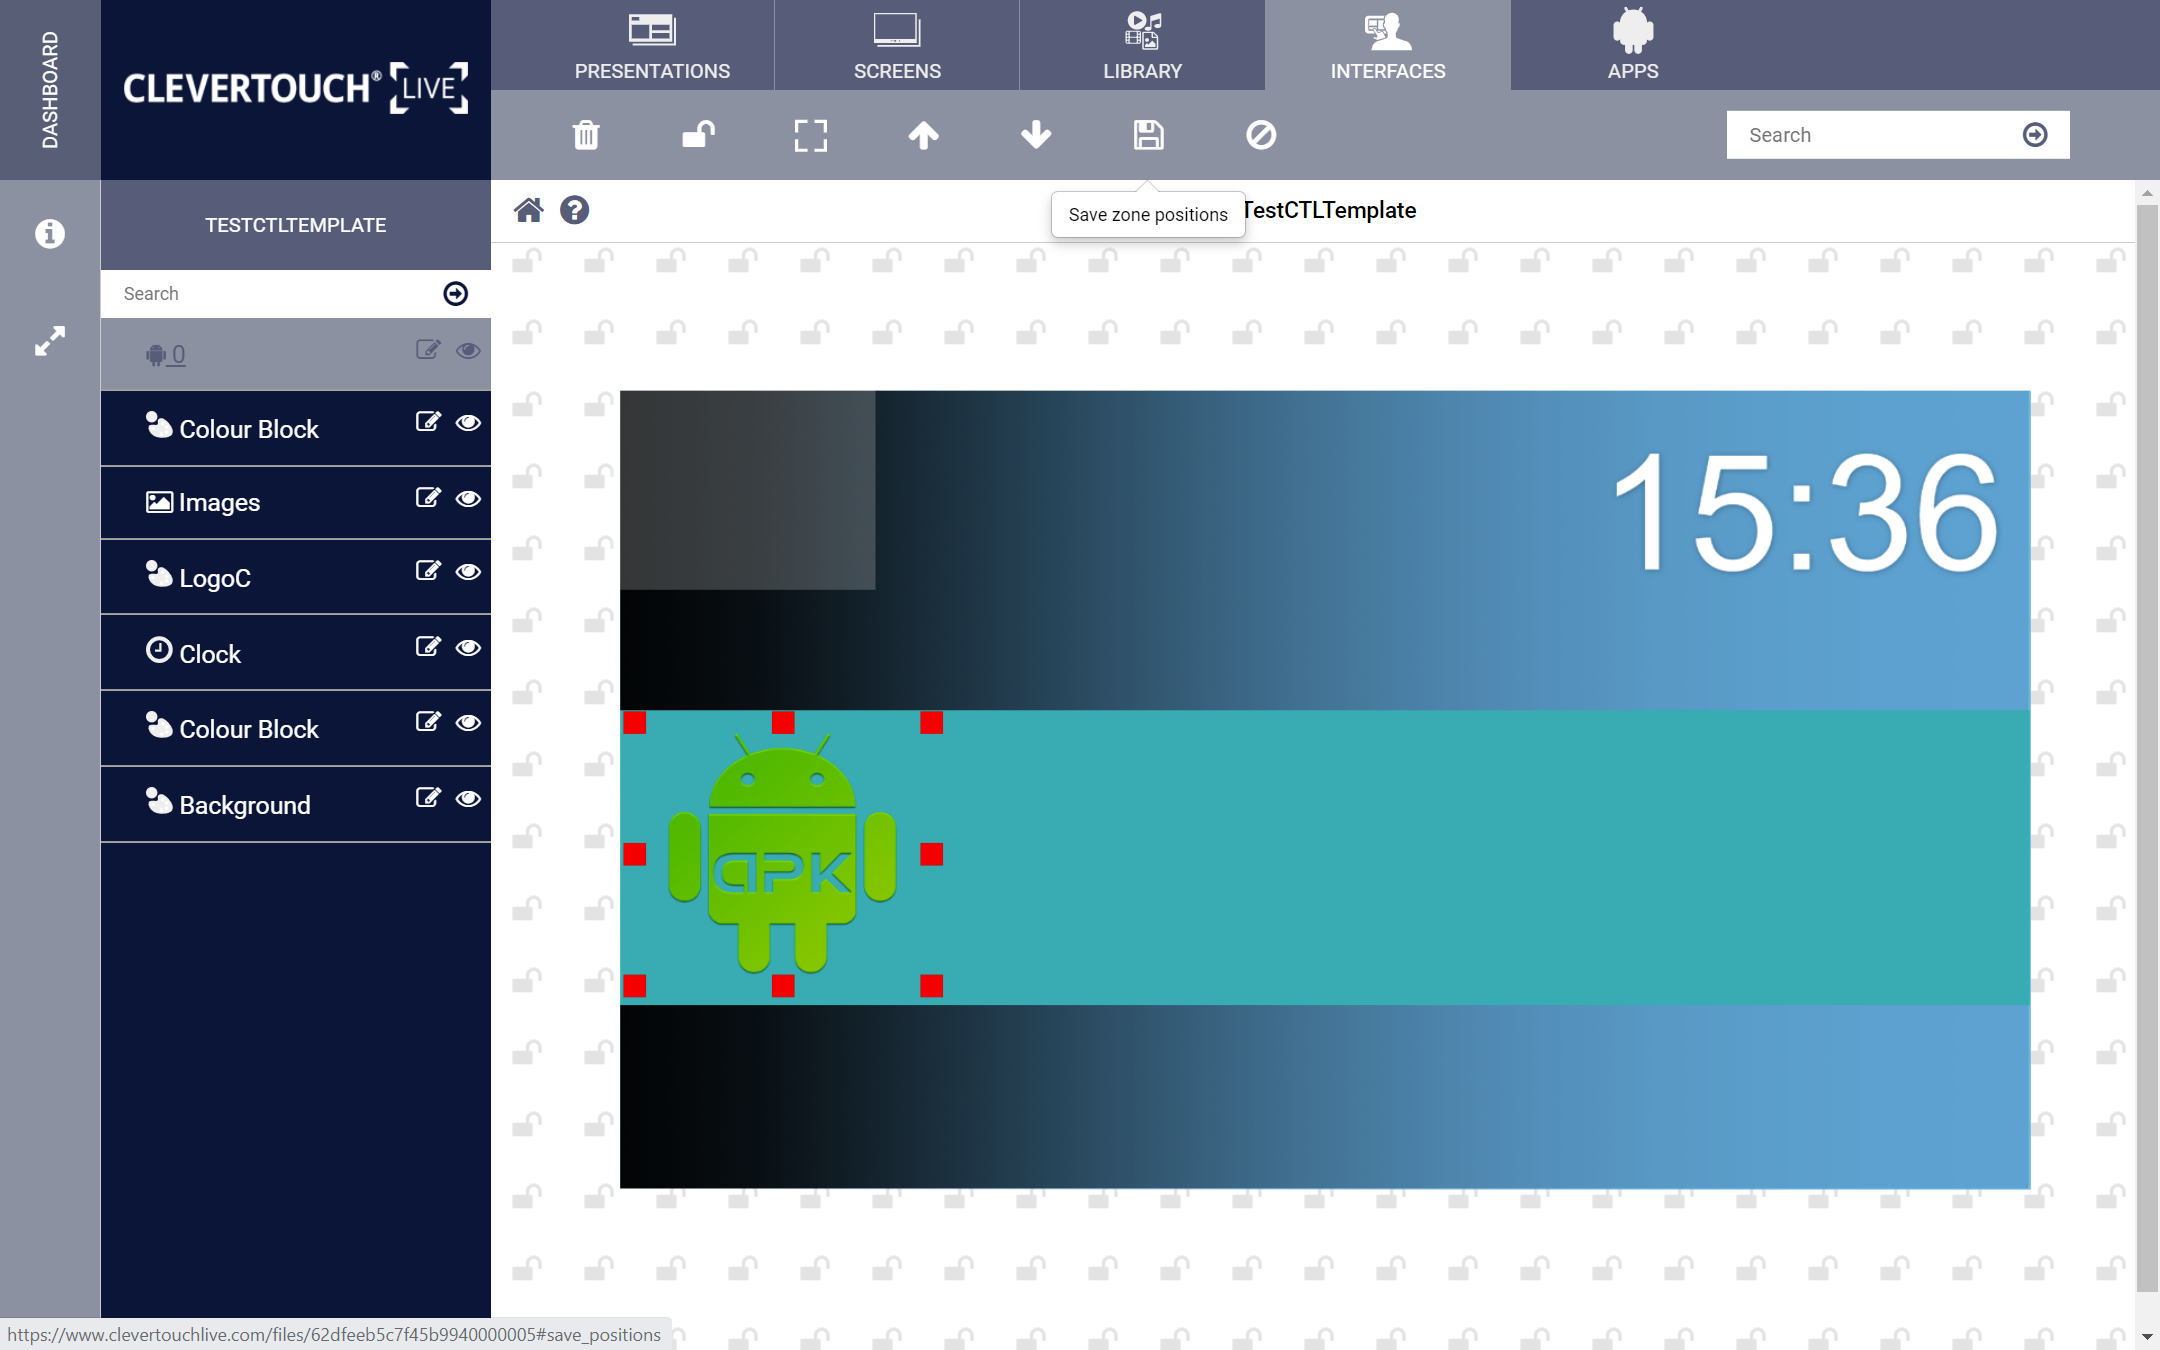
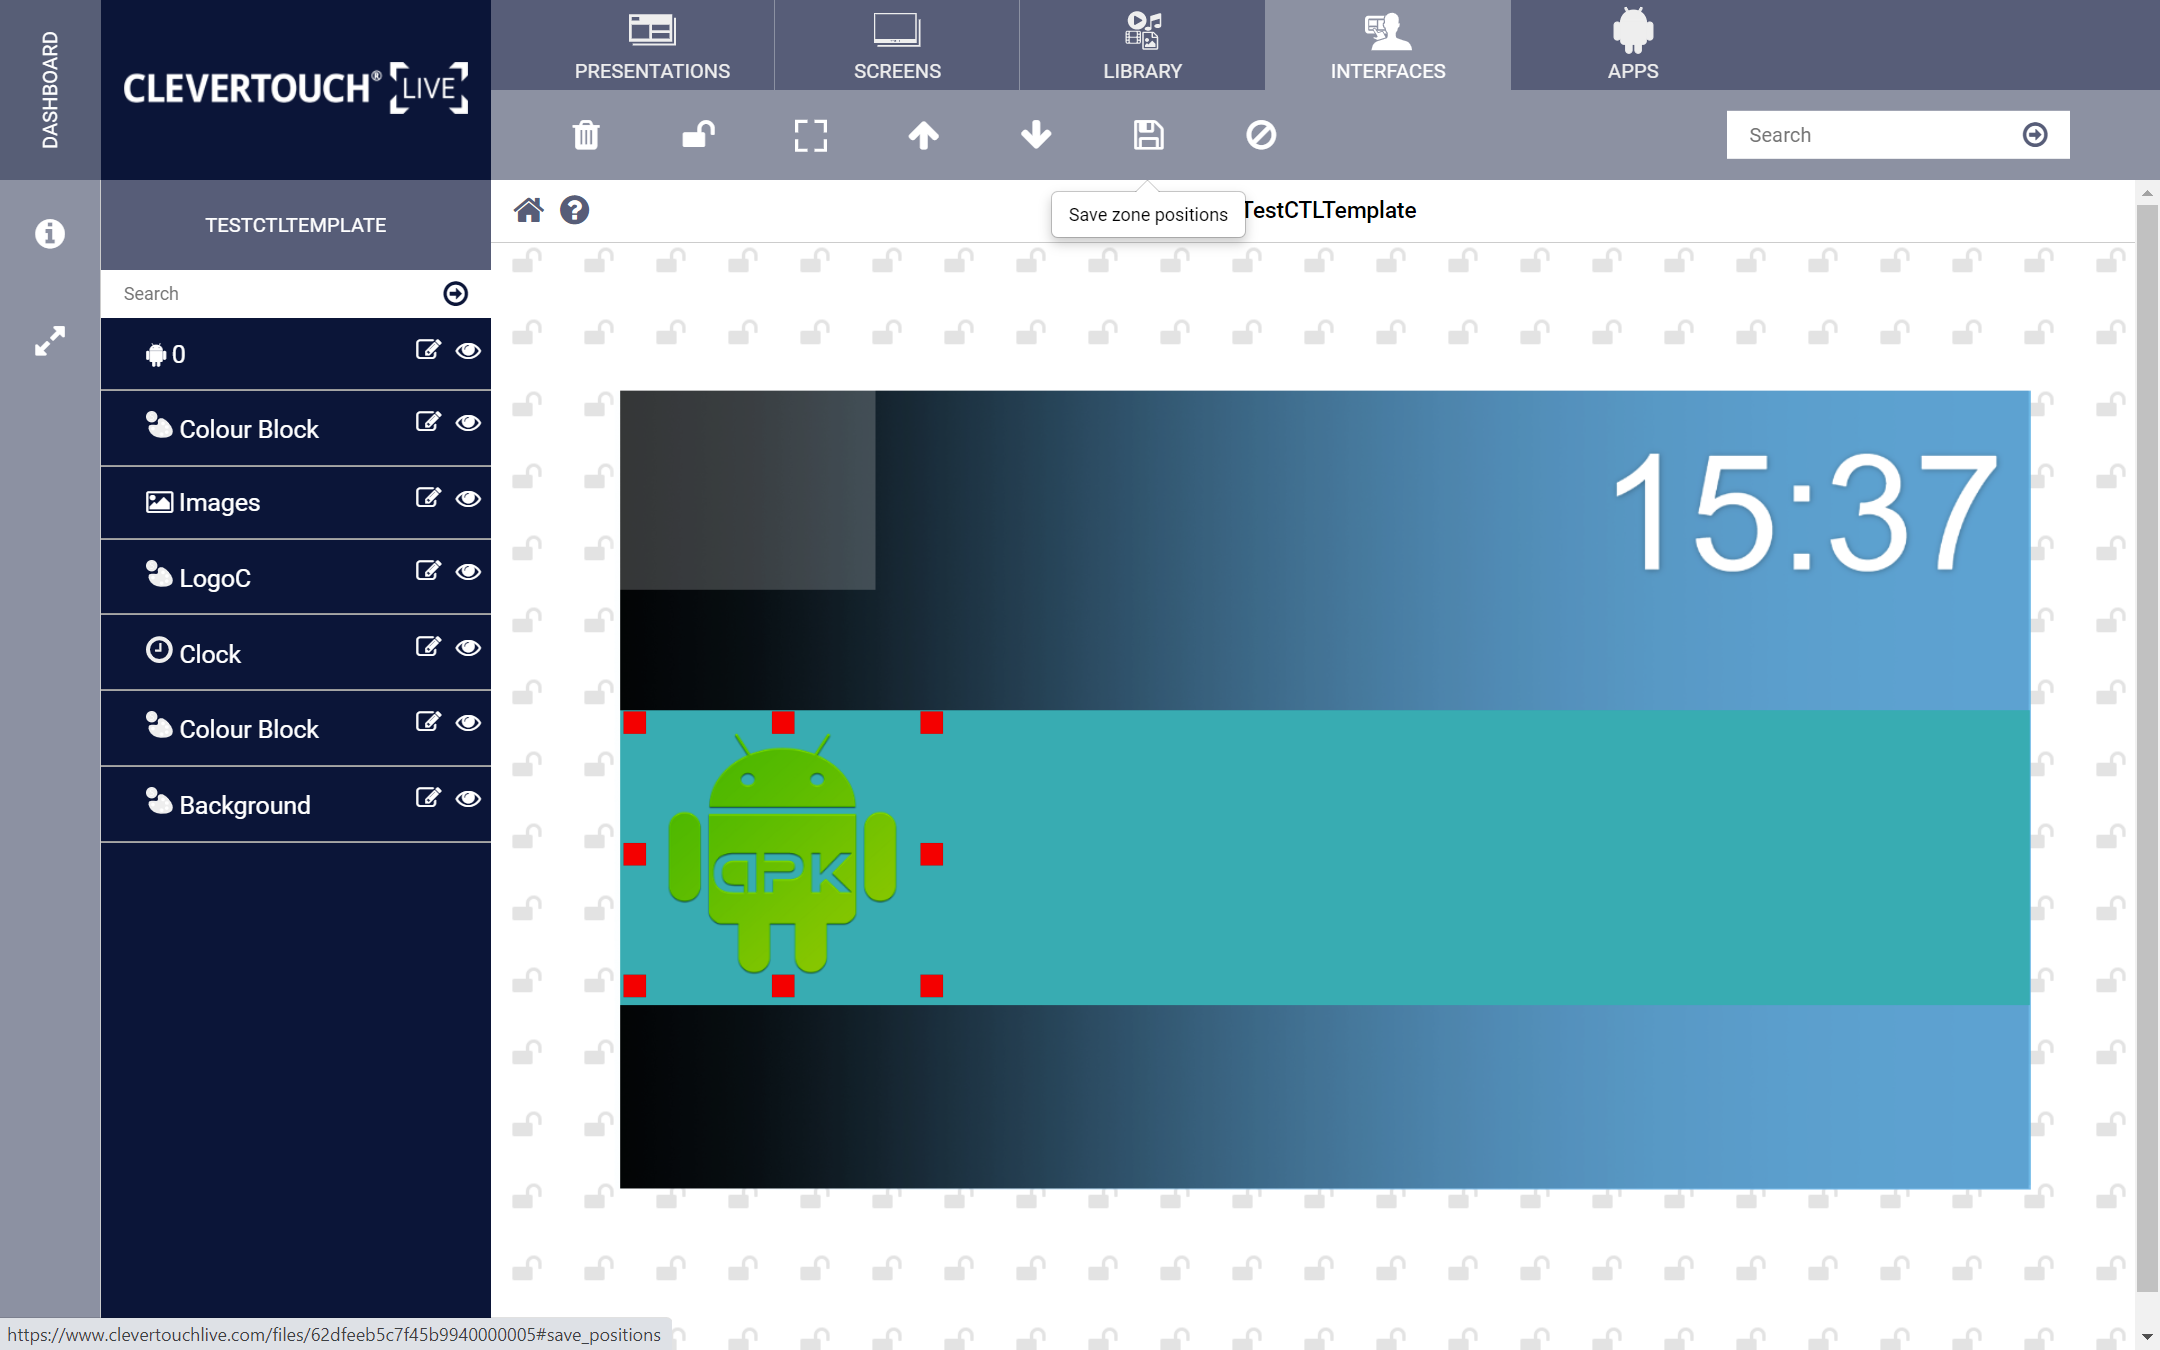
Place and size the element app as needed, then select the ‘Save’ menu option to commit your change.

10 +
Image for FAQ step 10

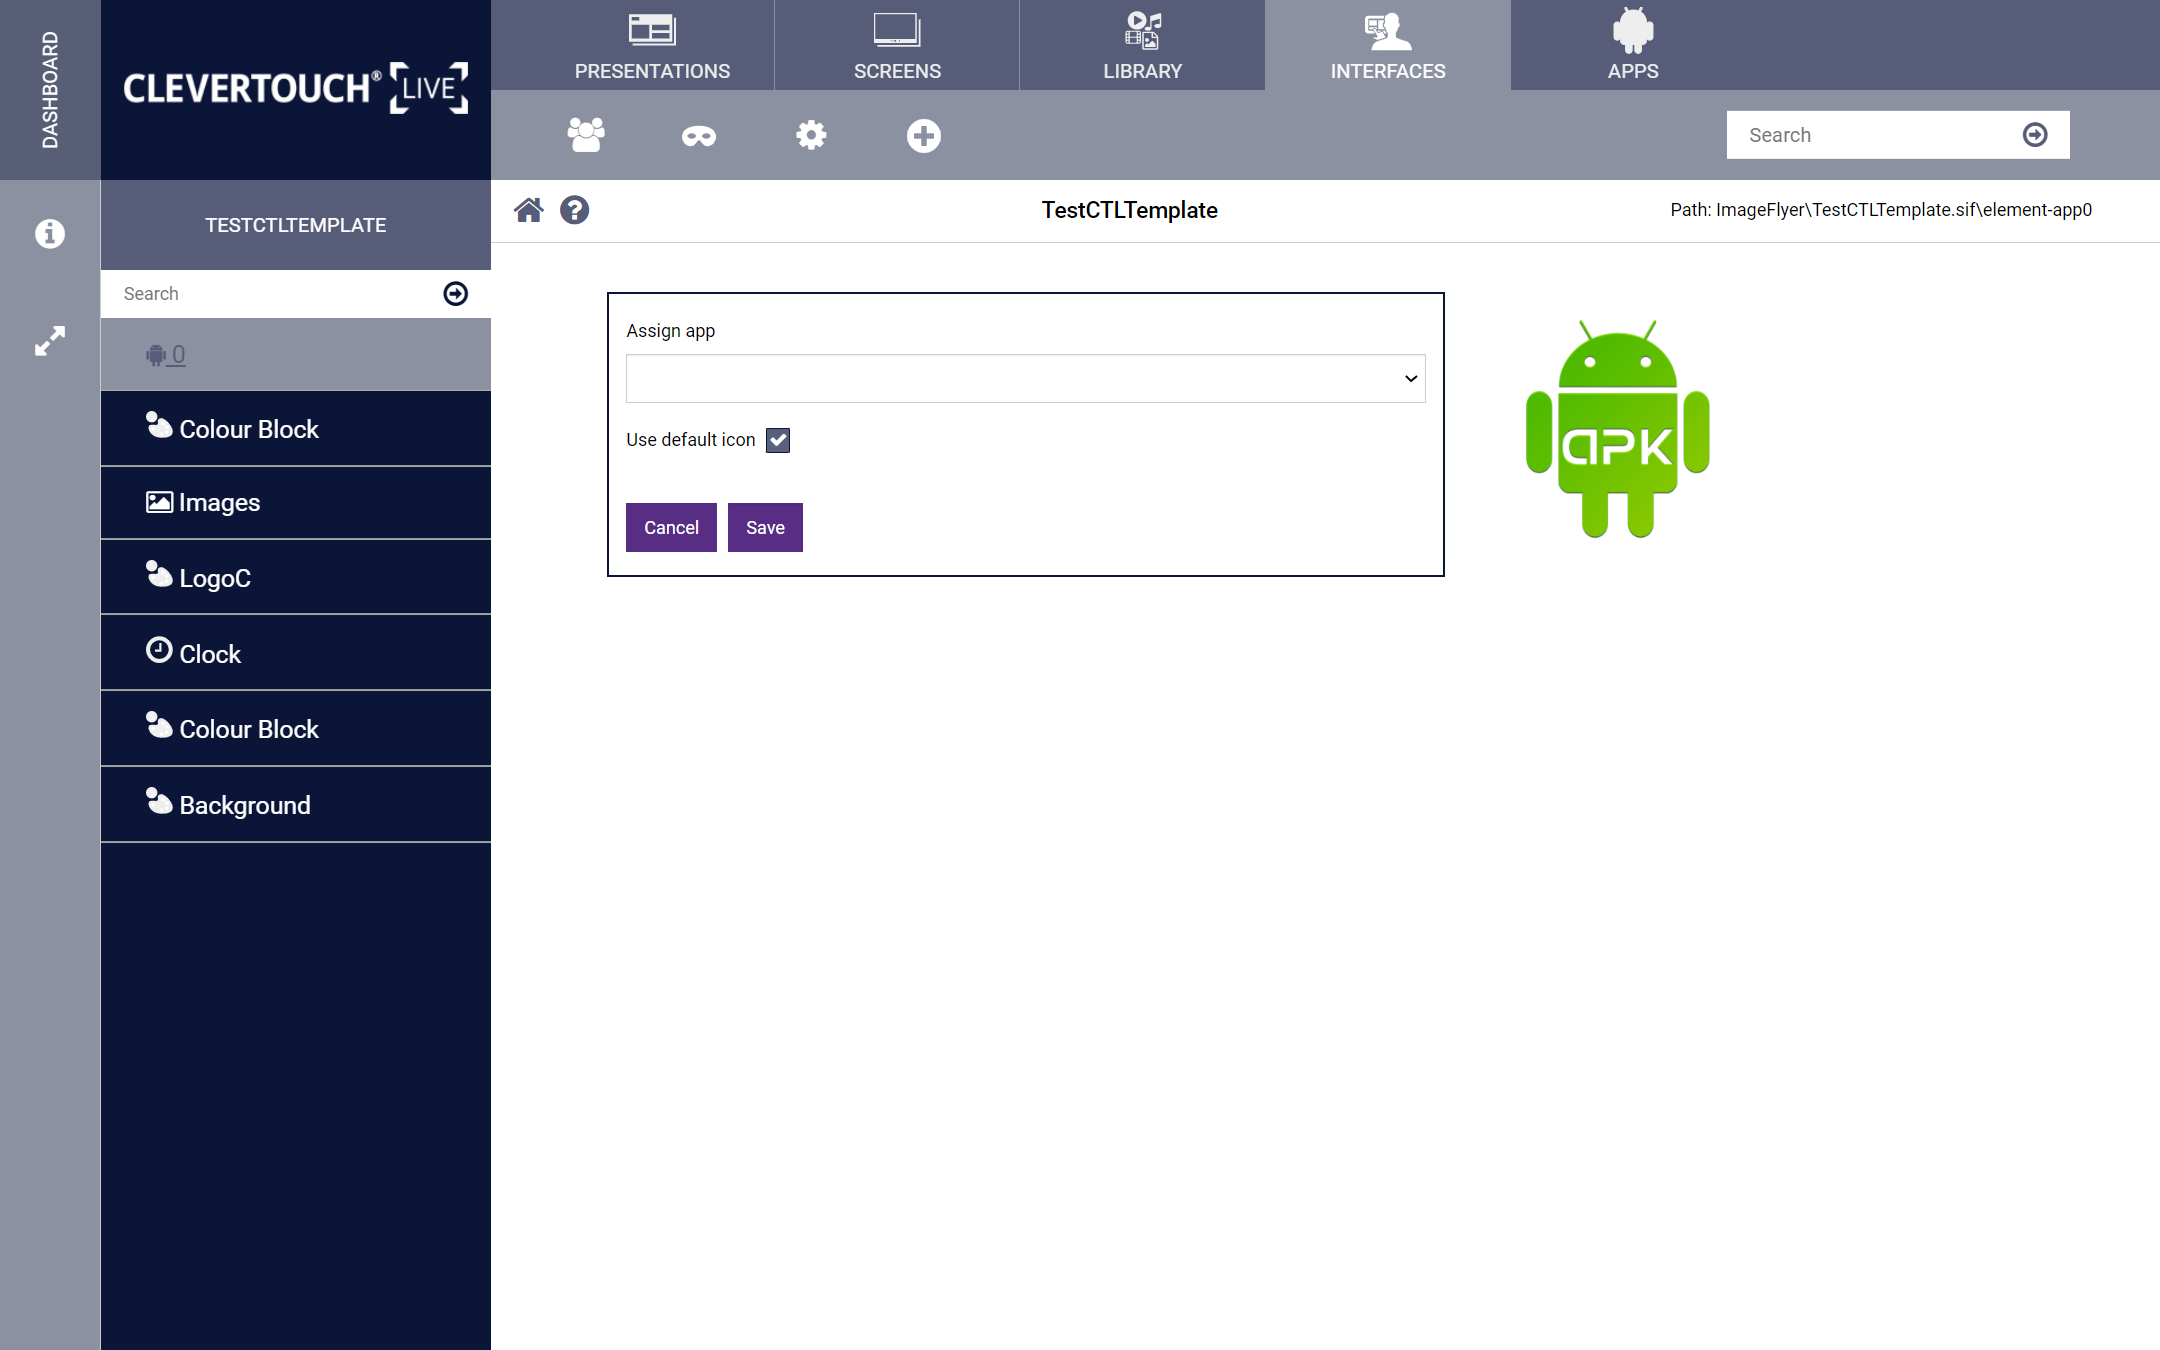
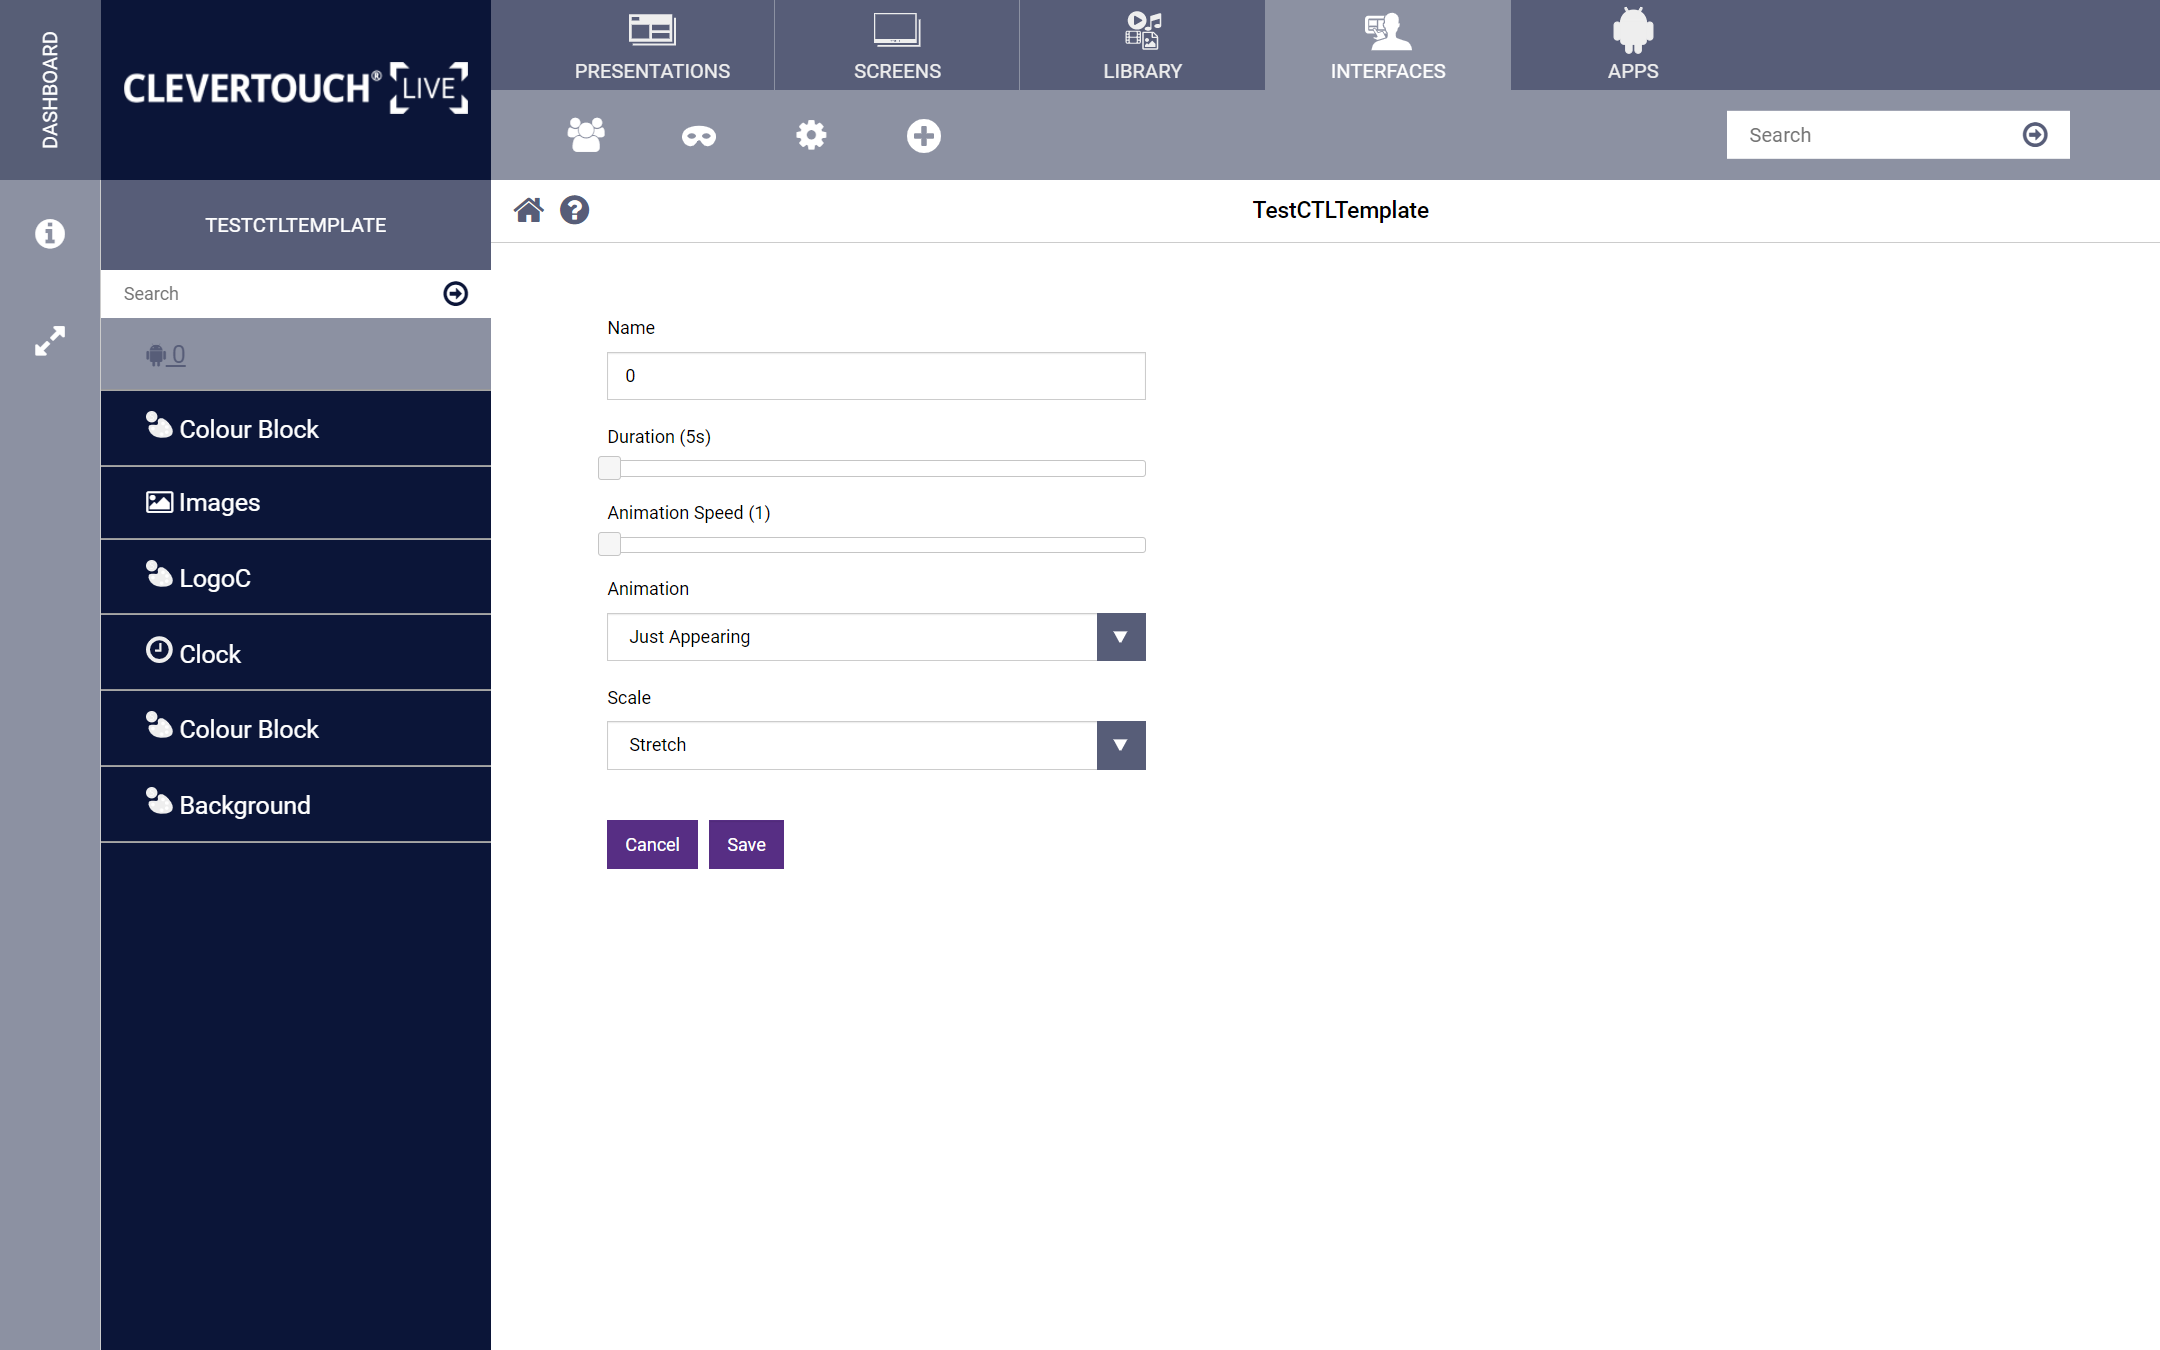
Double-click the zone or choose the ‘edit’ menu option. Select the app you wish to assign to the icon from the dropdown list. Select the ‘Use default icon’ checkbox to use a custom icon for the app.

11 +
Image for FAQ step 11

Select the settings cog to set a name, duration, animation speed, animation, and scale.

12 +
Image for FAQ step 12

When you are happy with your changes, select the ‘Save’ button.

13 +
Image for FAQ step 13

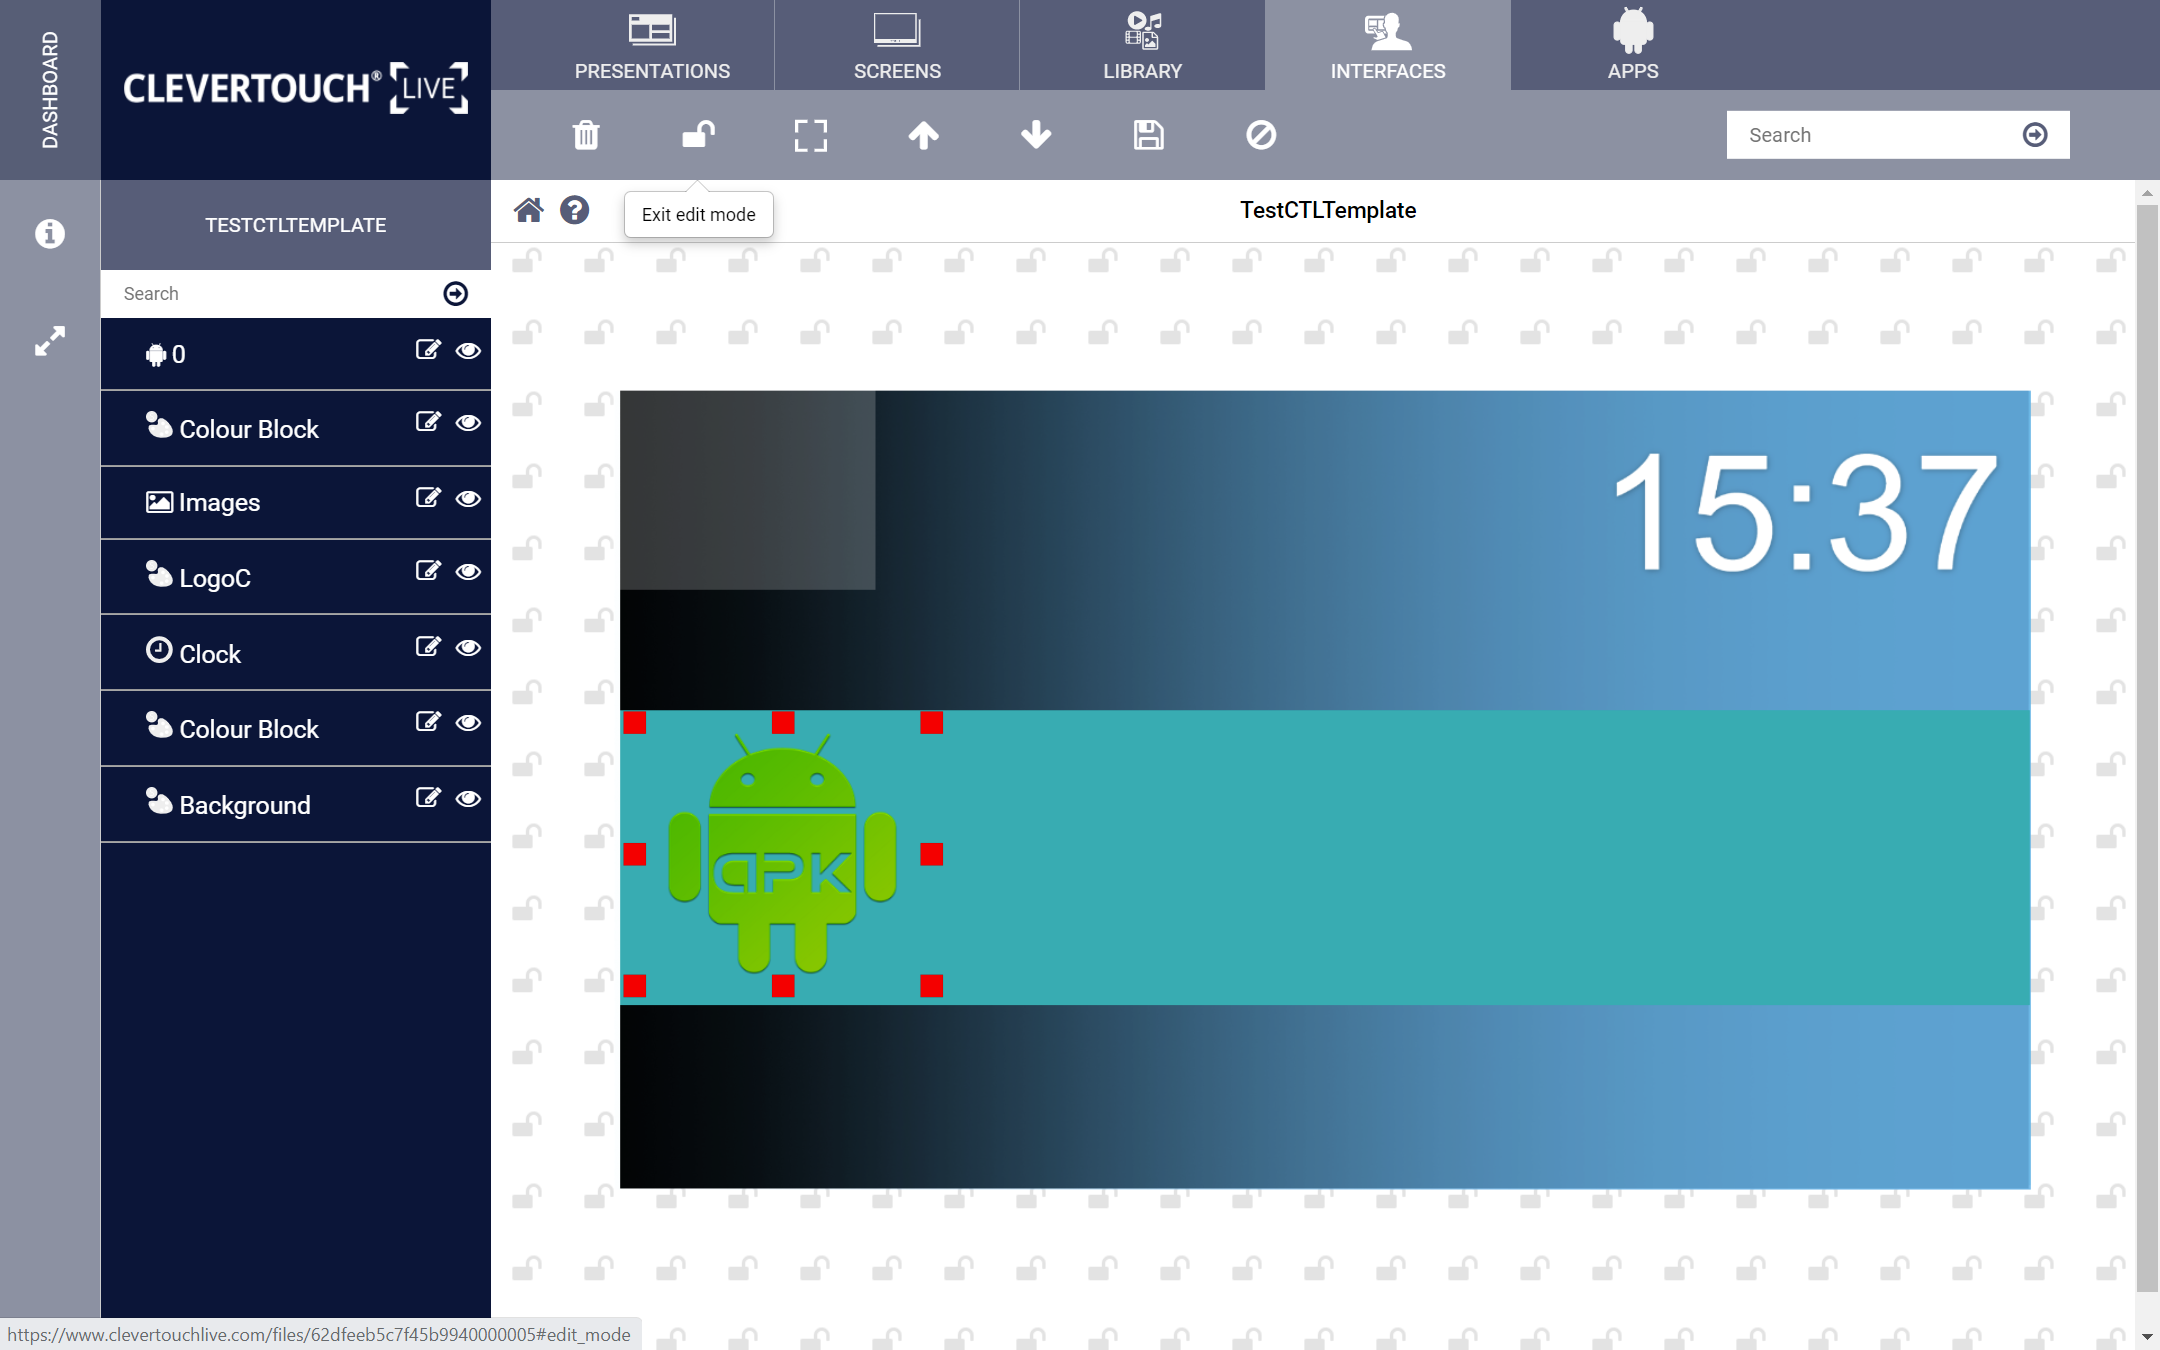
Select the ‘Lock’ icon again to commit your changes to the launcher and make it available for use in the system.