FAQ 9:

How do I manage my scheduler settings

01 +
Image for FAQ step 1

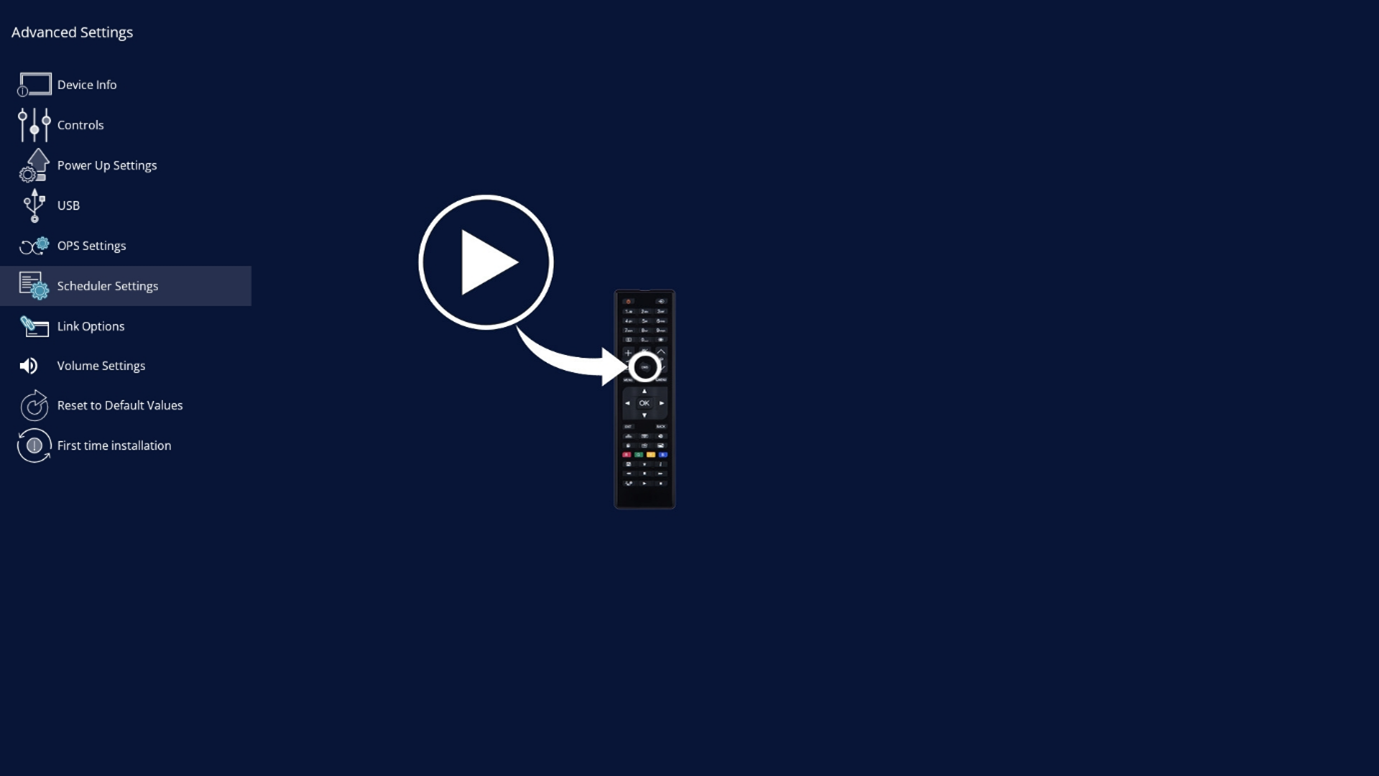
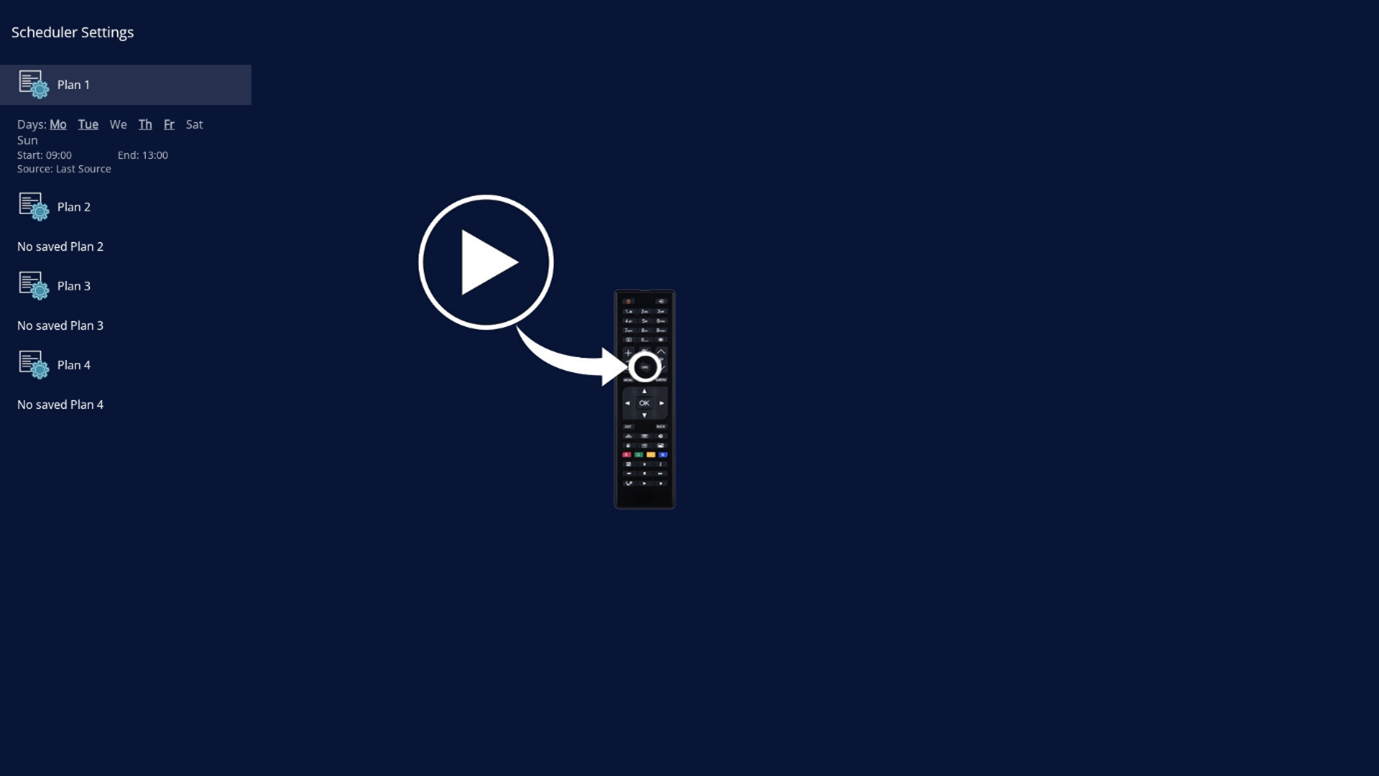
Open your display settings with ‘Menu’ button. Select the ‘Advanced Settings’ network menu option. From here, select the ‘Scheduler Settings’ menu option.
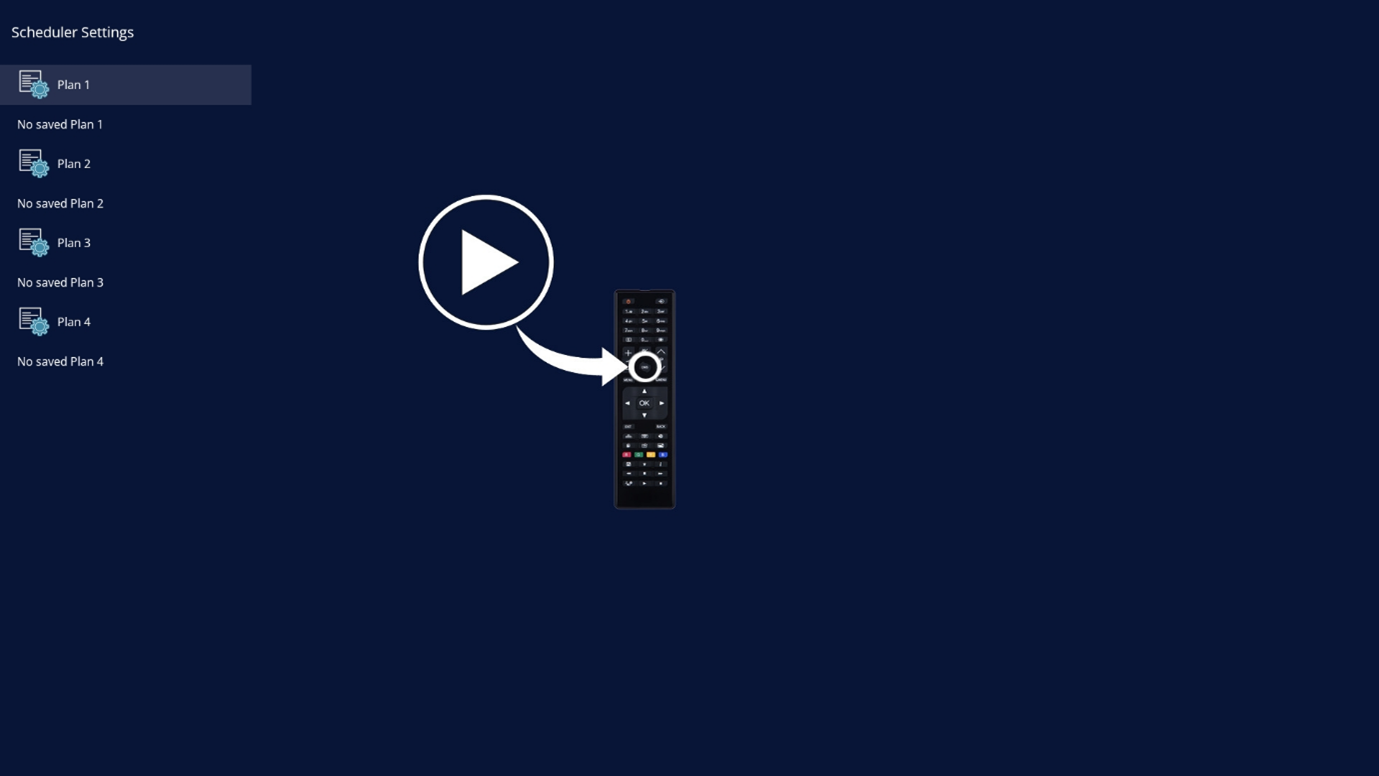
02 +
Image for FAQ step 2

This opens your scheduler menu. Select an empty plan to create a new schedule.

03 +
Image for FAQ step 3

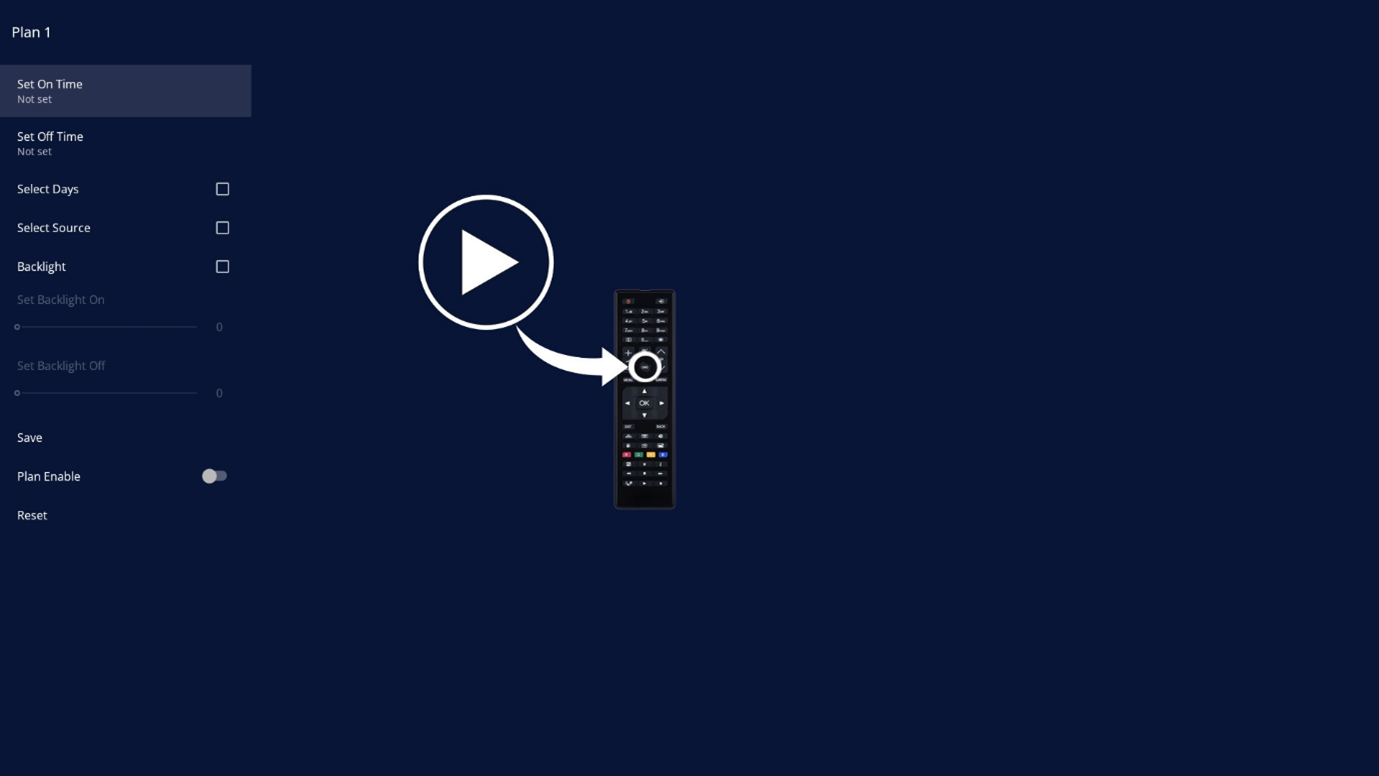
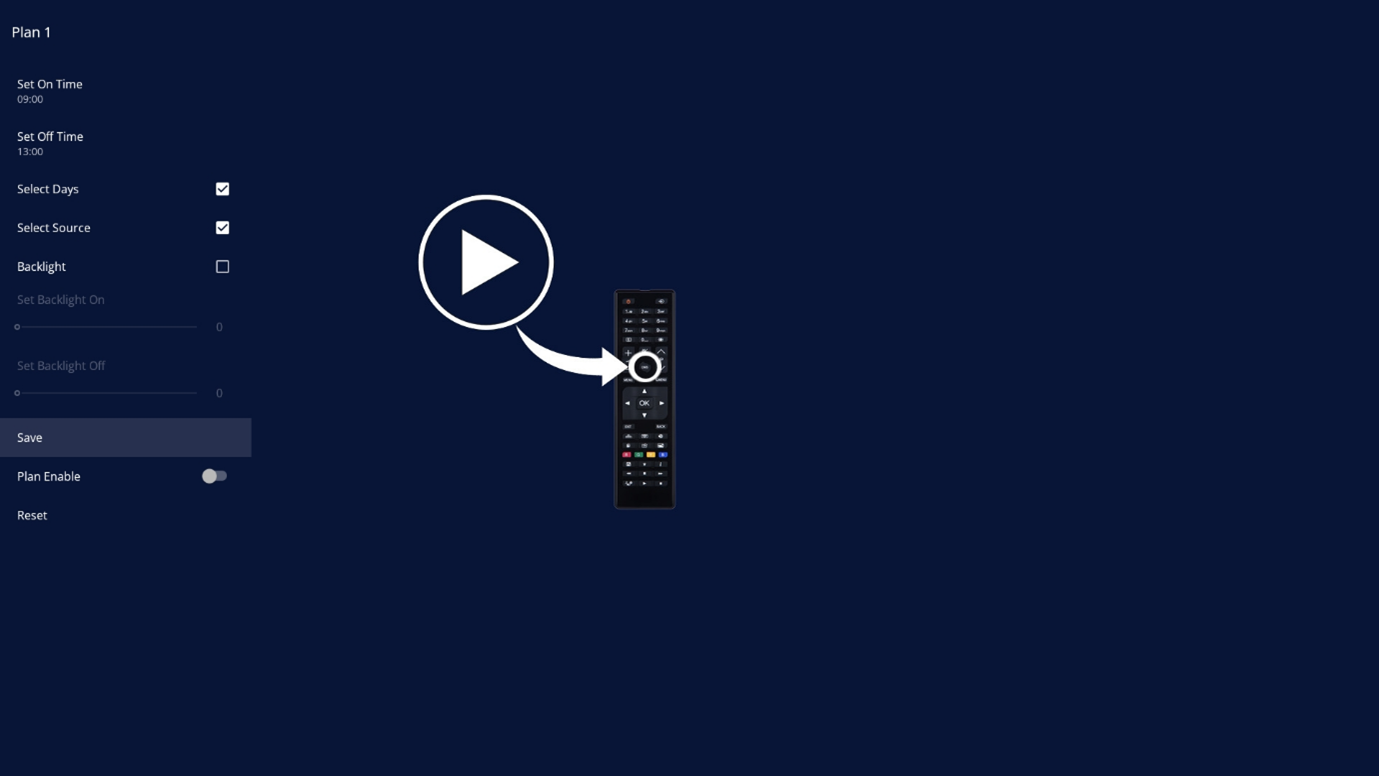
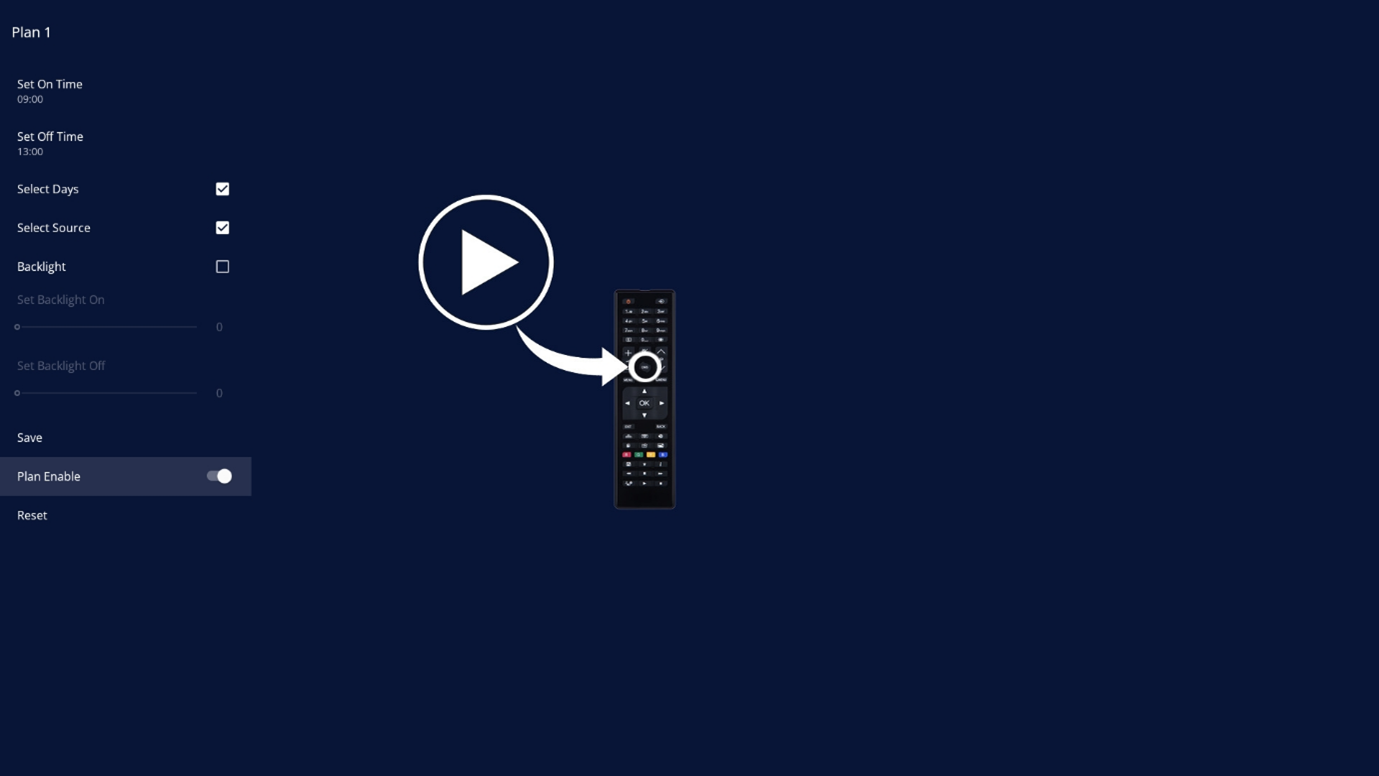
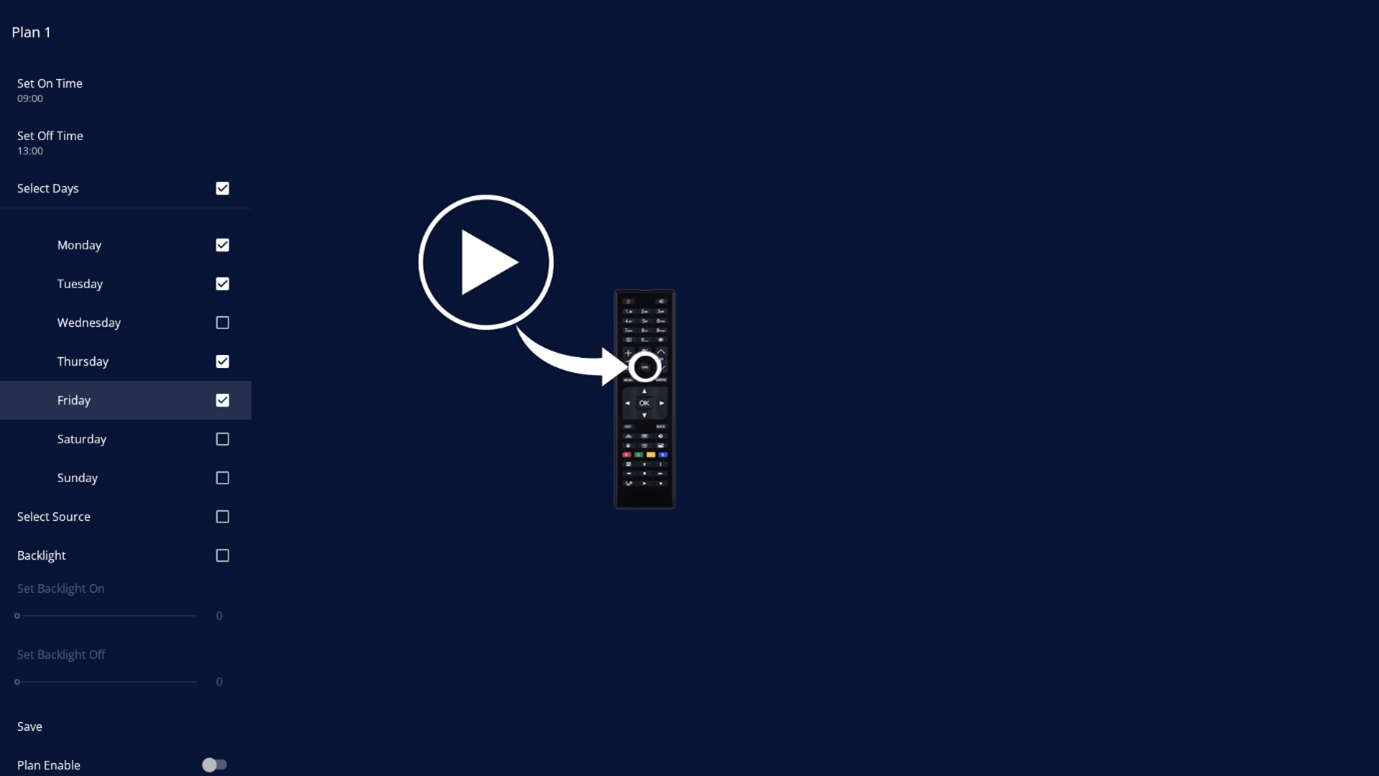
Selecting a plan allows you to set an on time, off time, preferred days, source, toggle your backlight and its intensity, save the configuration, enable the plan, or reset. Select the ‘Set On time’ to choose the time for your screen to power on.
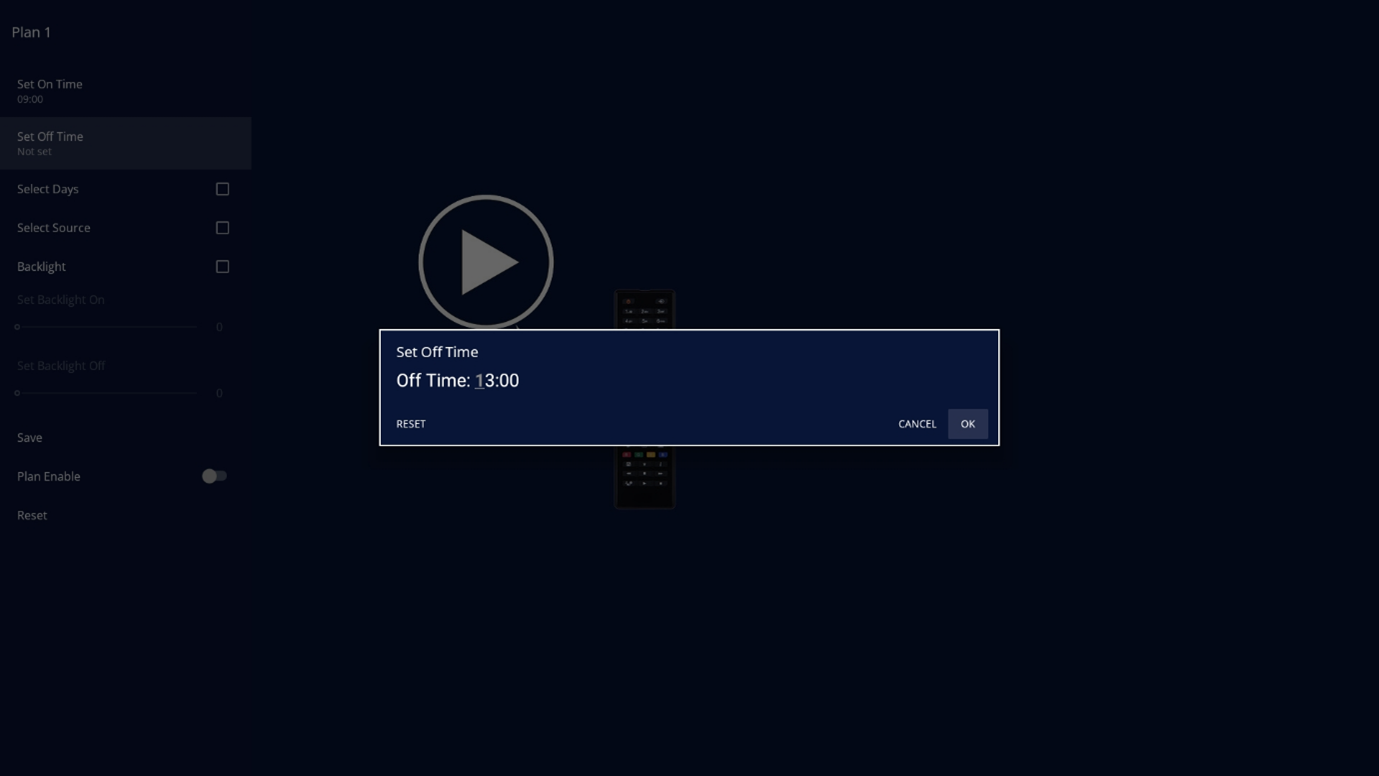
04 +
Image for FAQ step 4

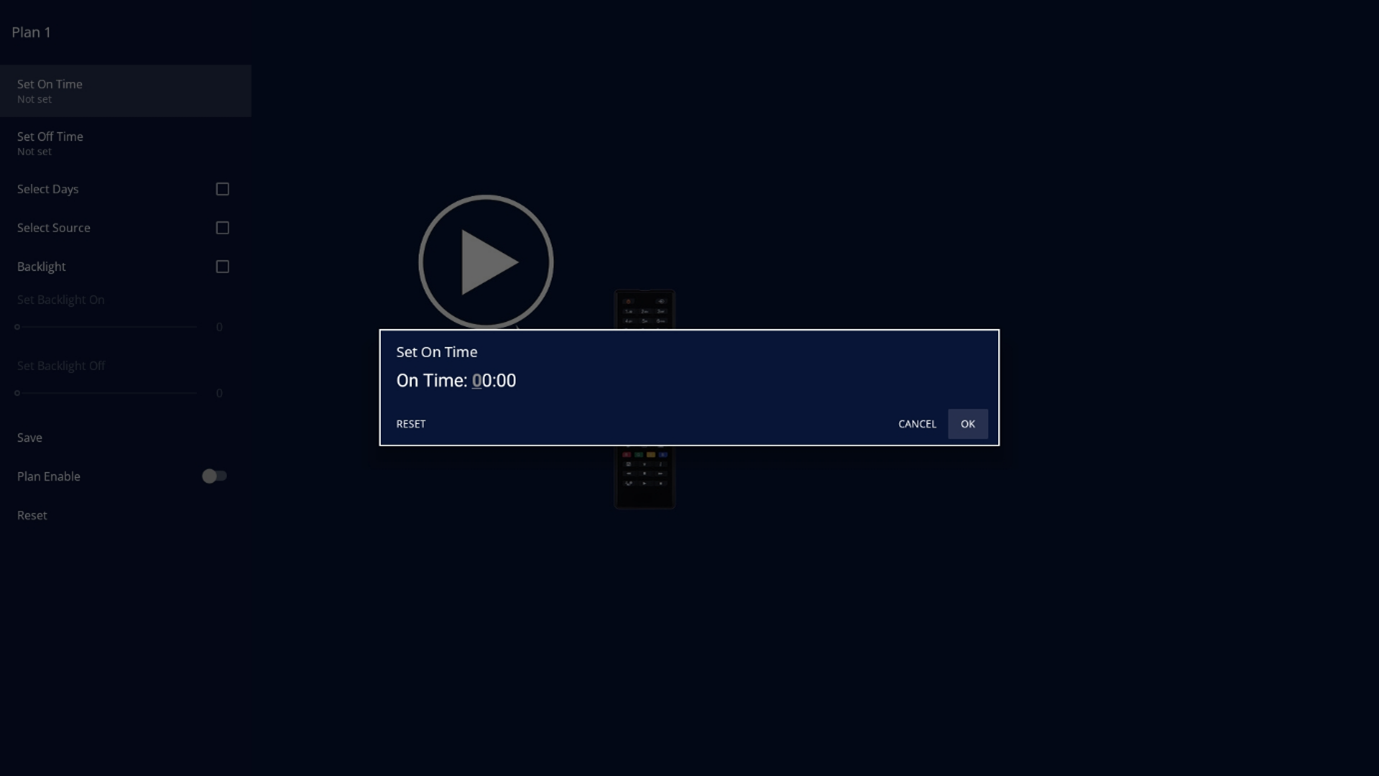
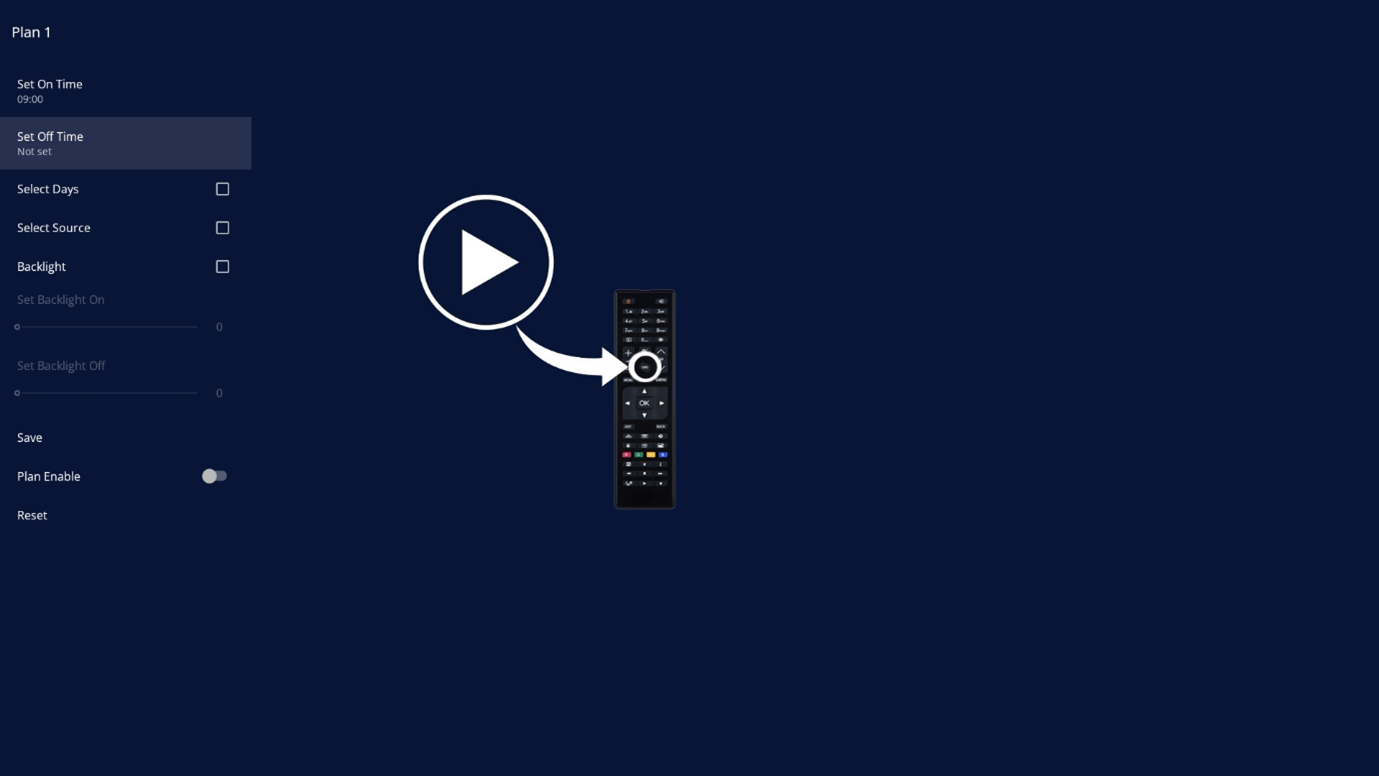
Once the ‘Set On Time’ option is chosen, select your preferred power on time and select ok to confirm.

05 +
Image for FAQ step 5

Once your ‘Set On Time’ is saved, choose the ‘Set Off Time’ option.

06 +
Image for FAQ step 6

Select your preferred power on time and select ok to confirm.

07 +
Image for FAQ step 7

Once your ‘Set Off Time’ is saved, choose the ‘Select Days’ menu option.

08 +
Image for FAQ step 8

Select the days you want the on/off time to apply to.

09 +
Image for FAQ step 9

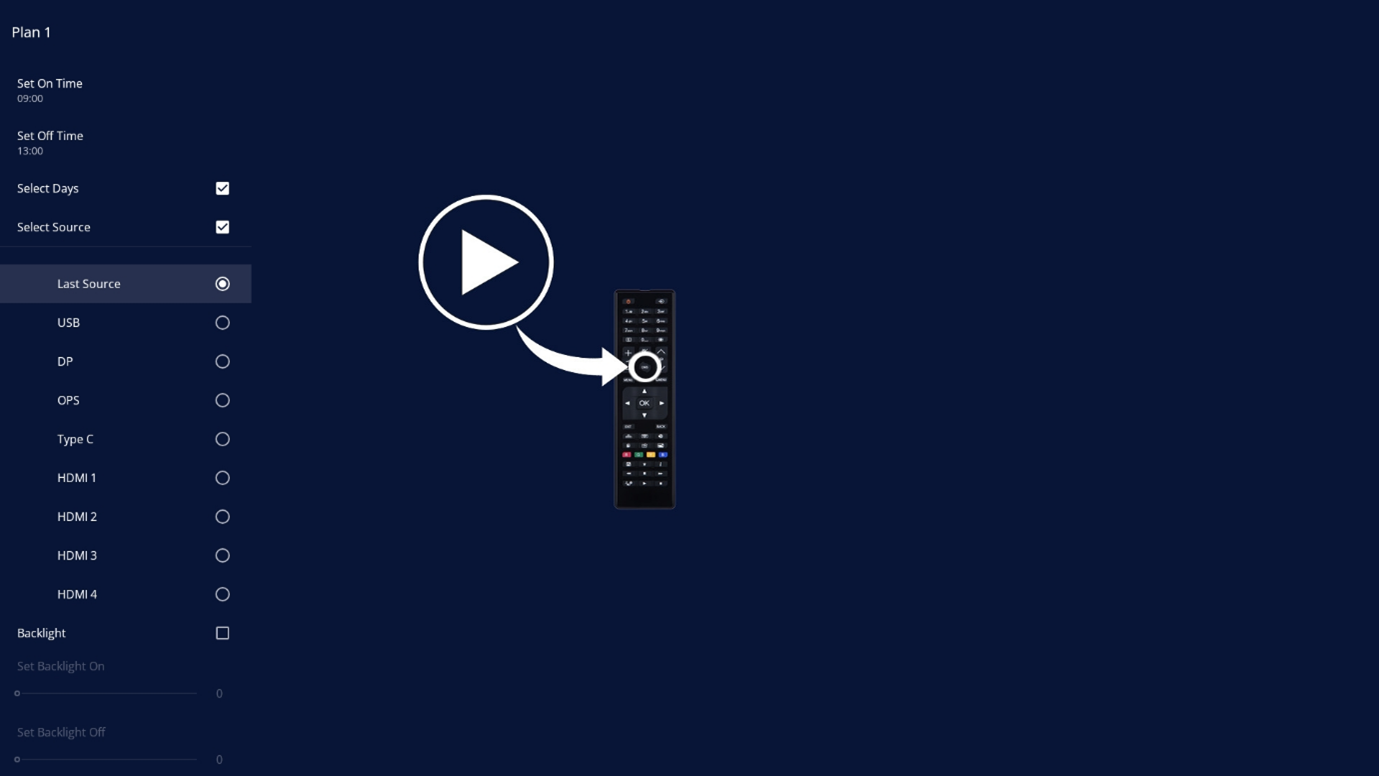
Select the ‘Select Source” menu option to choose from the following: USB, DP, OPS, Type C, HDMI 1, HDMI 2, HDMI 3, HDMI 4.

10 +
Image for FAQ step 10

Select ‘Save’ to create your plan.

11 +
Image for FAQ step 11

Select ‘Enable’ to enable your plan on the display.

12 +
Image for FAQ step 12

Select a created plan to manage it, or an empty plan to create a new one.