FAQ 1:

How do I set up my CM Pro

01 +
Image for FAQ step 1

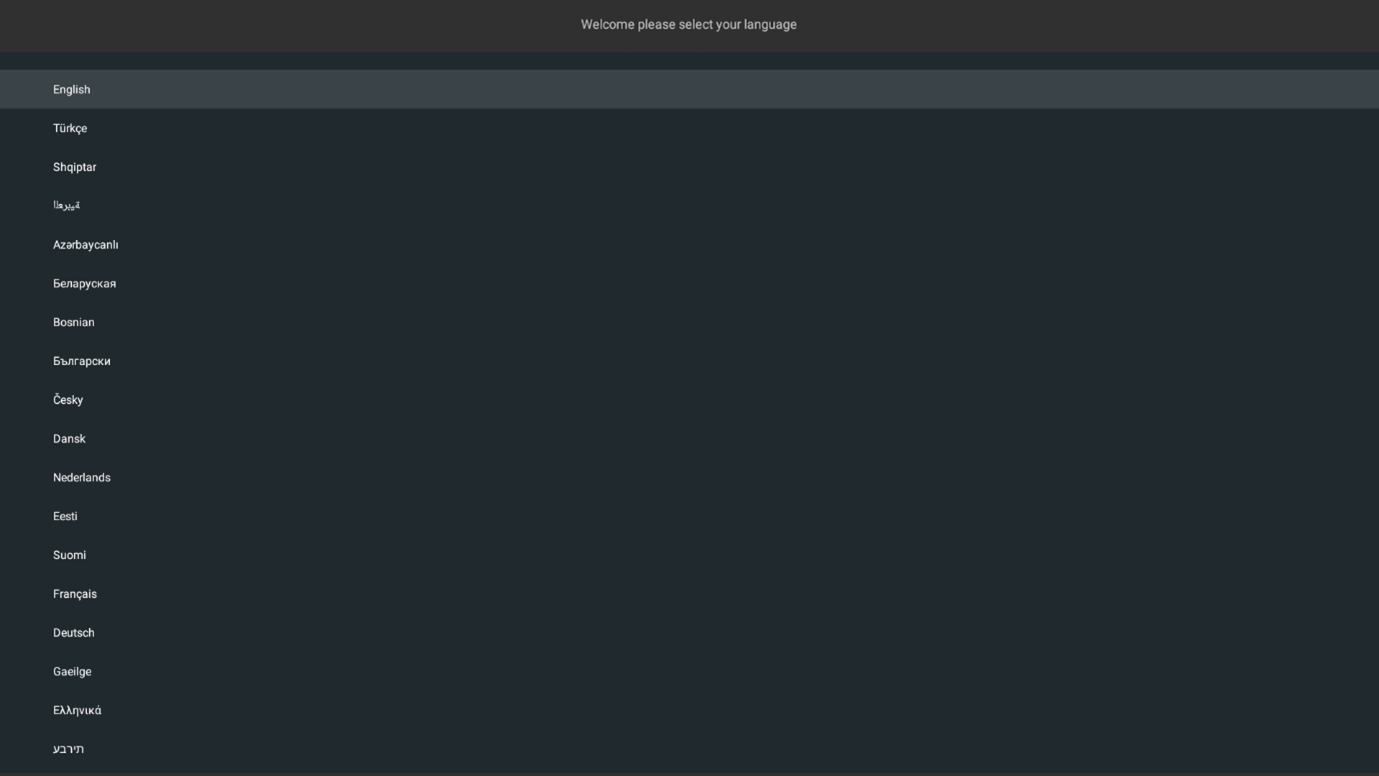
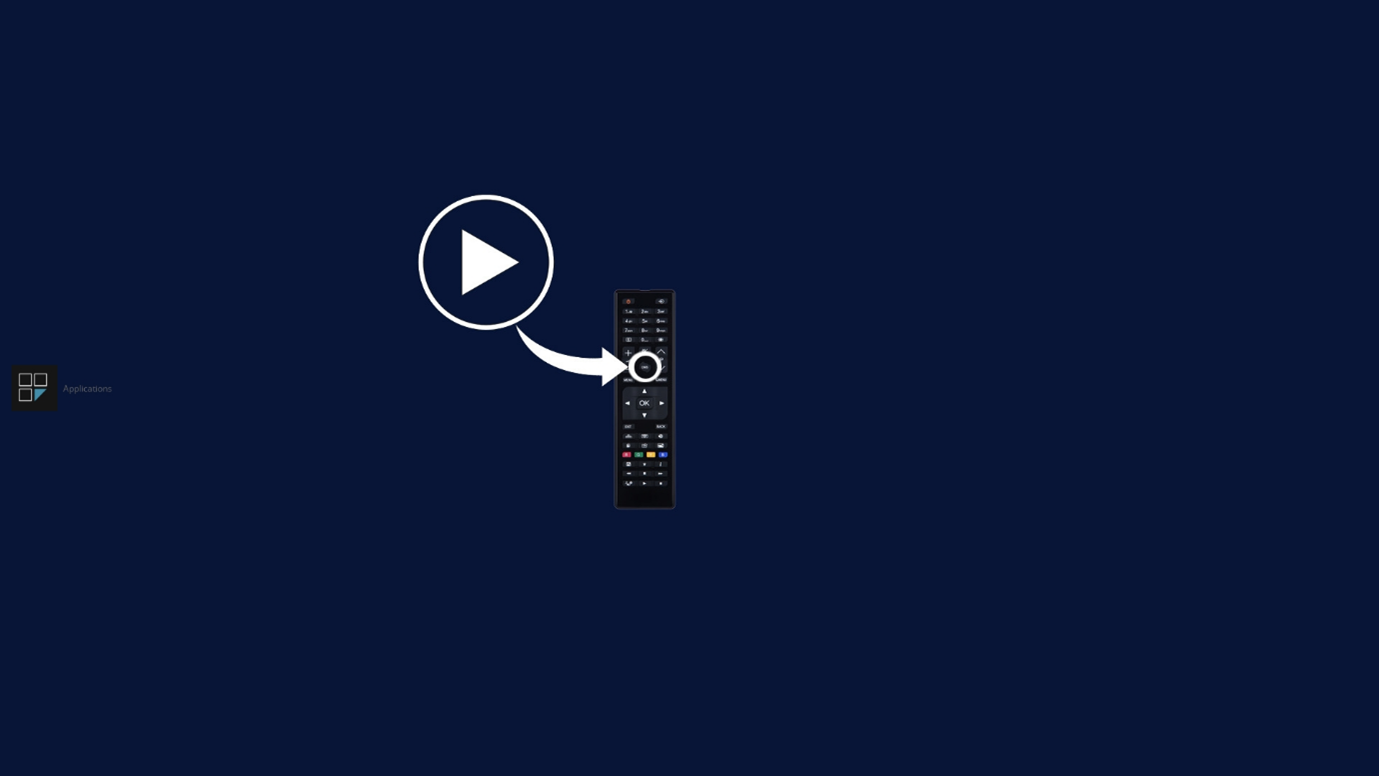
Connect the power cord and turn on the screen via the rocker switch. Use the remote control to navigate through the set-up workflow. Please Note: On larger displays it might be necessary to connect the supplied IR receiver into the 'IR in' port on the side of the display for the remote control to respond. Once ready, select your language, press OK on the remote control to confirm.

02 +
Image for FAQ step 2

Select your country, press OK to select.

03 +
Image for FAQ step 3

Select 'New Pin' to set a New Pin number for restricting user menu access.

04 +
Image for FAQ step 4

Enter the Pin number and verify.

05 +
Image for FAQ step 5

Select Next and press OK on the remote control to continue.

06 +
Image for FAQ step 6

Select Power Mode and highlight Next and press OK to continue.

07 +
Image for FAQ step 7

Select Network Type and Click Next.

08 +
Image for FAQ step 8

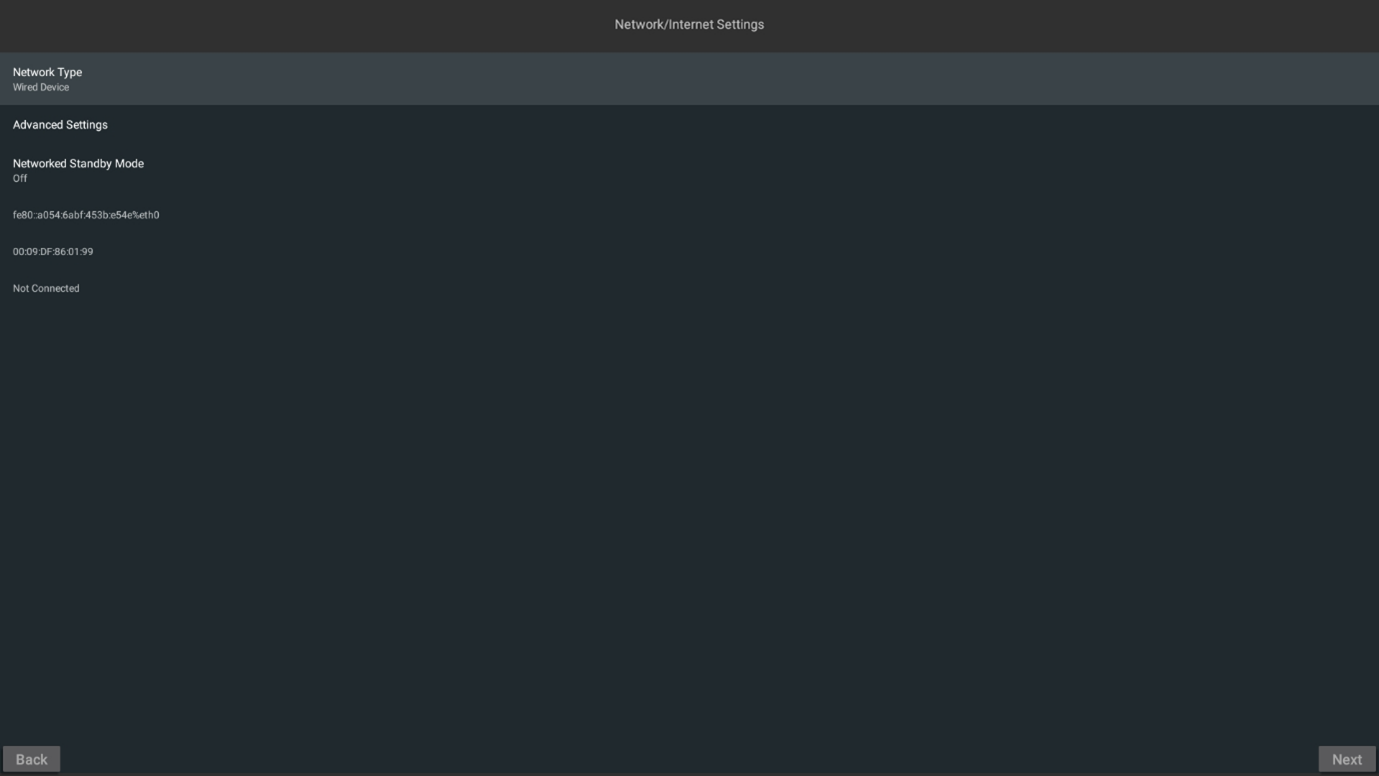
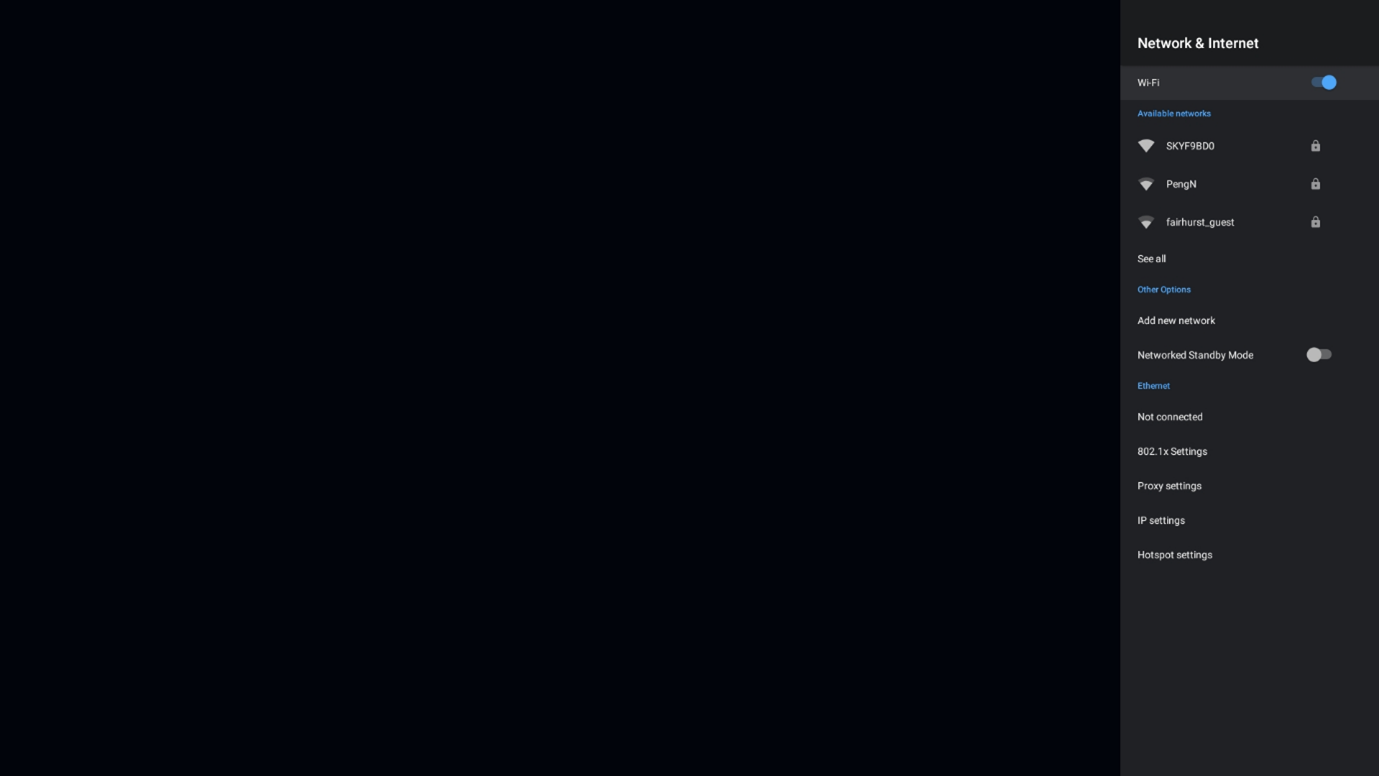
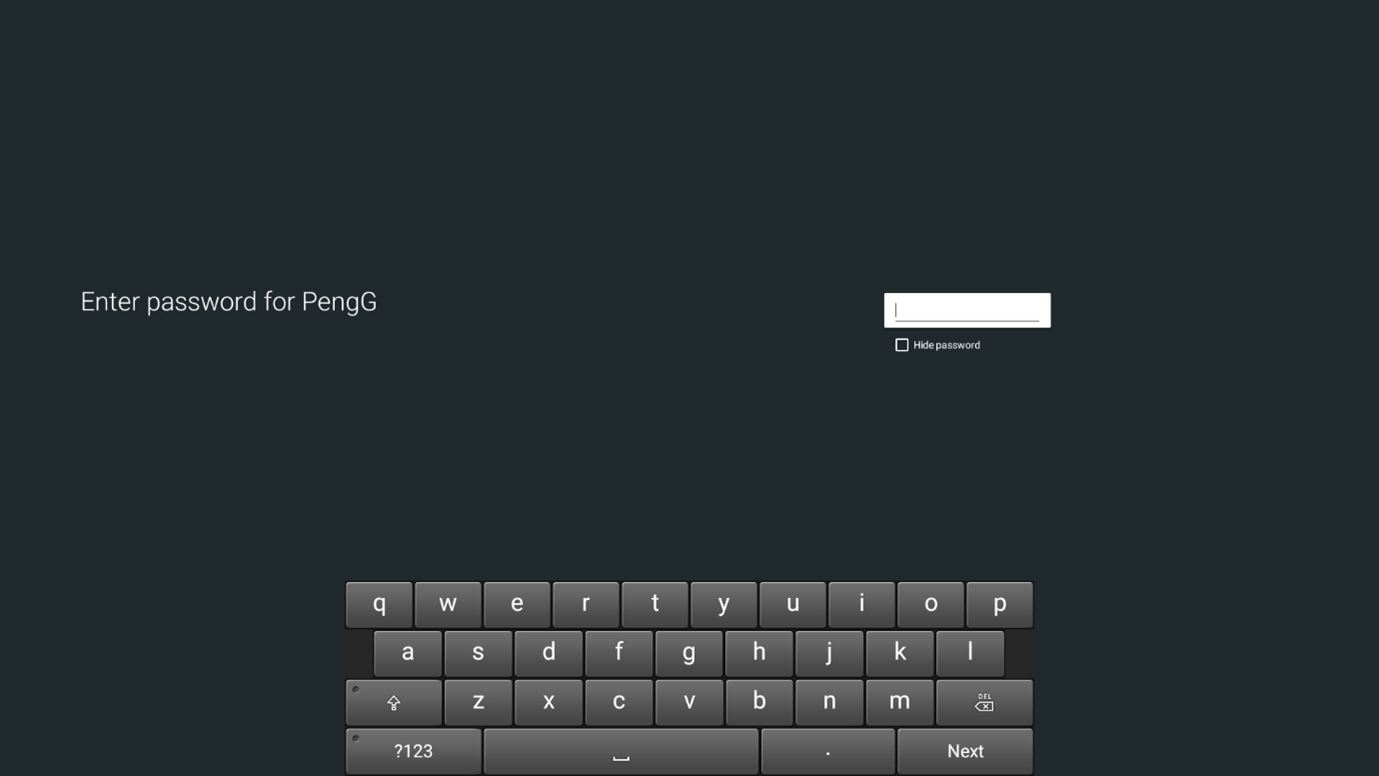
If connecting by LAN select and click Next If connecting to WiFi, select this option and proceed on pressing the OK button to confirm selection.

09 +
Image for FAQ step 9

Enter password for WiFi.

10 +
Image for FAQ step 10

You are now connected.

11 +
Image for FAQ step 11

Click Accept to continue.

12 +
Image for FAQ step 12

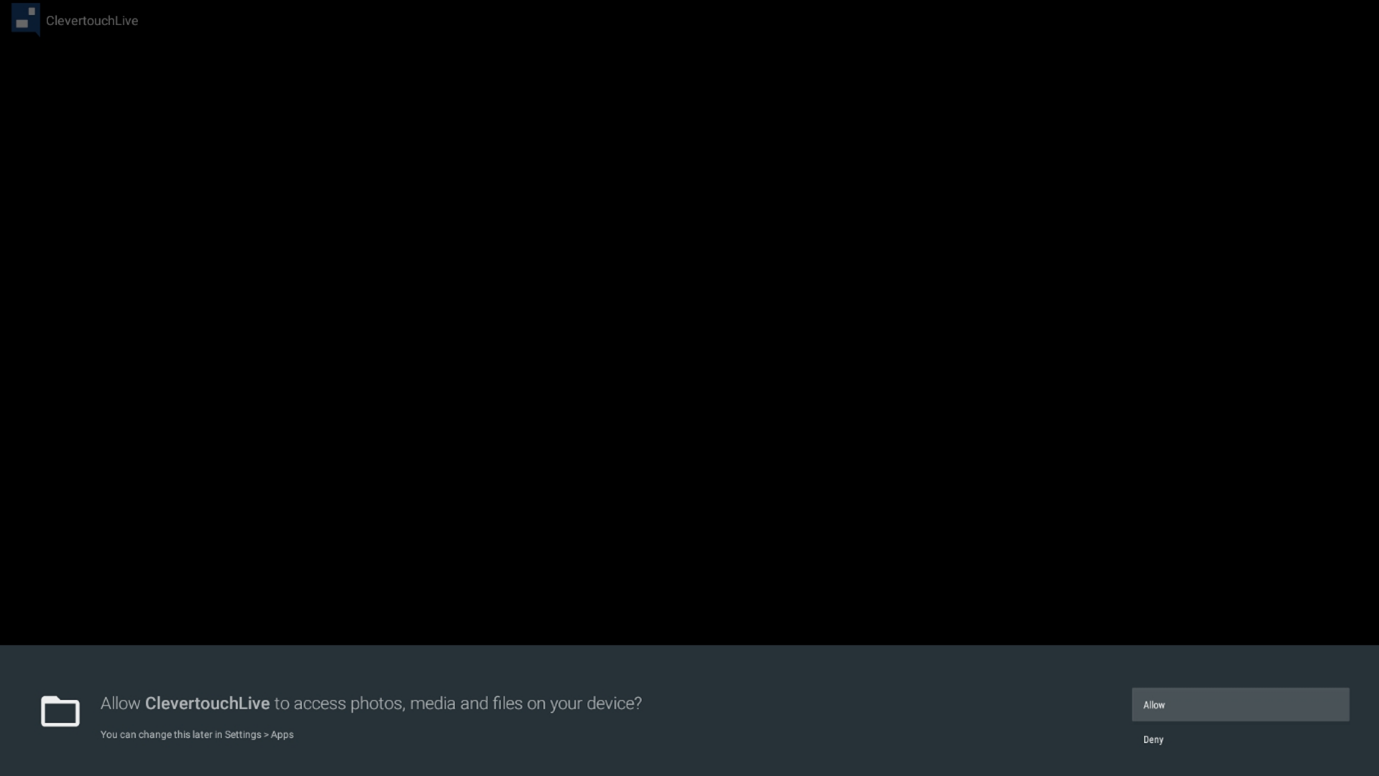
To set up ClevertouchLive, once the below screen appears press the CMS button on the remote control.

13 +
Image for FAQ step 13

Select Allow for media devices and press ok.

14 +
Image for FAQ step 14

Set Up Wizard begins.

15 +
Image for FAQ step 15

If WiFi does not automatically connect, scan for further information.

16 +
Image for FAQ step 16

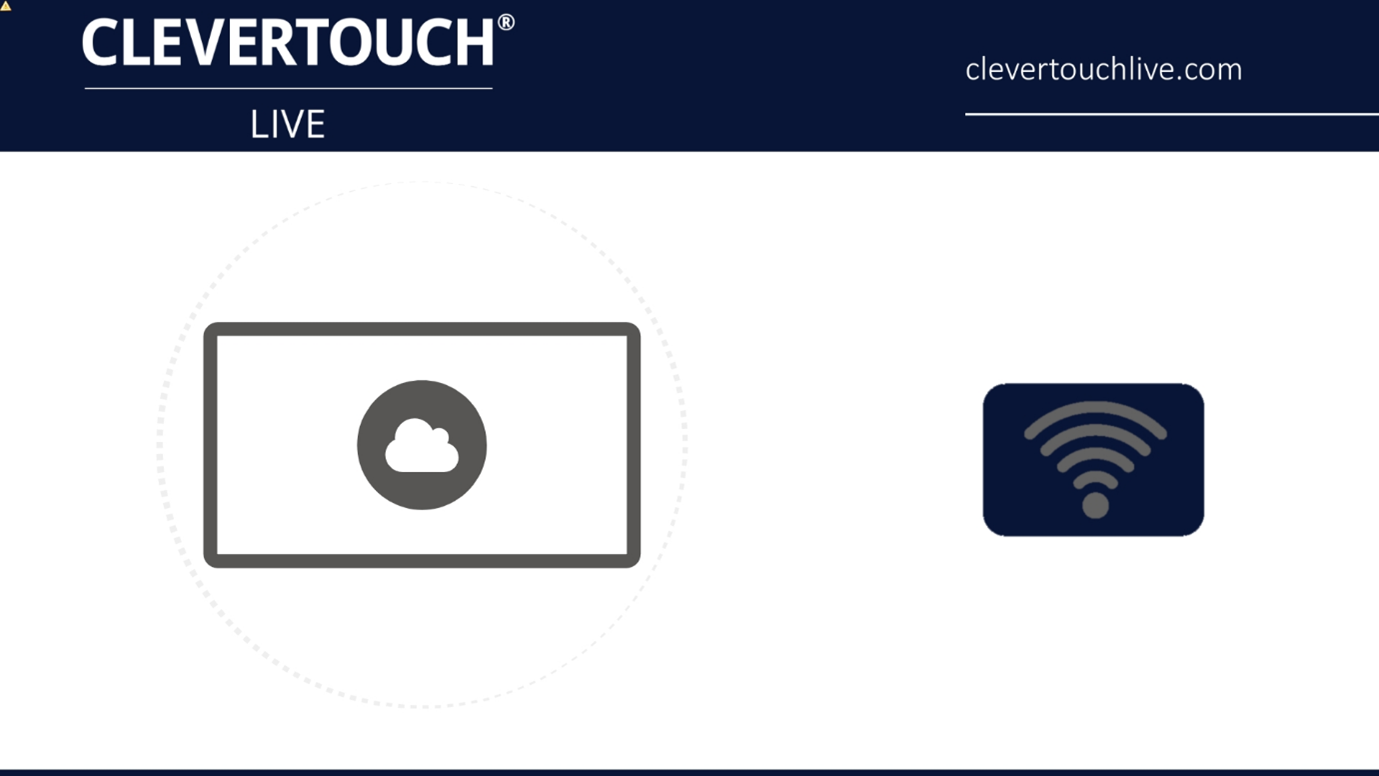
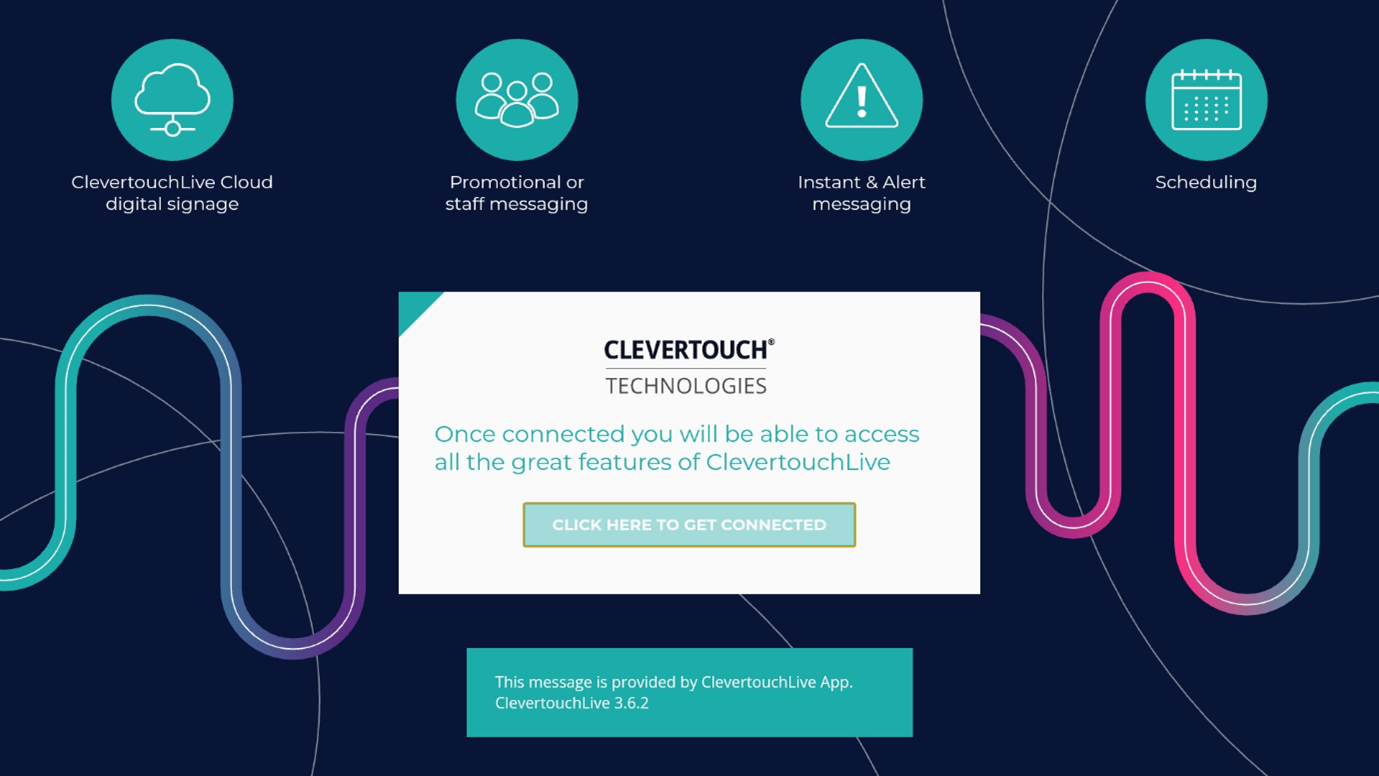
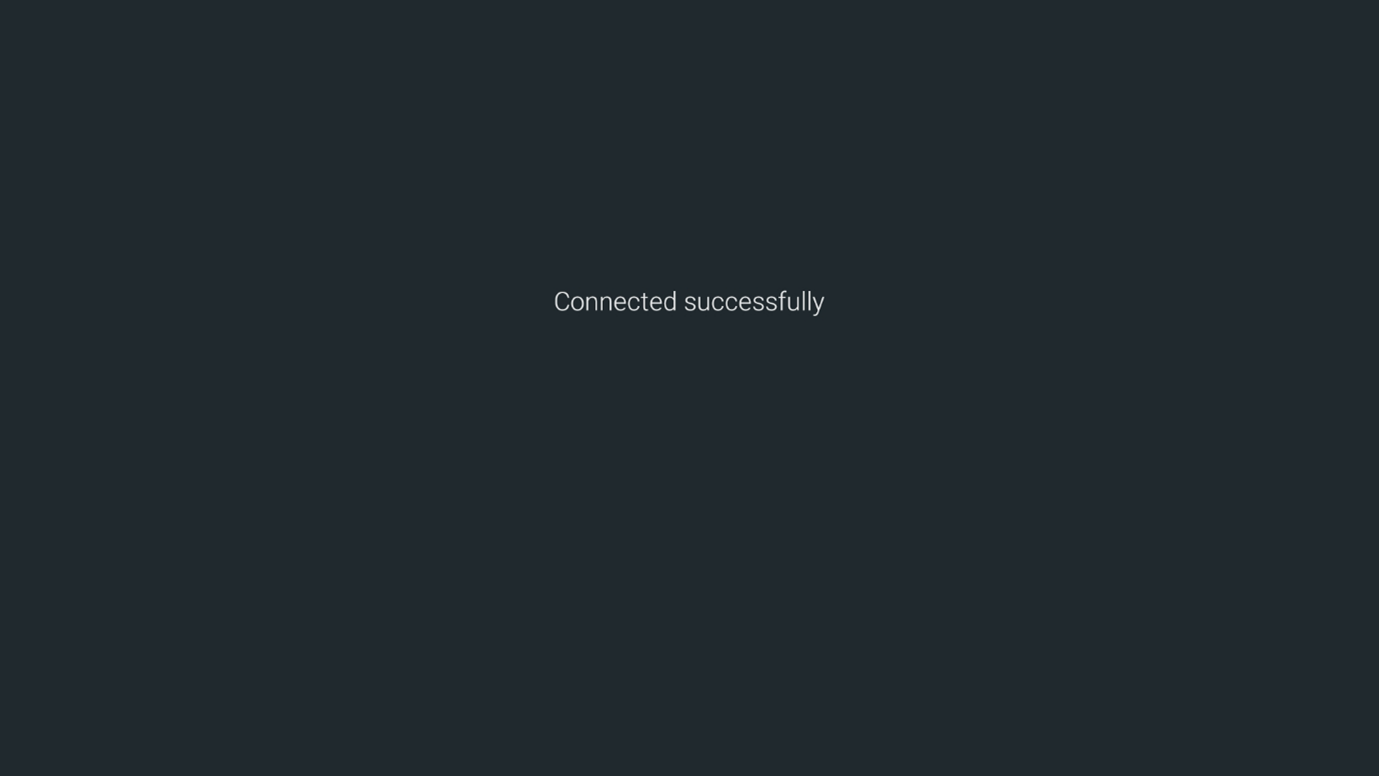
Once the Network connection has been detected, press OK on the remote control select the To Get Connected Tab.

17 +
Image for FAQ step 17

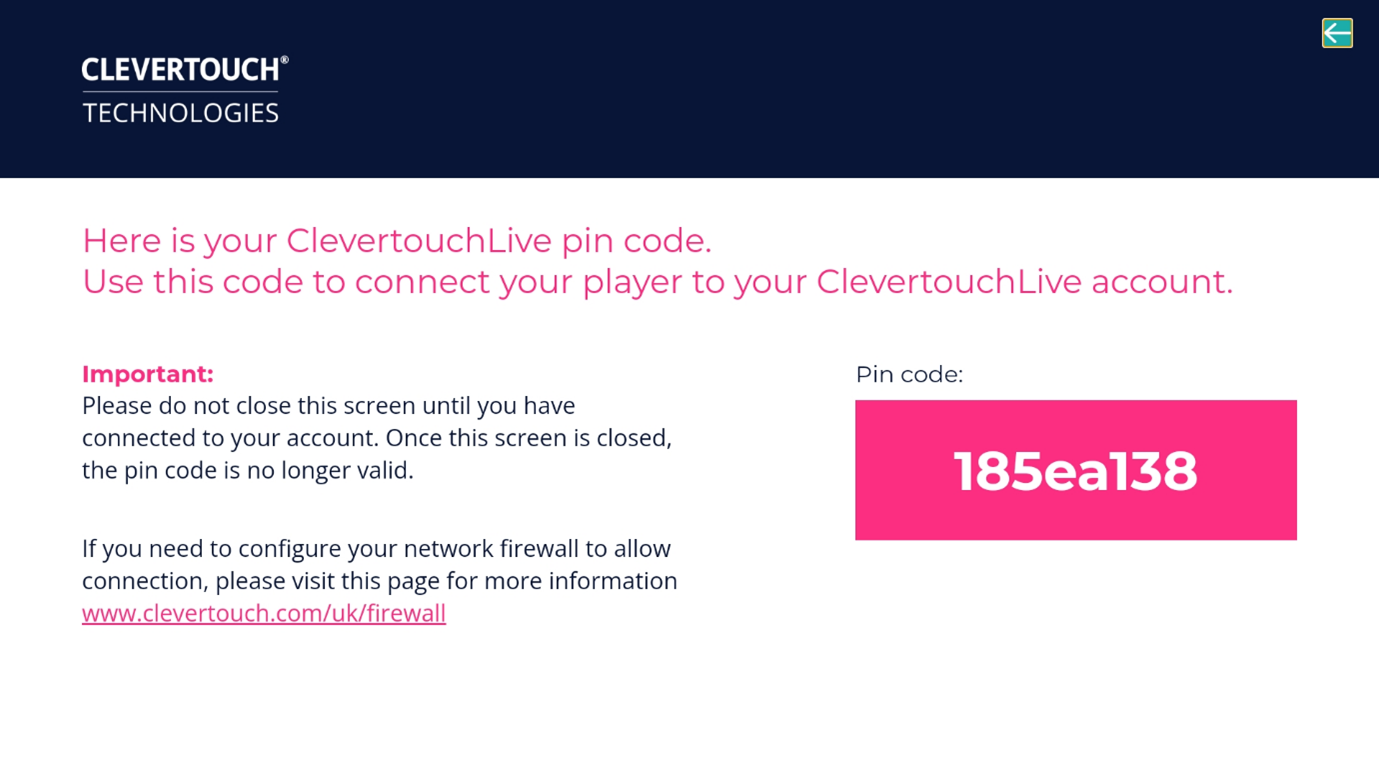
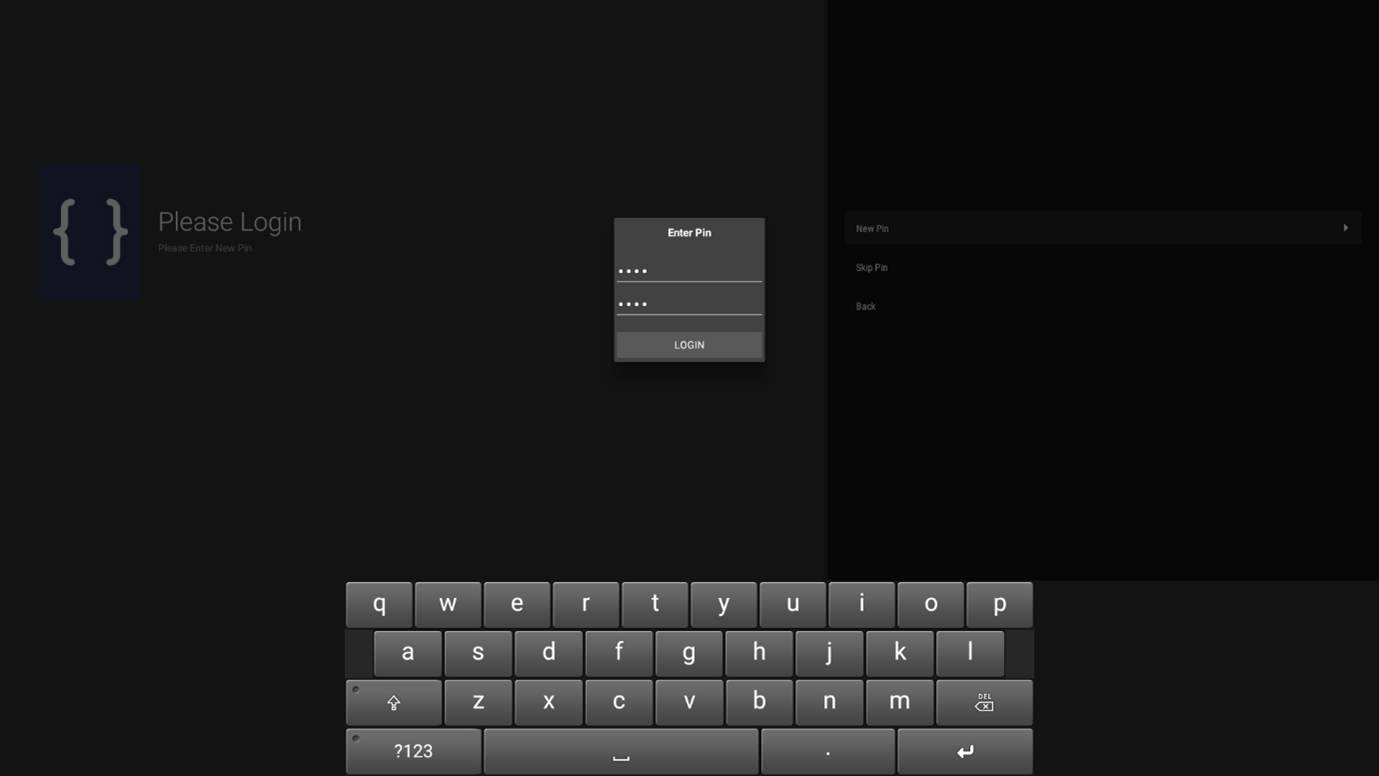
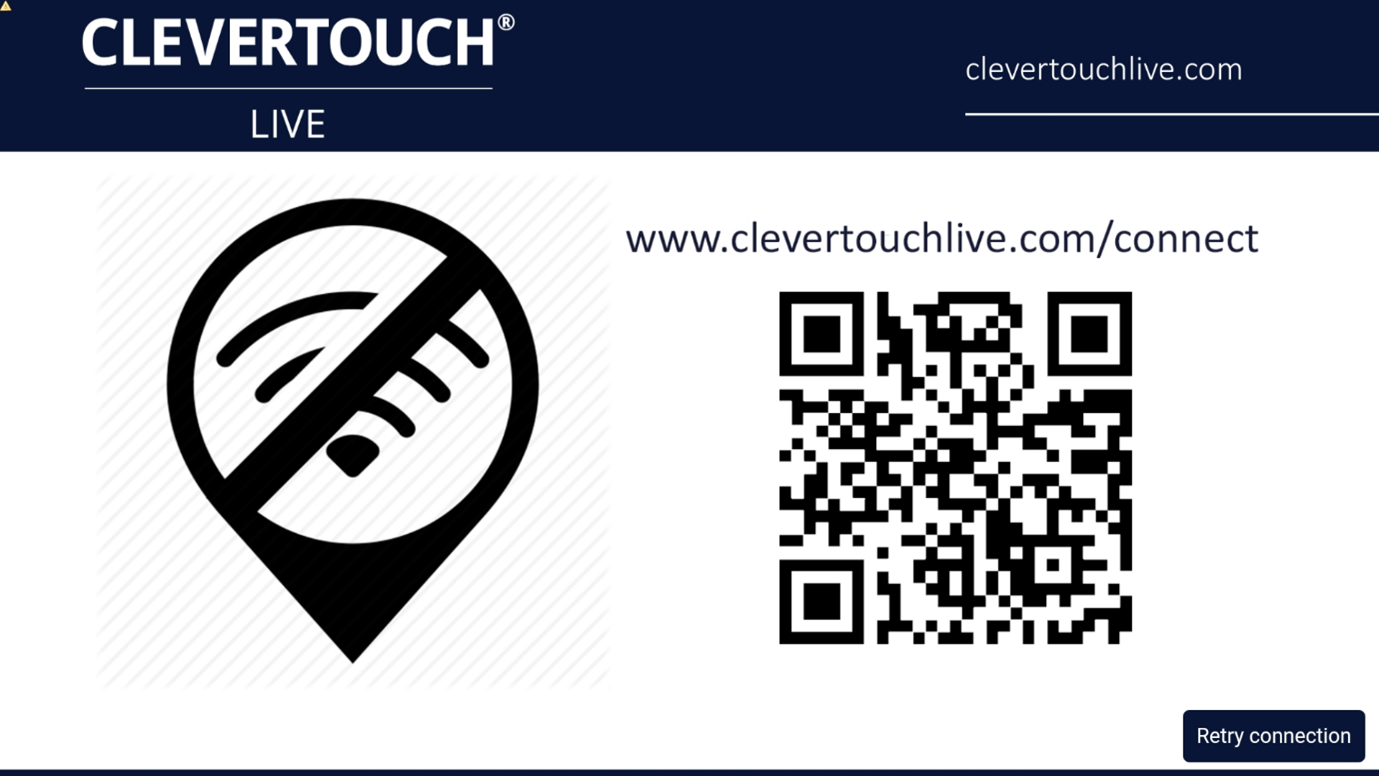
Get your Pin code and Enter it into the Screens tab of your CleverLive account. To create your CMS account, please visit: clevertouchlive.com/users/sign_up. To skip setting up the signage, press Exit on the remote control.

18 +
Image for FAQ step 18

Green cloud indicates connected and arrow in cloud shows content downloading.

19 +
Image for FAQ step 19

Arrow in box indicated content synchronised.

20 +
Image for FAQ step 20

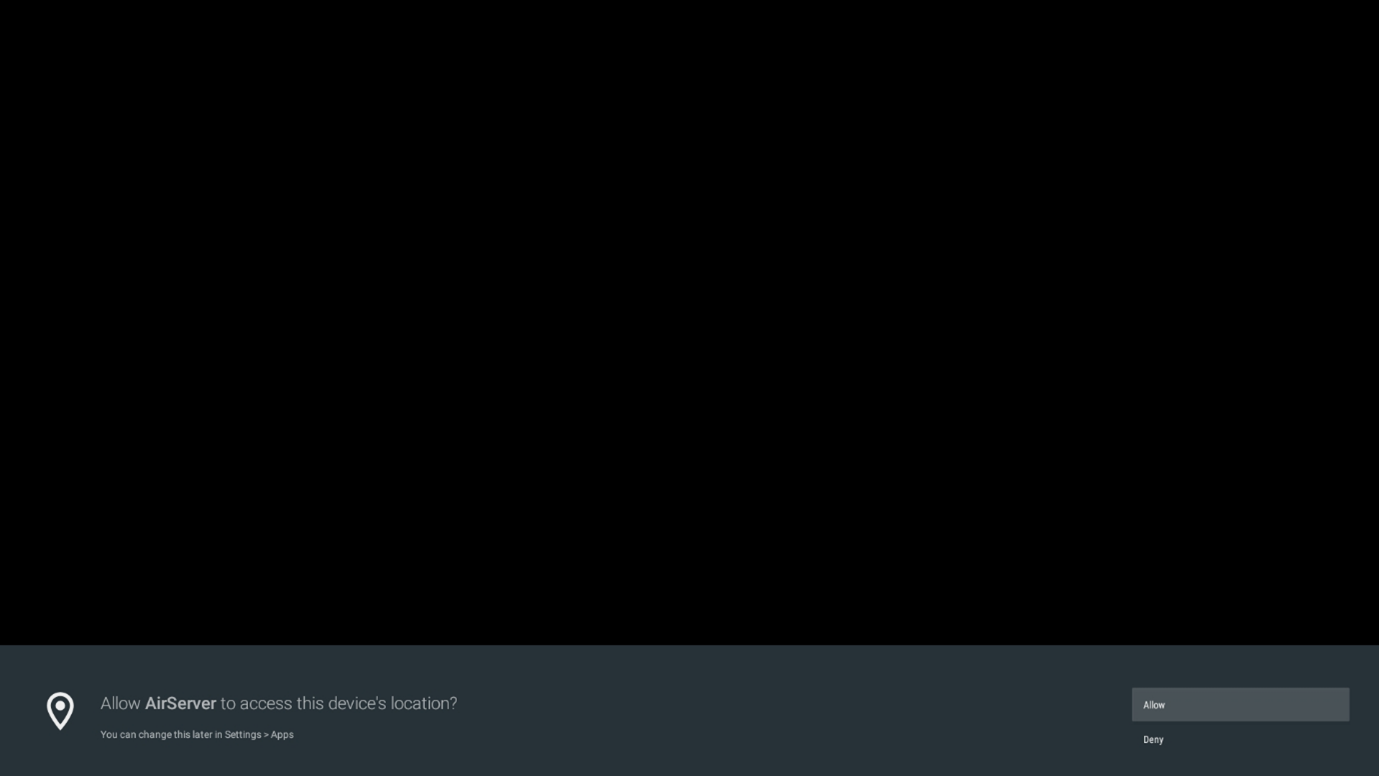
Press the Wireless Aerial button on the remote control to launch AirServer and allow to access the device location.

21 +
Image for FAQ step 21

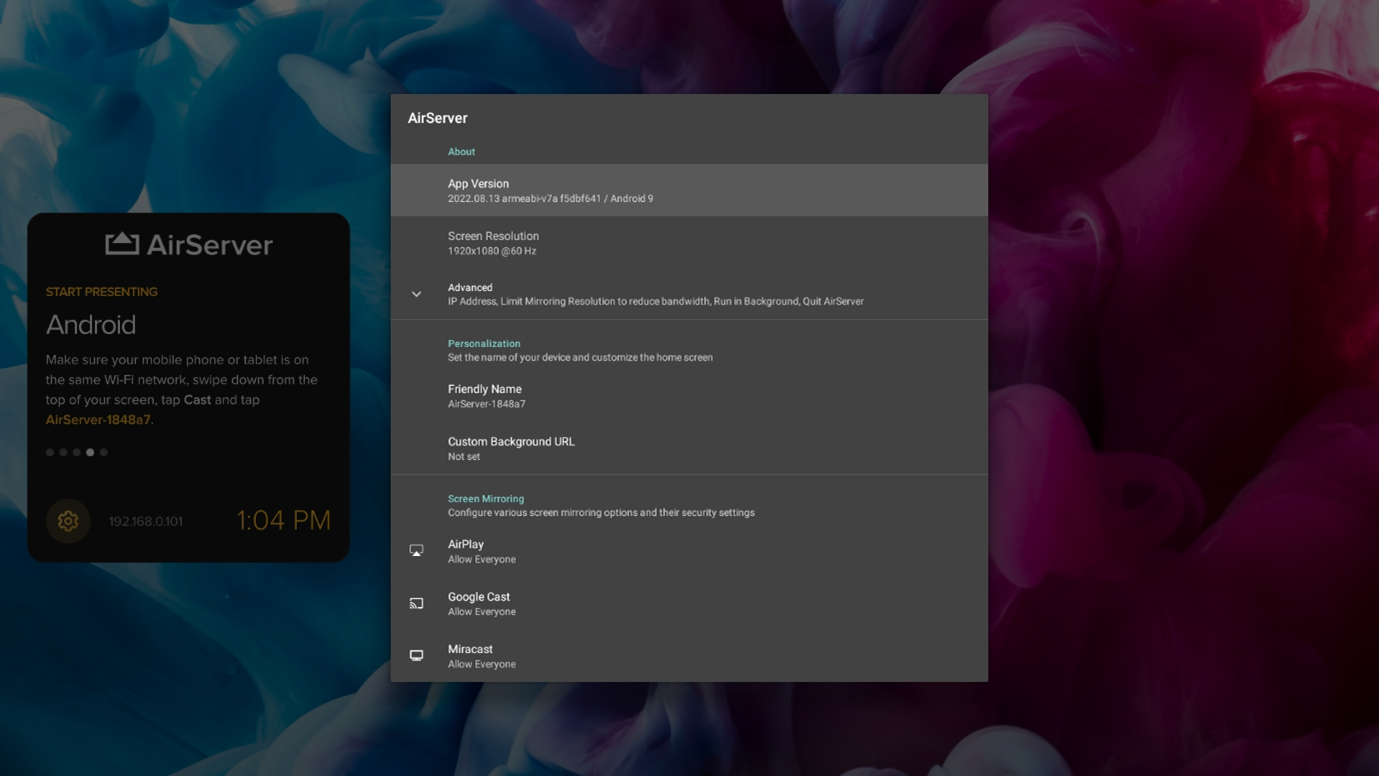
To configure AirServer, Press and hold the OK button to access the AirServer menu for security settings you wish to change.

22 +
Image for FAQ step 22

This launches AirServer on your display.

23 +
Image for FAQ step 23

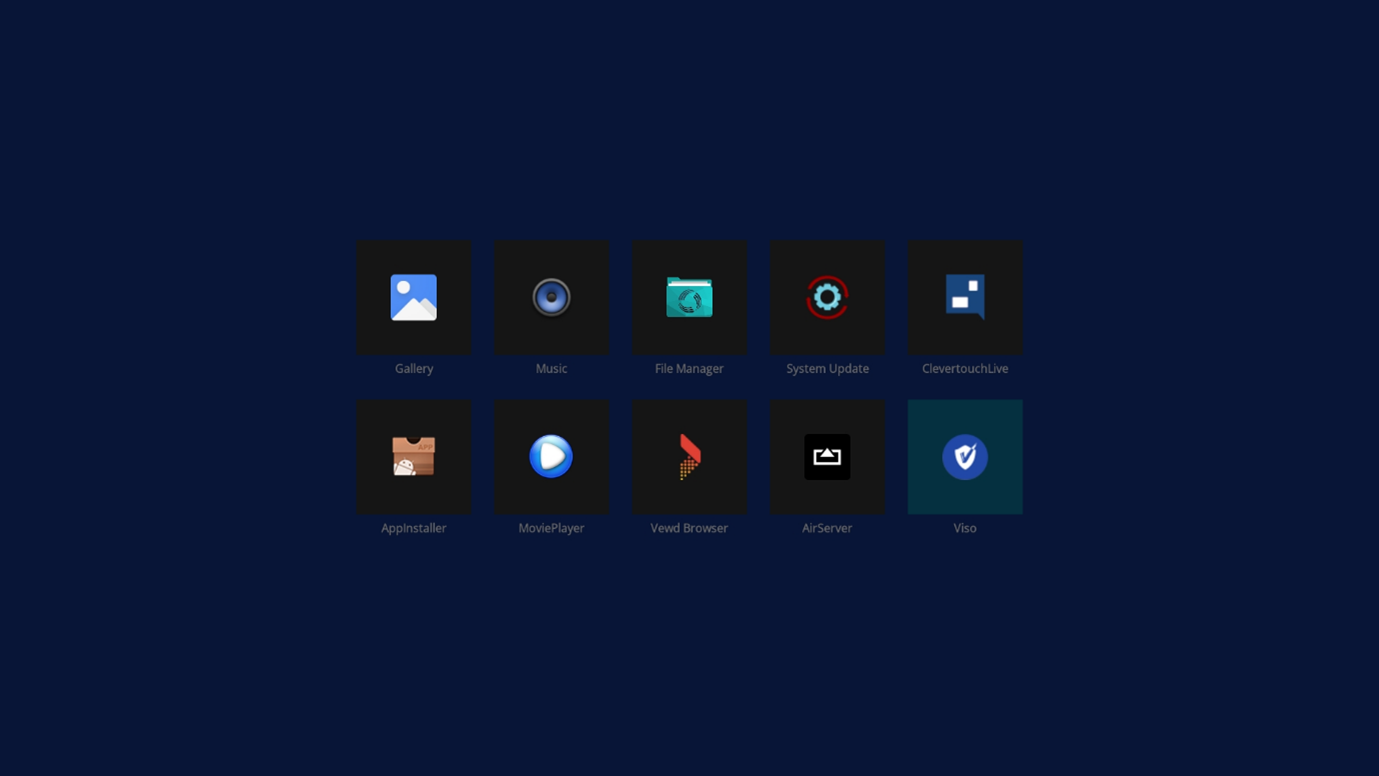
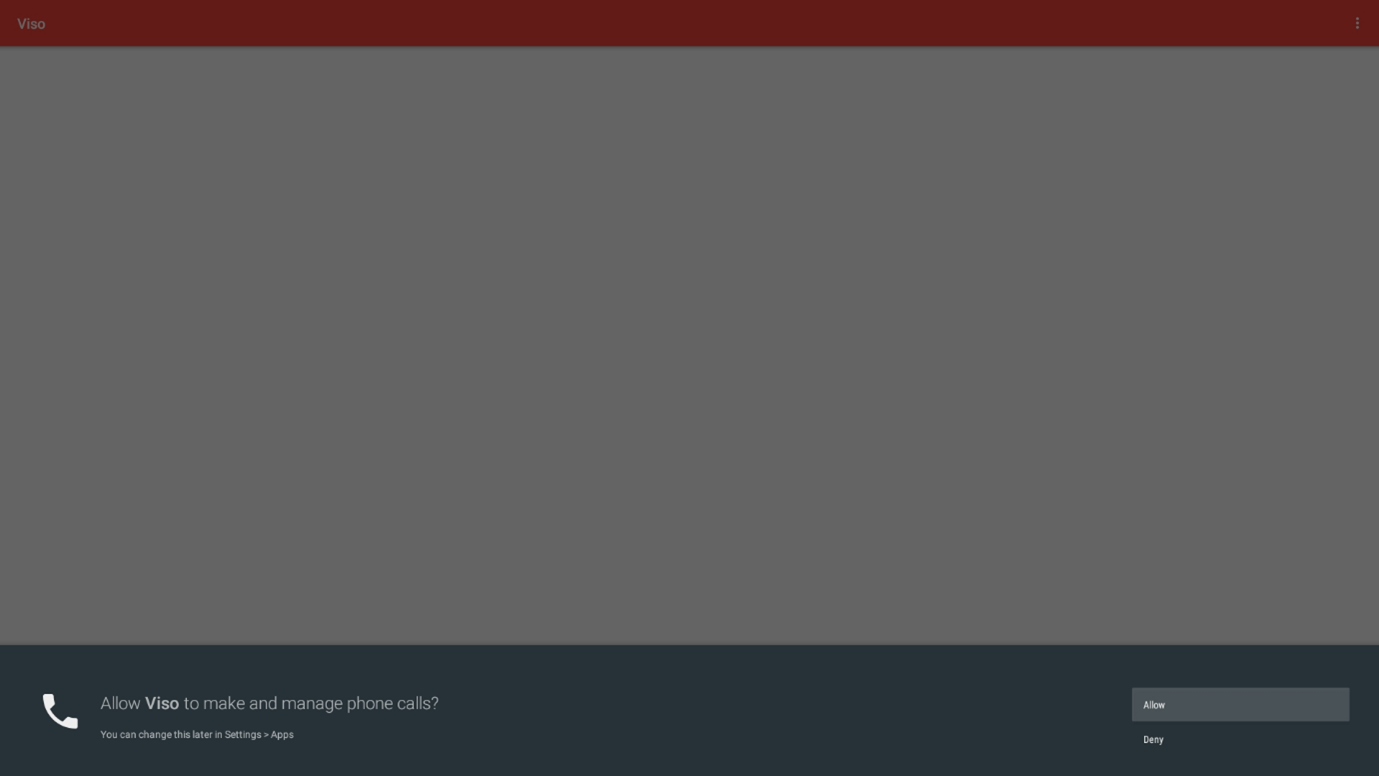
To set up the MDM, using the arrow keys on the remote control, access the Apps menu on the left of the desktop and press OK to select. Here you will see all installed applications.

24 +
Image for FAQ step 24

Highlight and select Allow.

25 +
Image for FAQ step 25

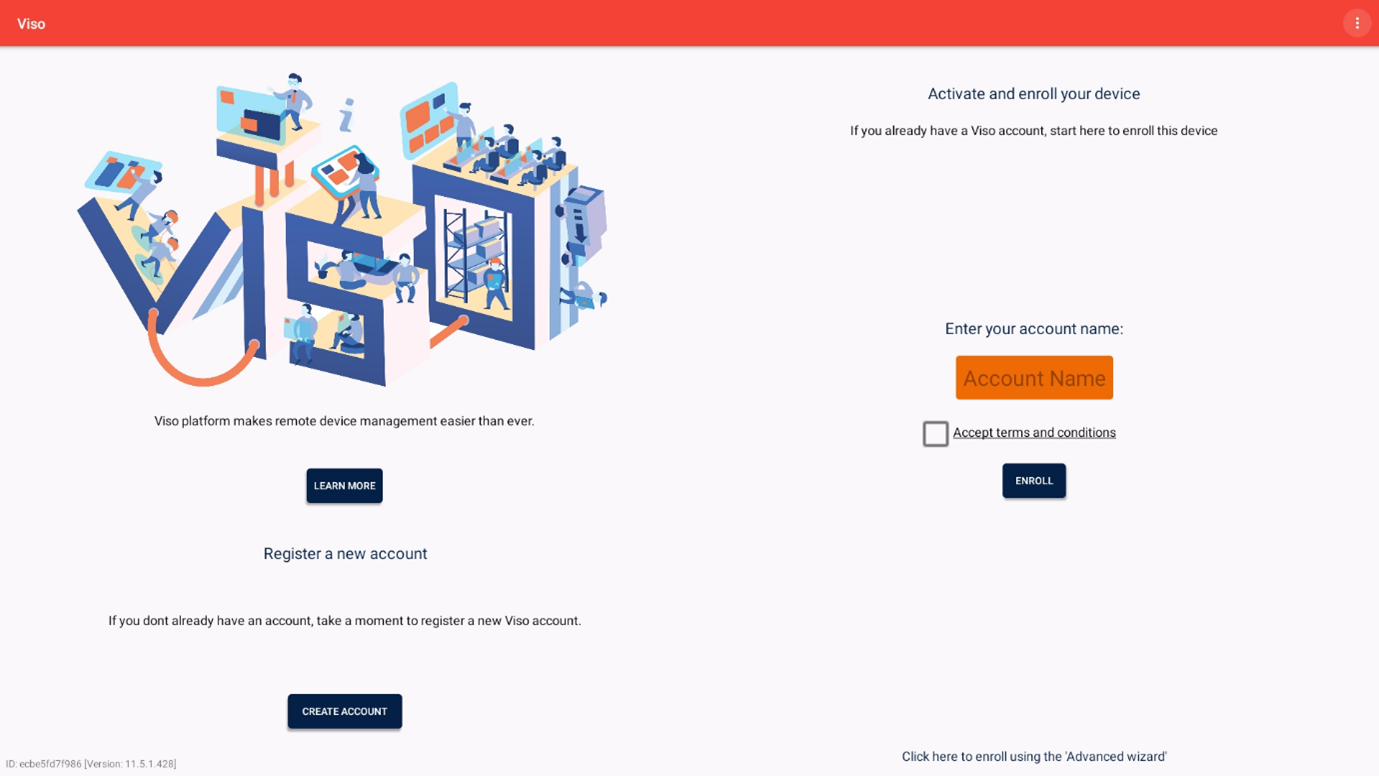
Enter Account credentials and enrol, using the on-screen keyboard and remote control. Follow any on screen instructions.

26 +
Image for FAQ step 26

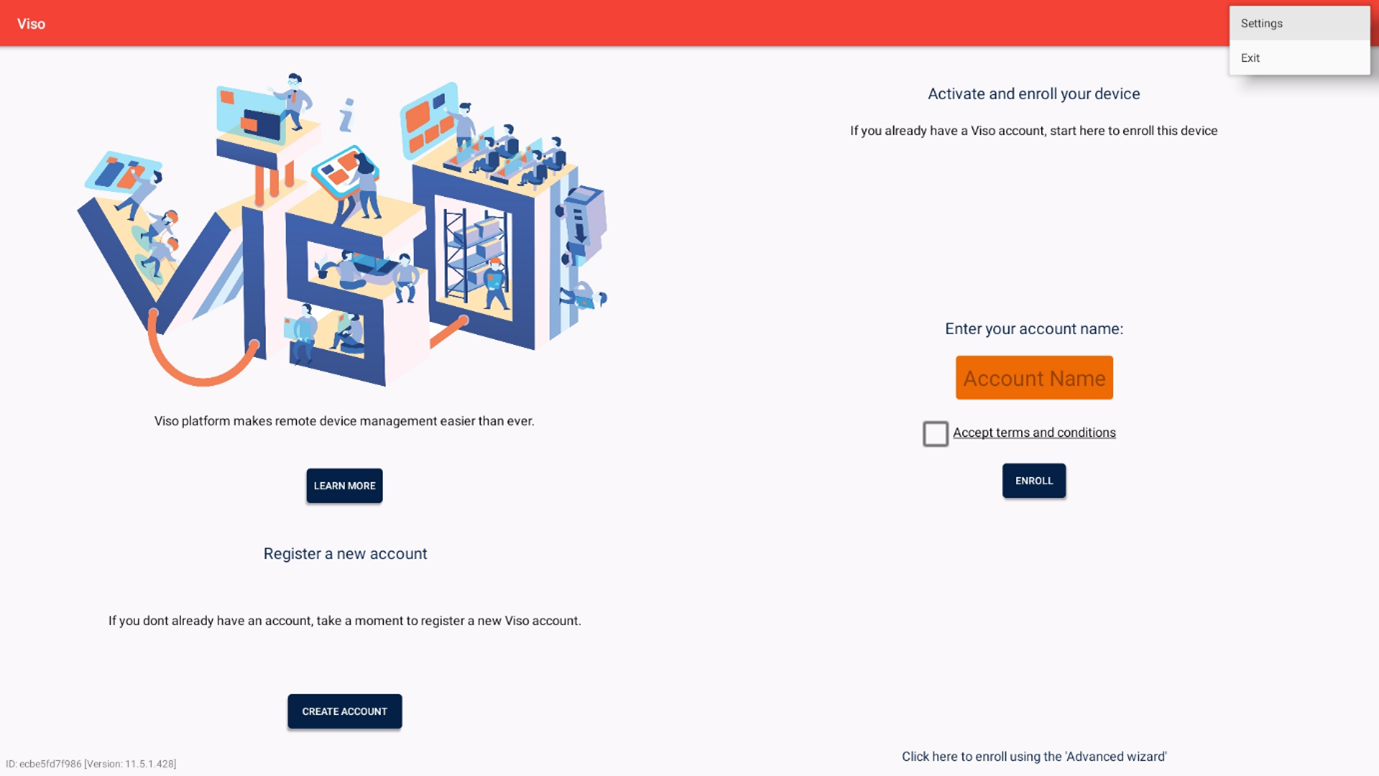
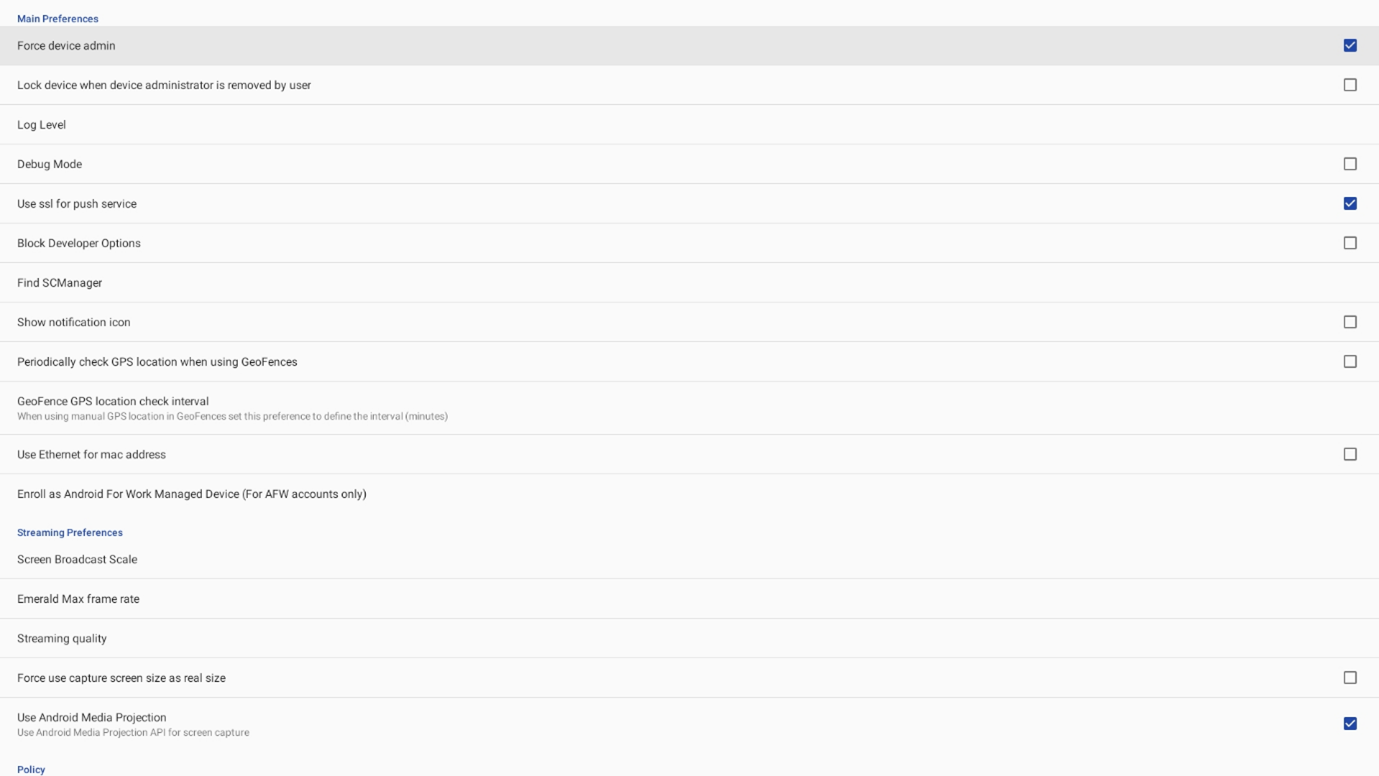
It might be necessary to access the settings menu to install the SC Manager tool for full control access (top right) using the right arrow and OK button to select.

27 +
Image for FAQ step 27

Scroll to Find SC manager and follow any on screen instructions.

28 +
Image for FAQ step 28

Once finished, power down the display and restart.