FAQ 19:
How do I manage my advanced messaging
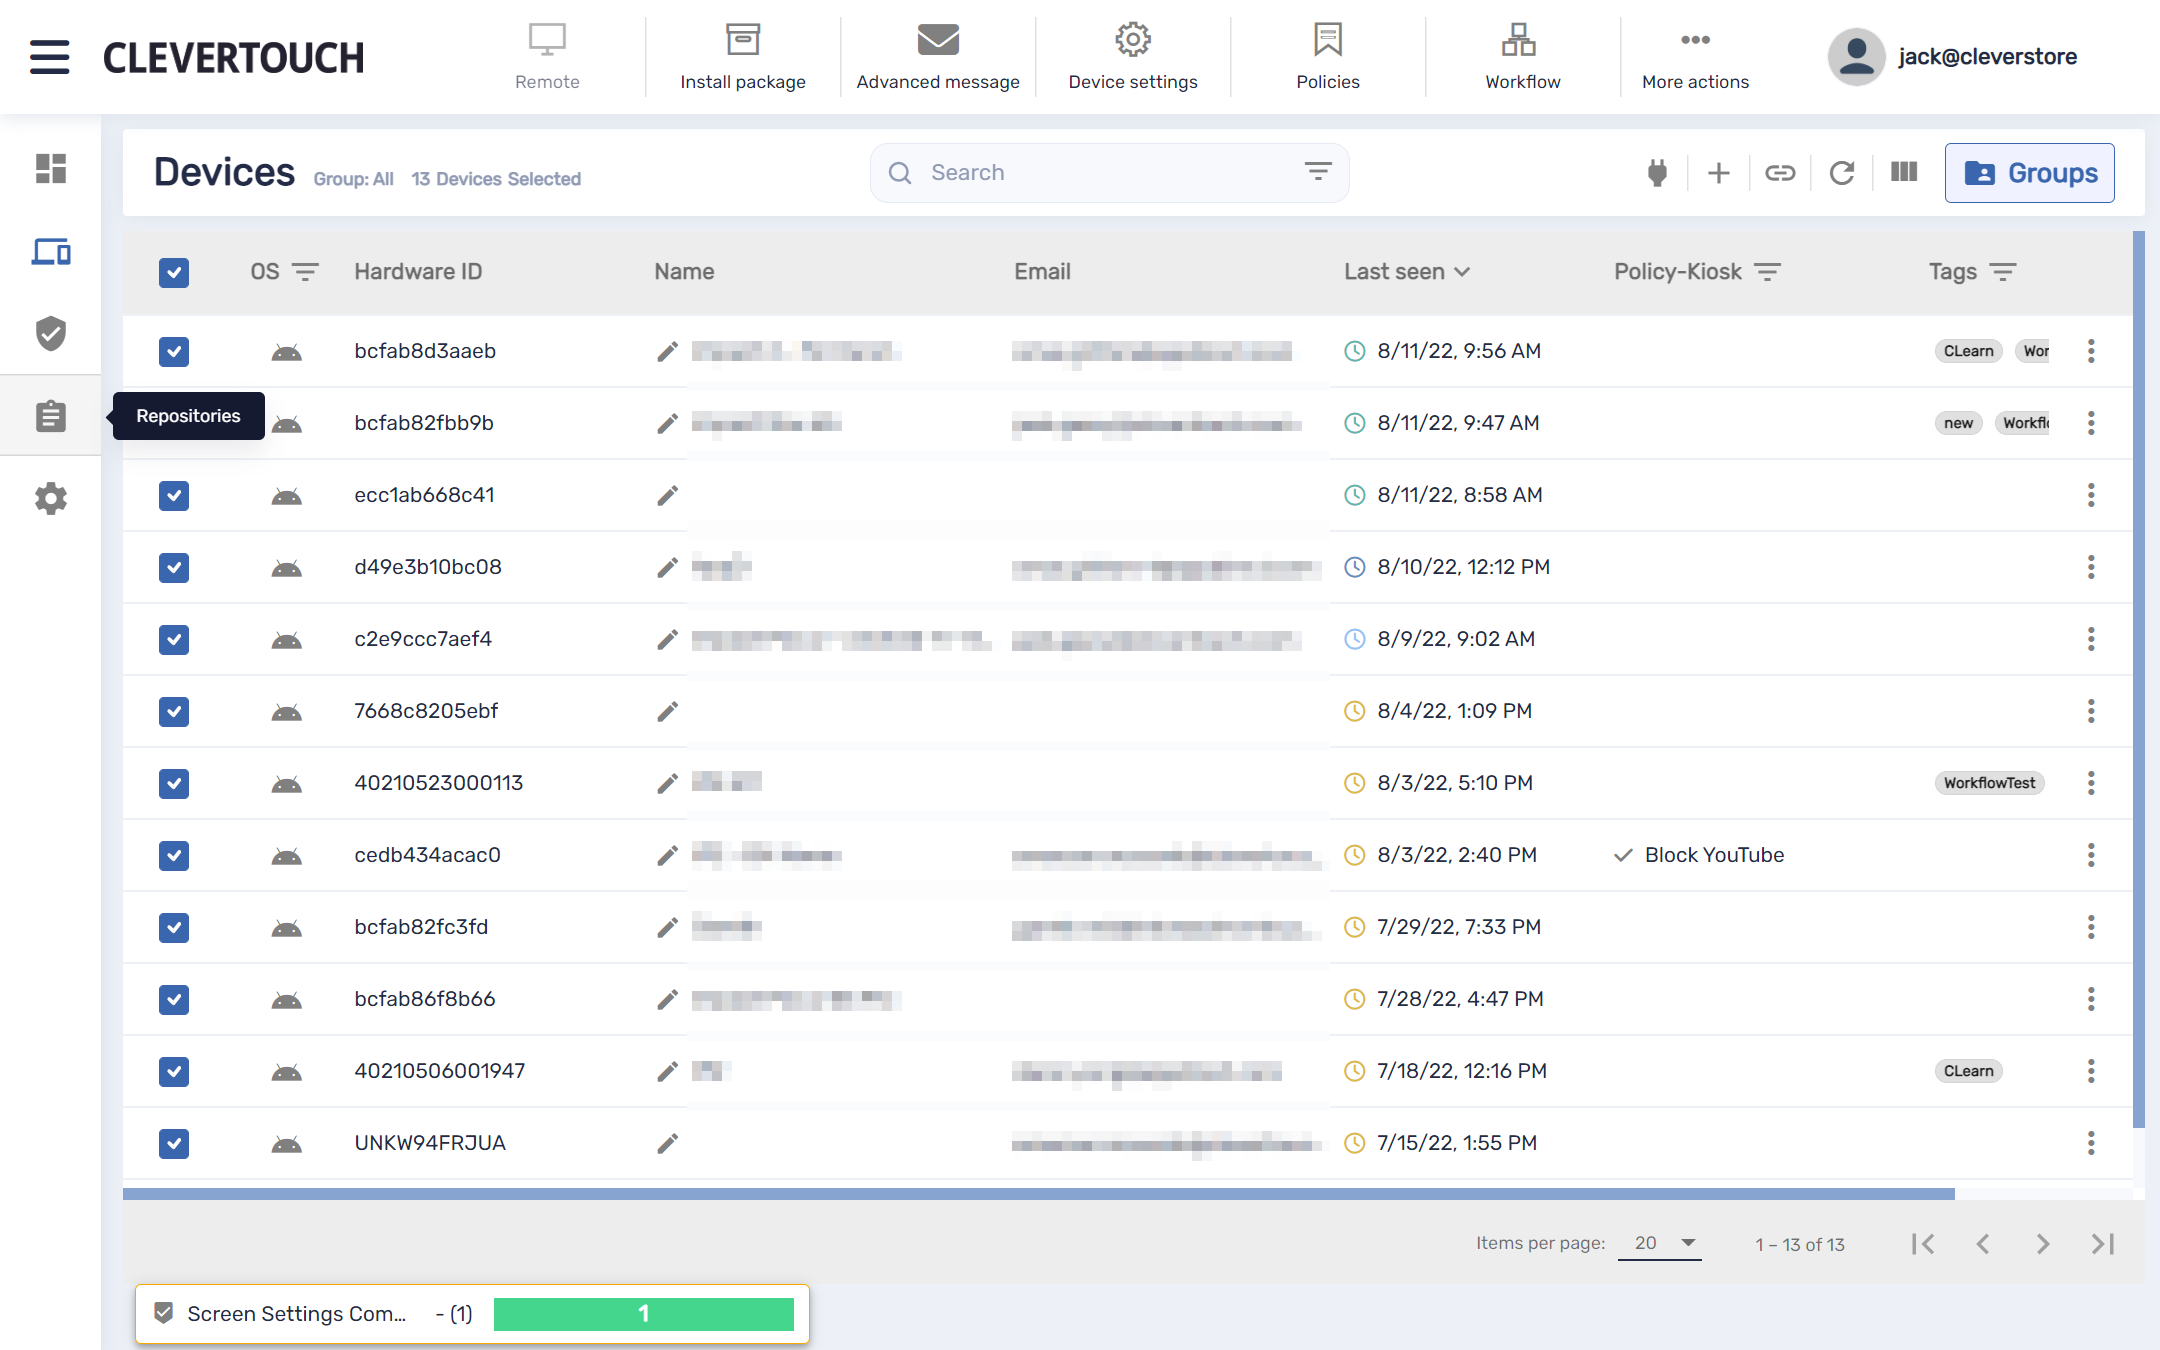
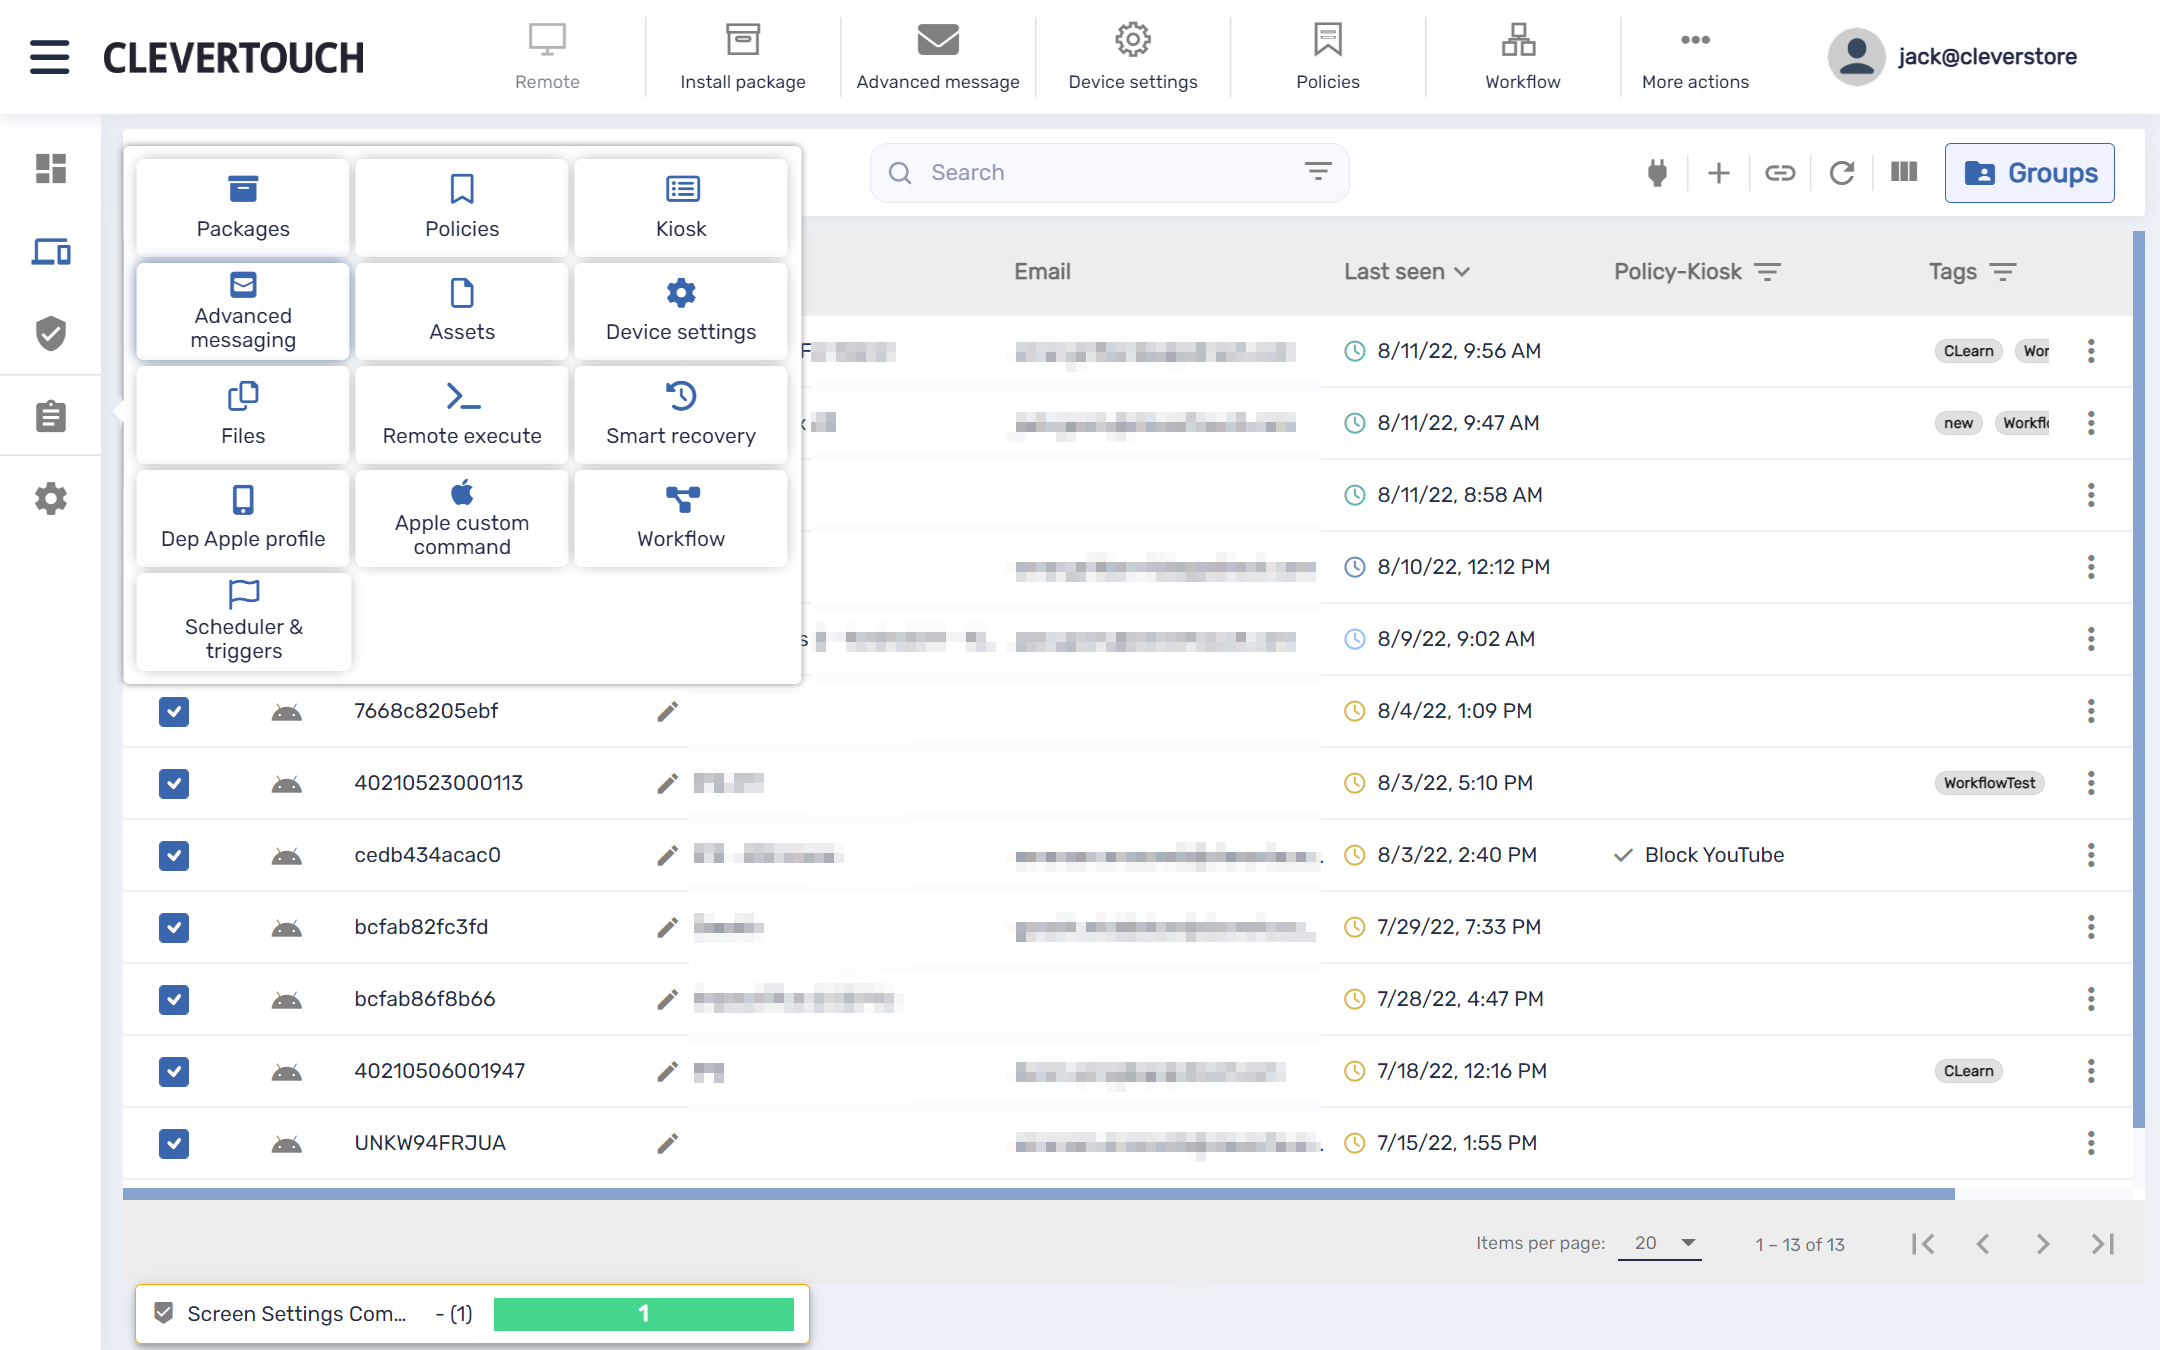
Advanced messaging allows users to send multimedia messages to displays on your network. To access advanced messaging, select the ‘repositories’ menu option.
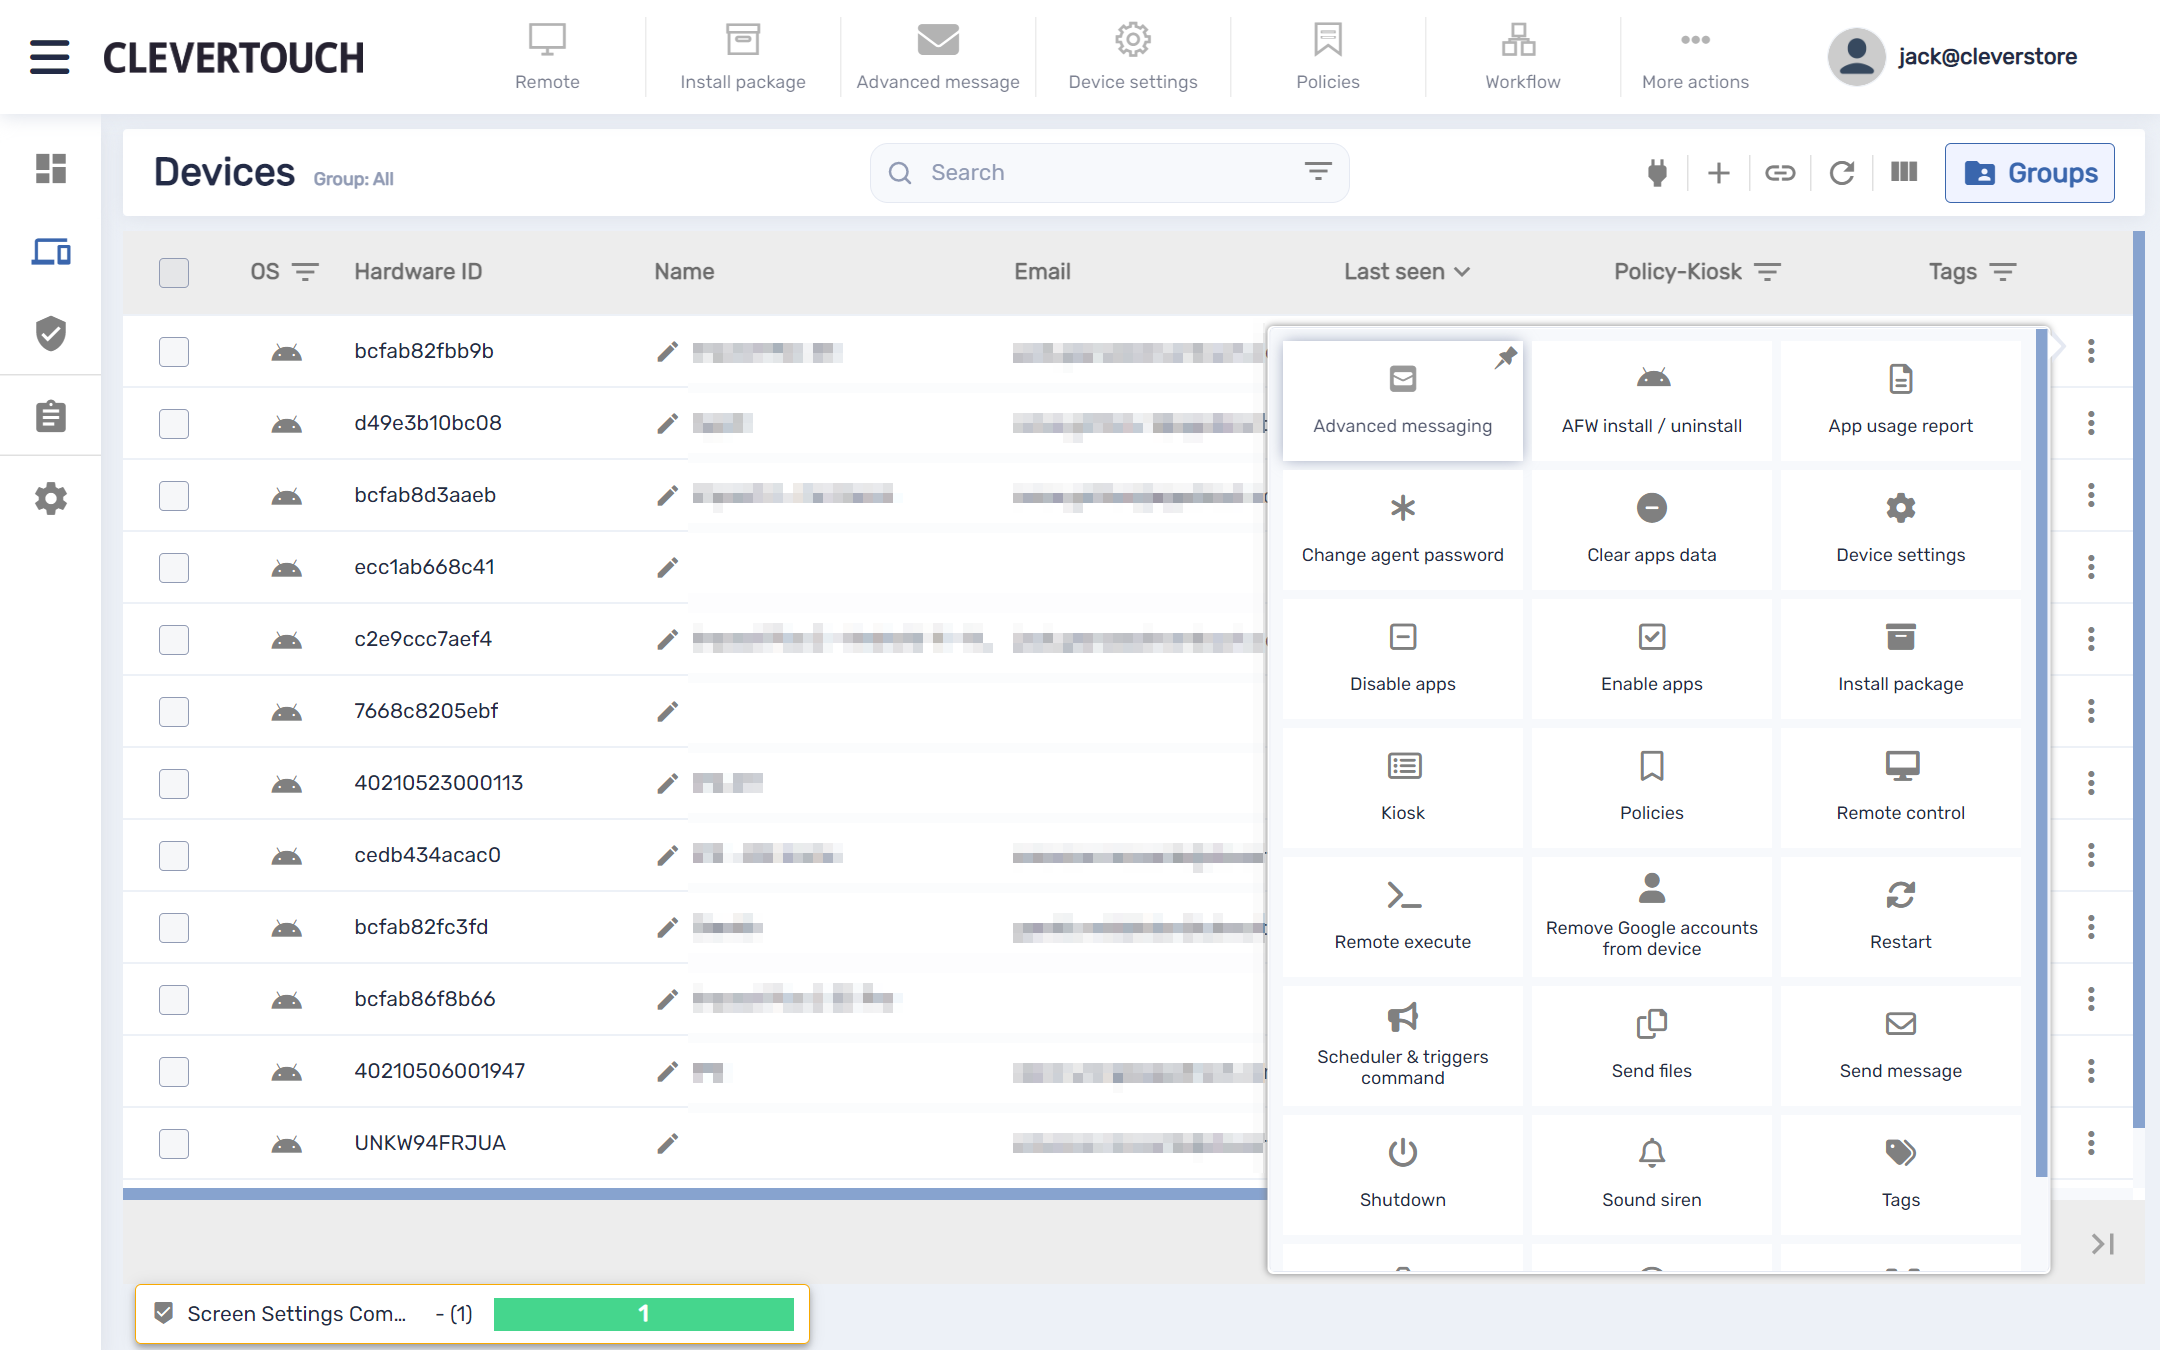
Alternatively, you can access your advanced messaging menu by selecting the three pips available at the end of the row for your chosen display. This allows you to select ‘Advanced Messaging’ options directly.
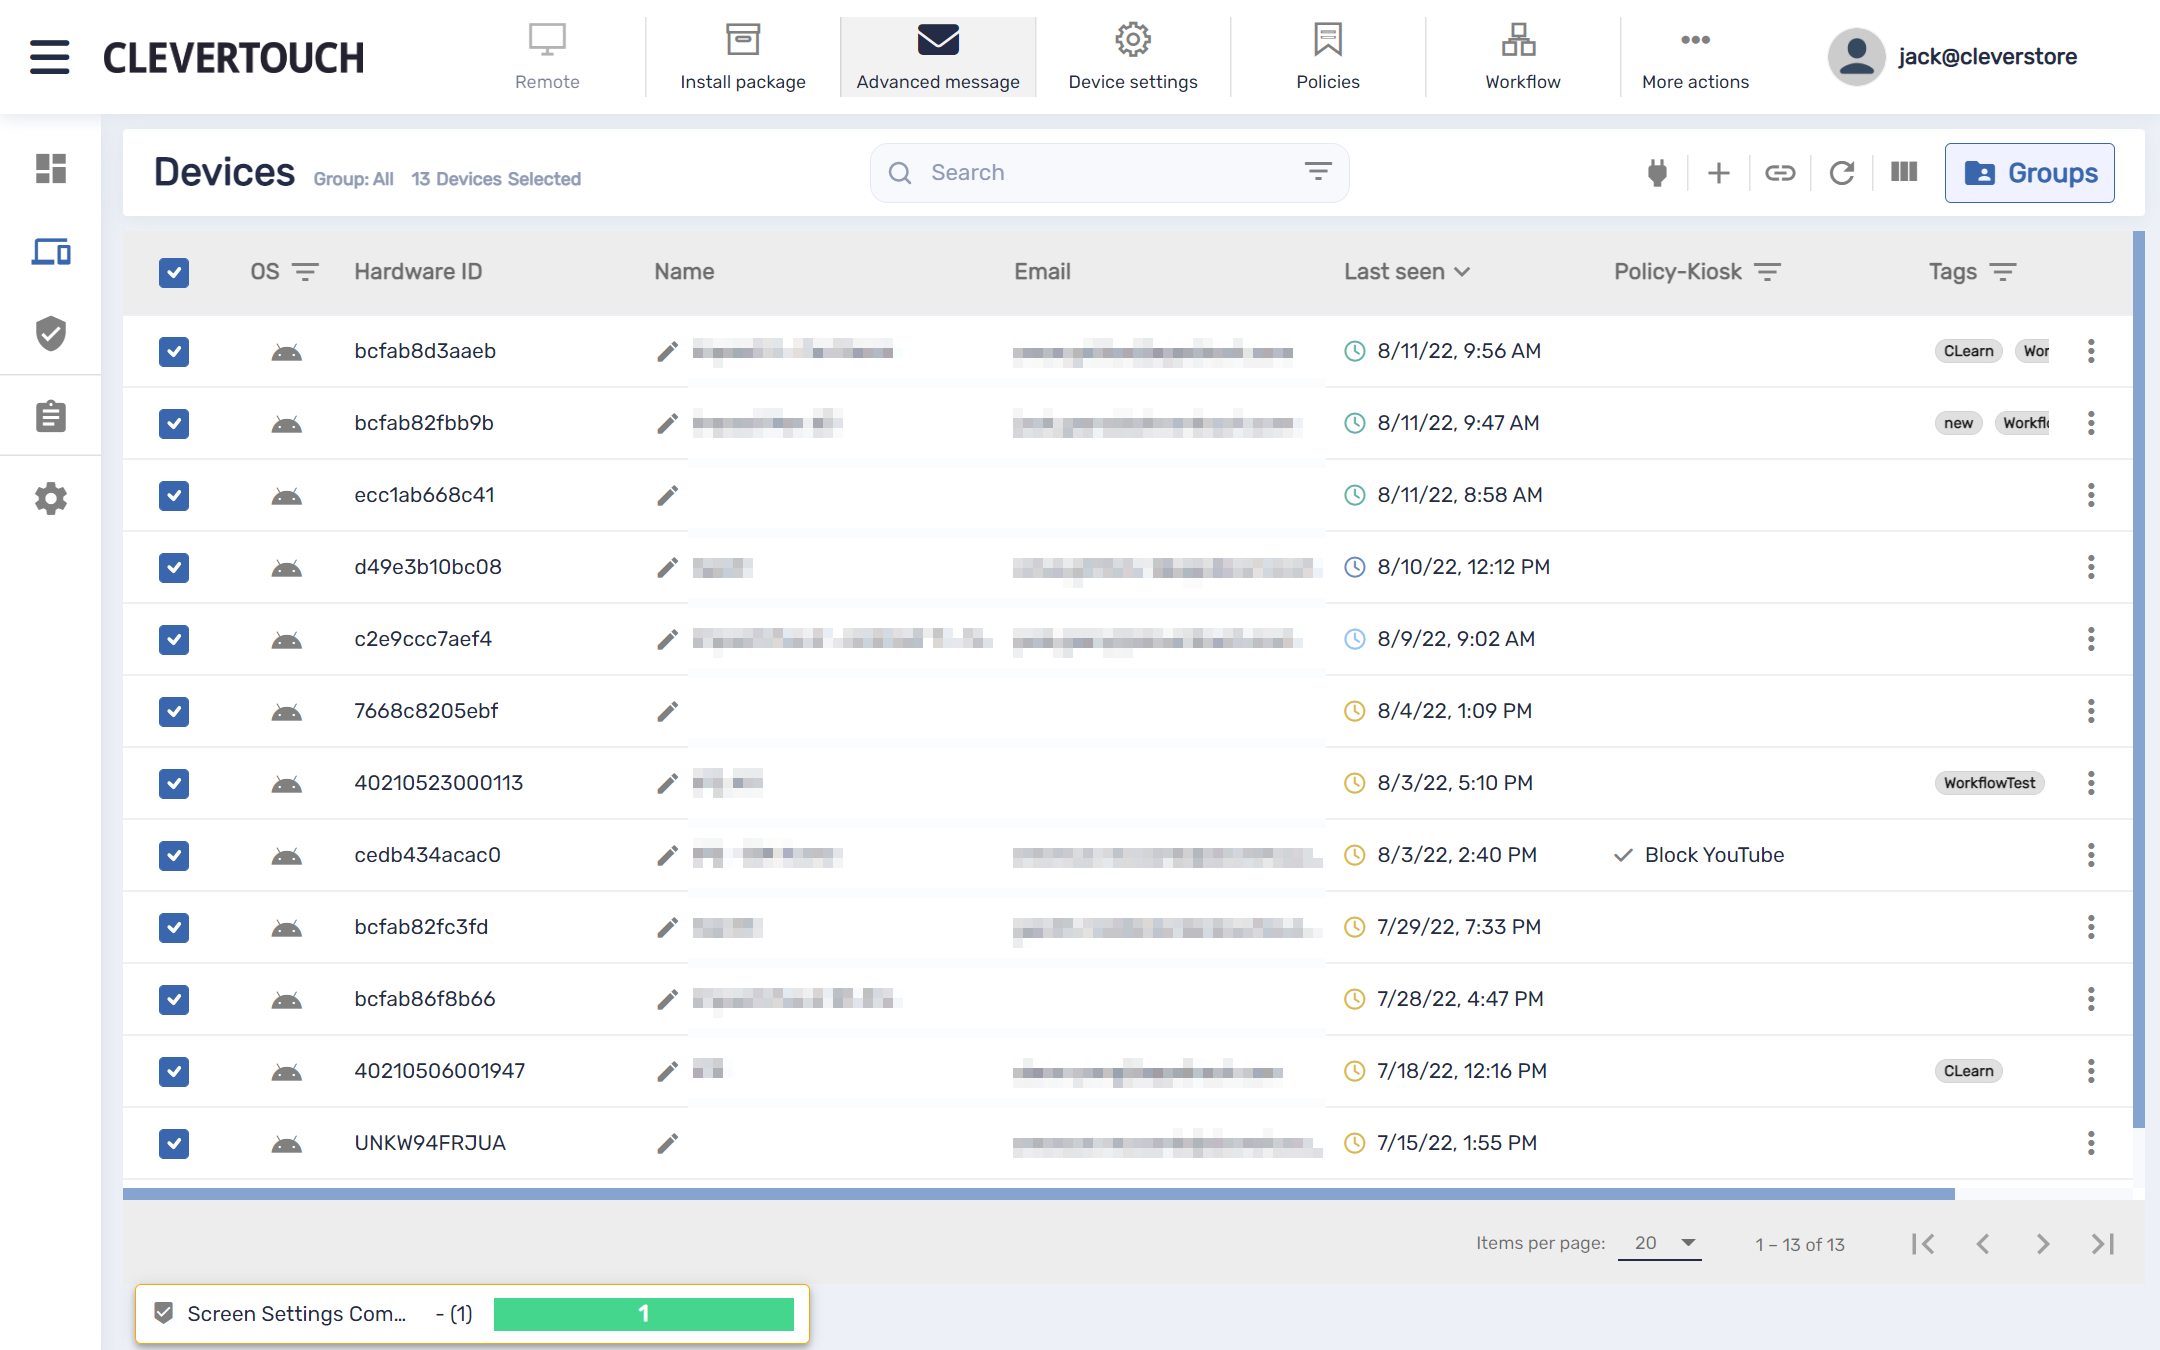
If you need to interact with multiple displays, select the relevant checkboxes at the left-hand side of the screen. Once confirmed, select the ‘Advanced Message’ menu option from the top of the screen.
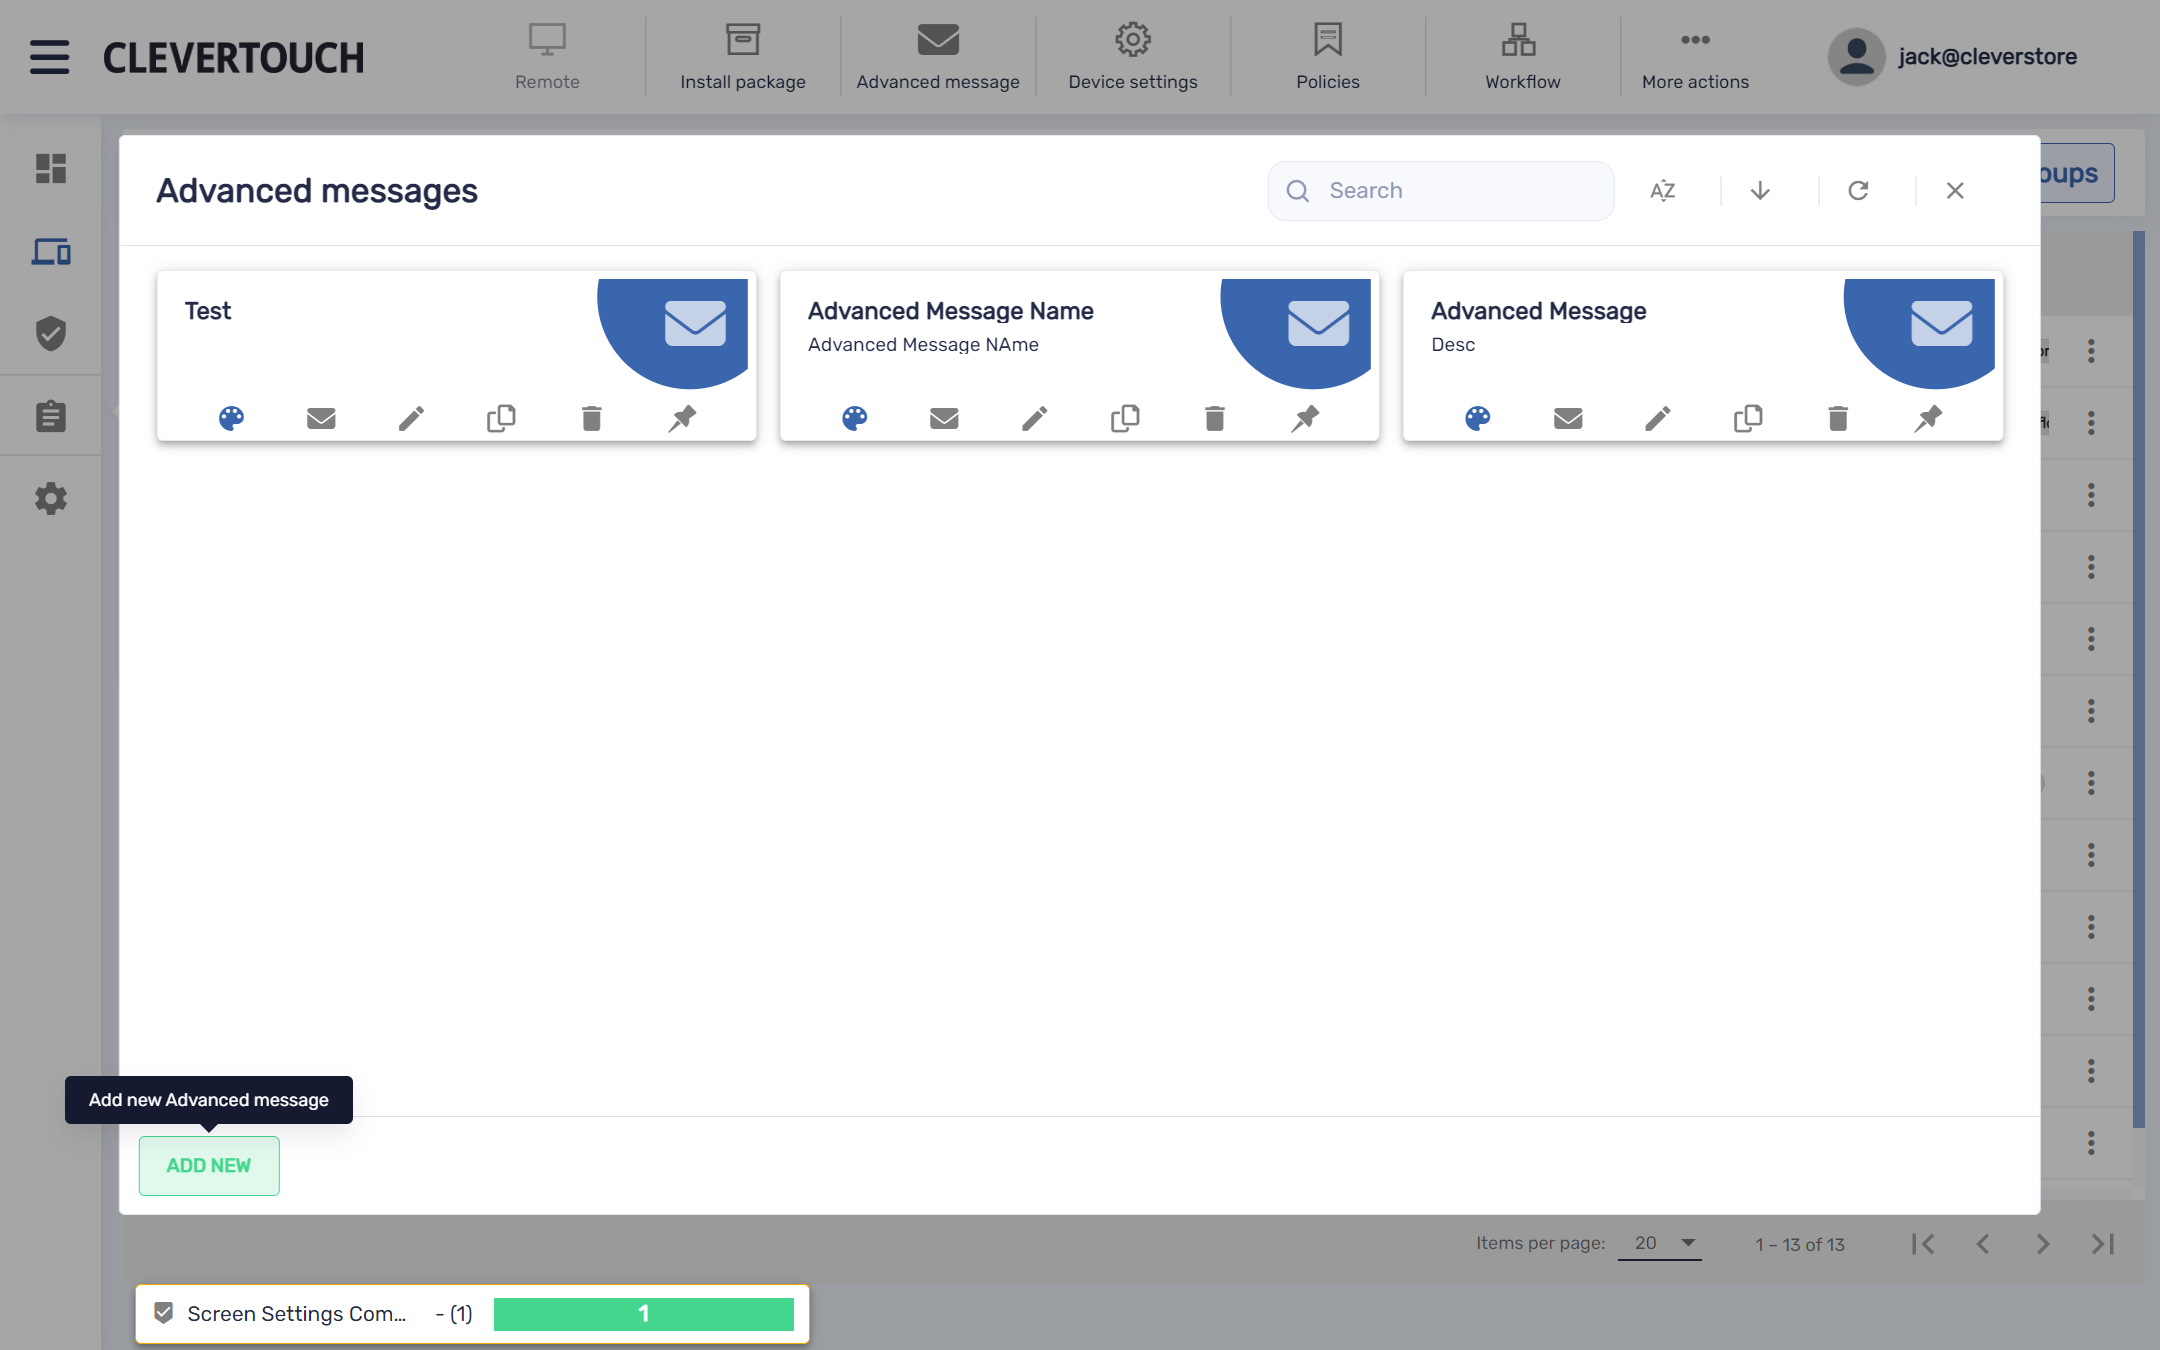
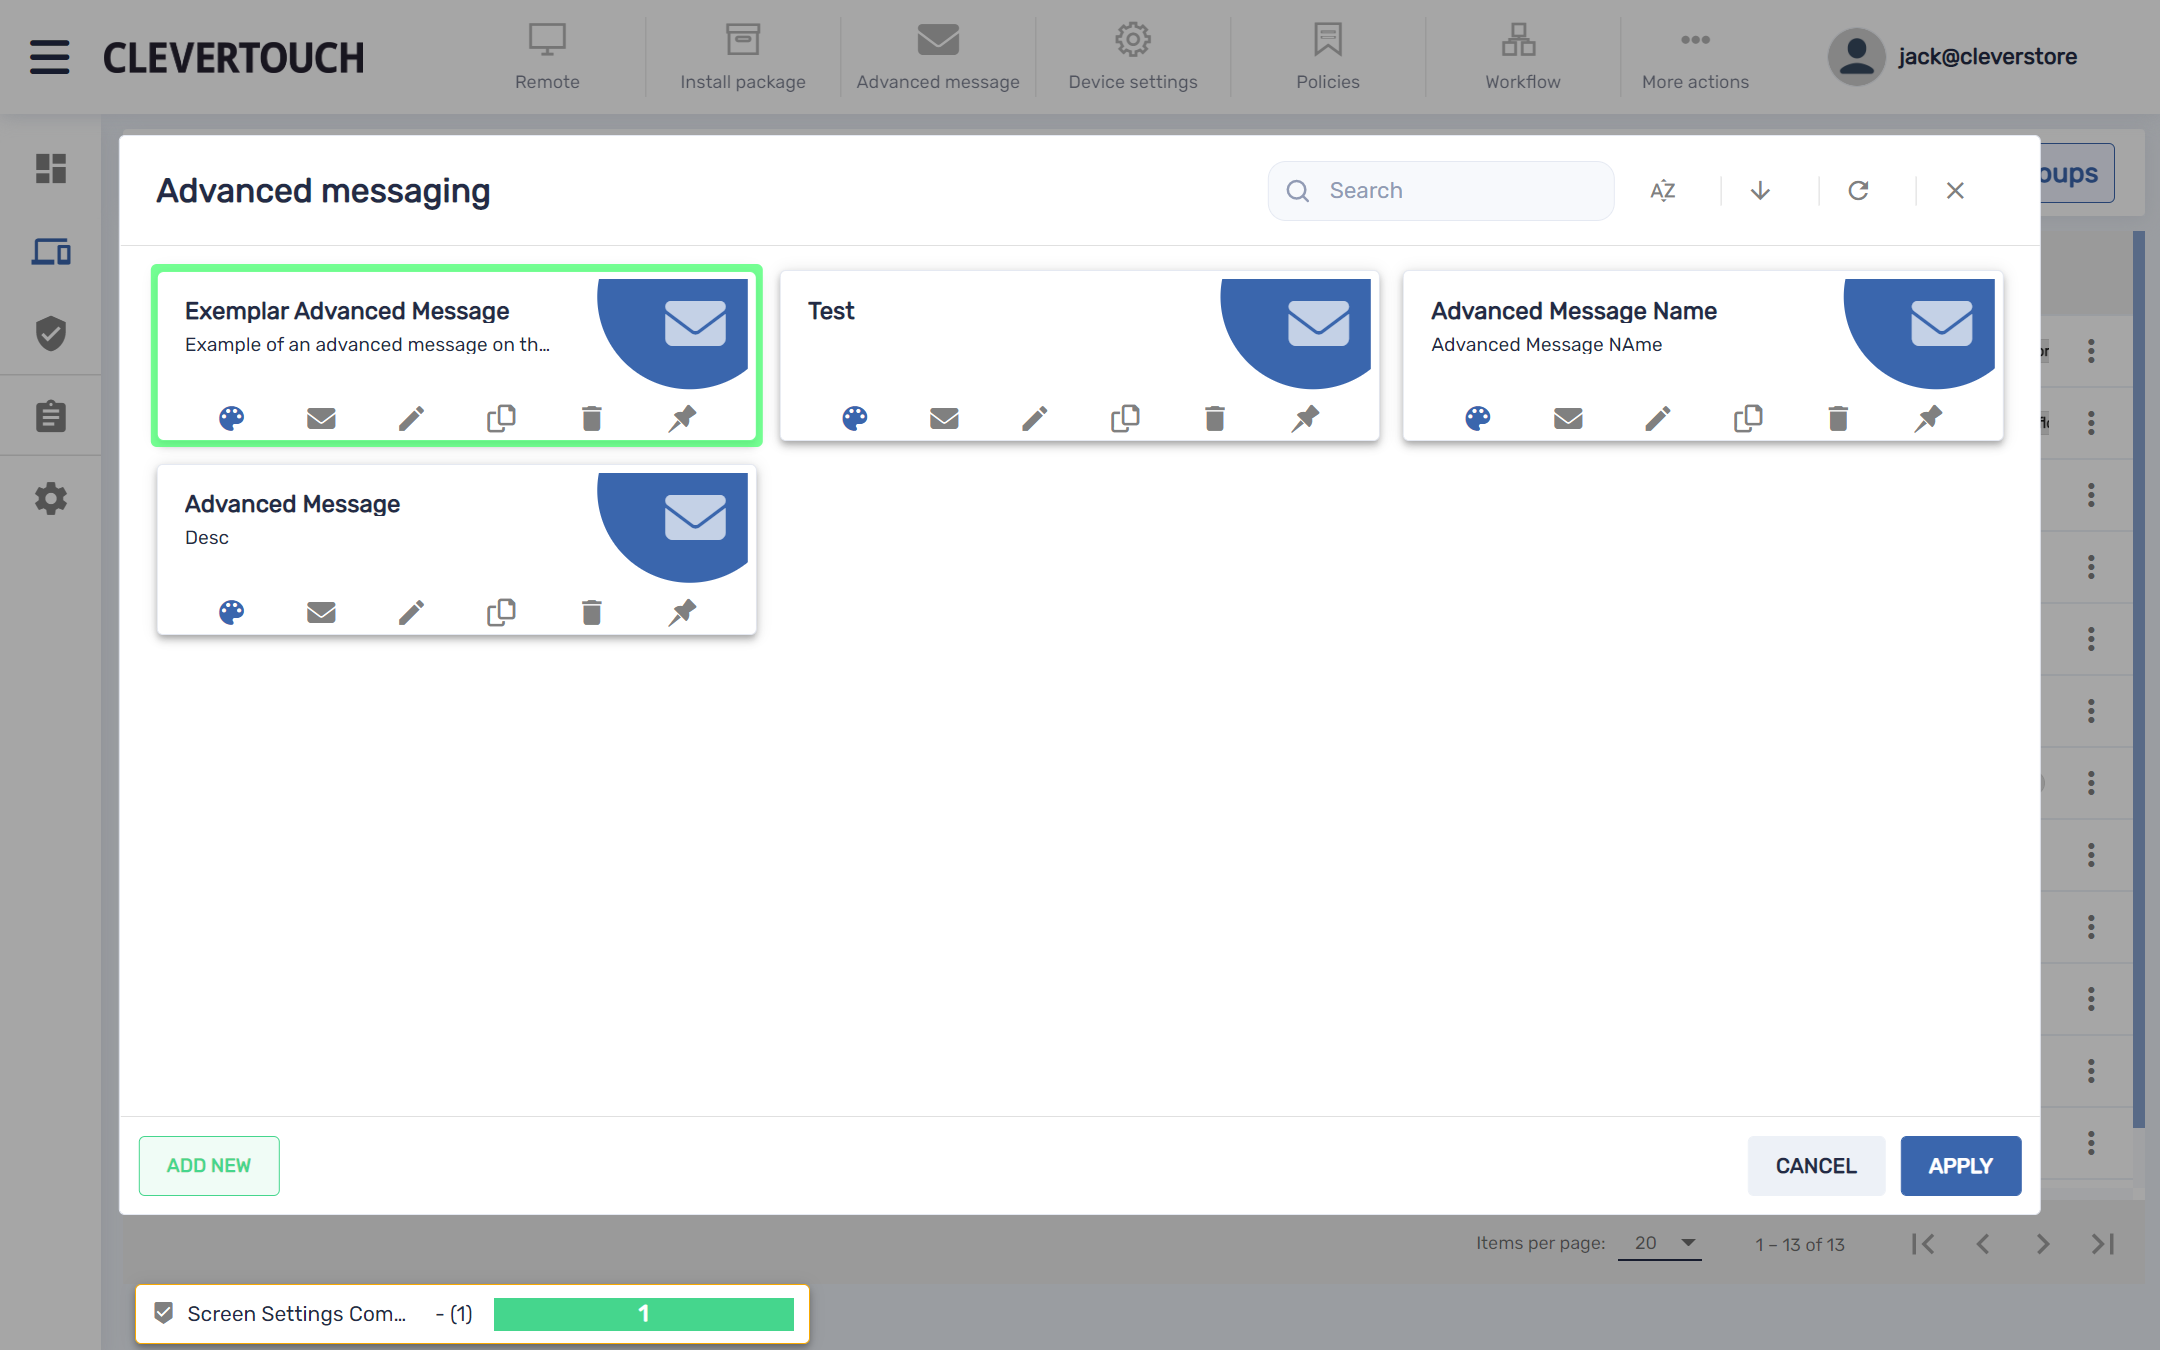
The advanced messaging menu allows you to edit and adjust existing messages or create a new message on the system. To create a new message, select the ‘ADD NEW’ button.
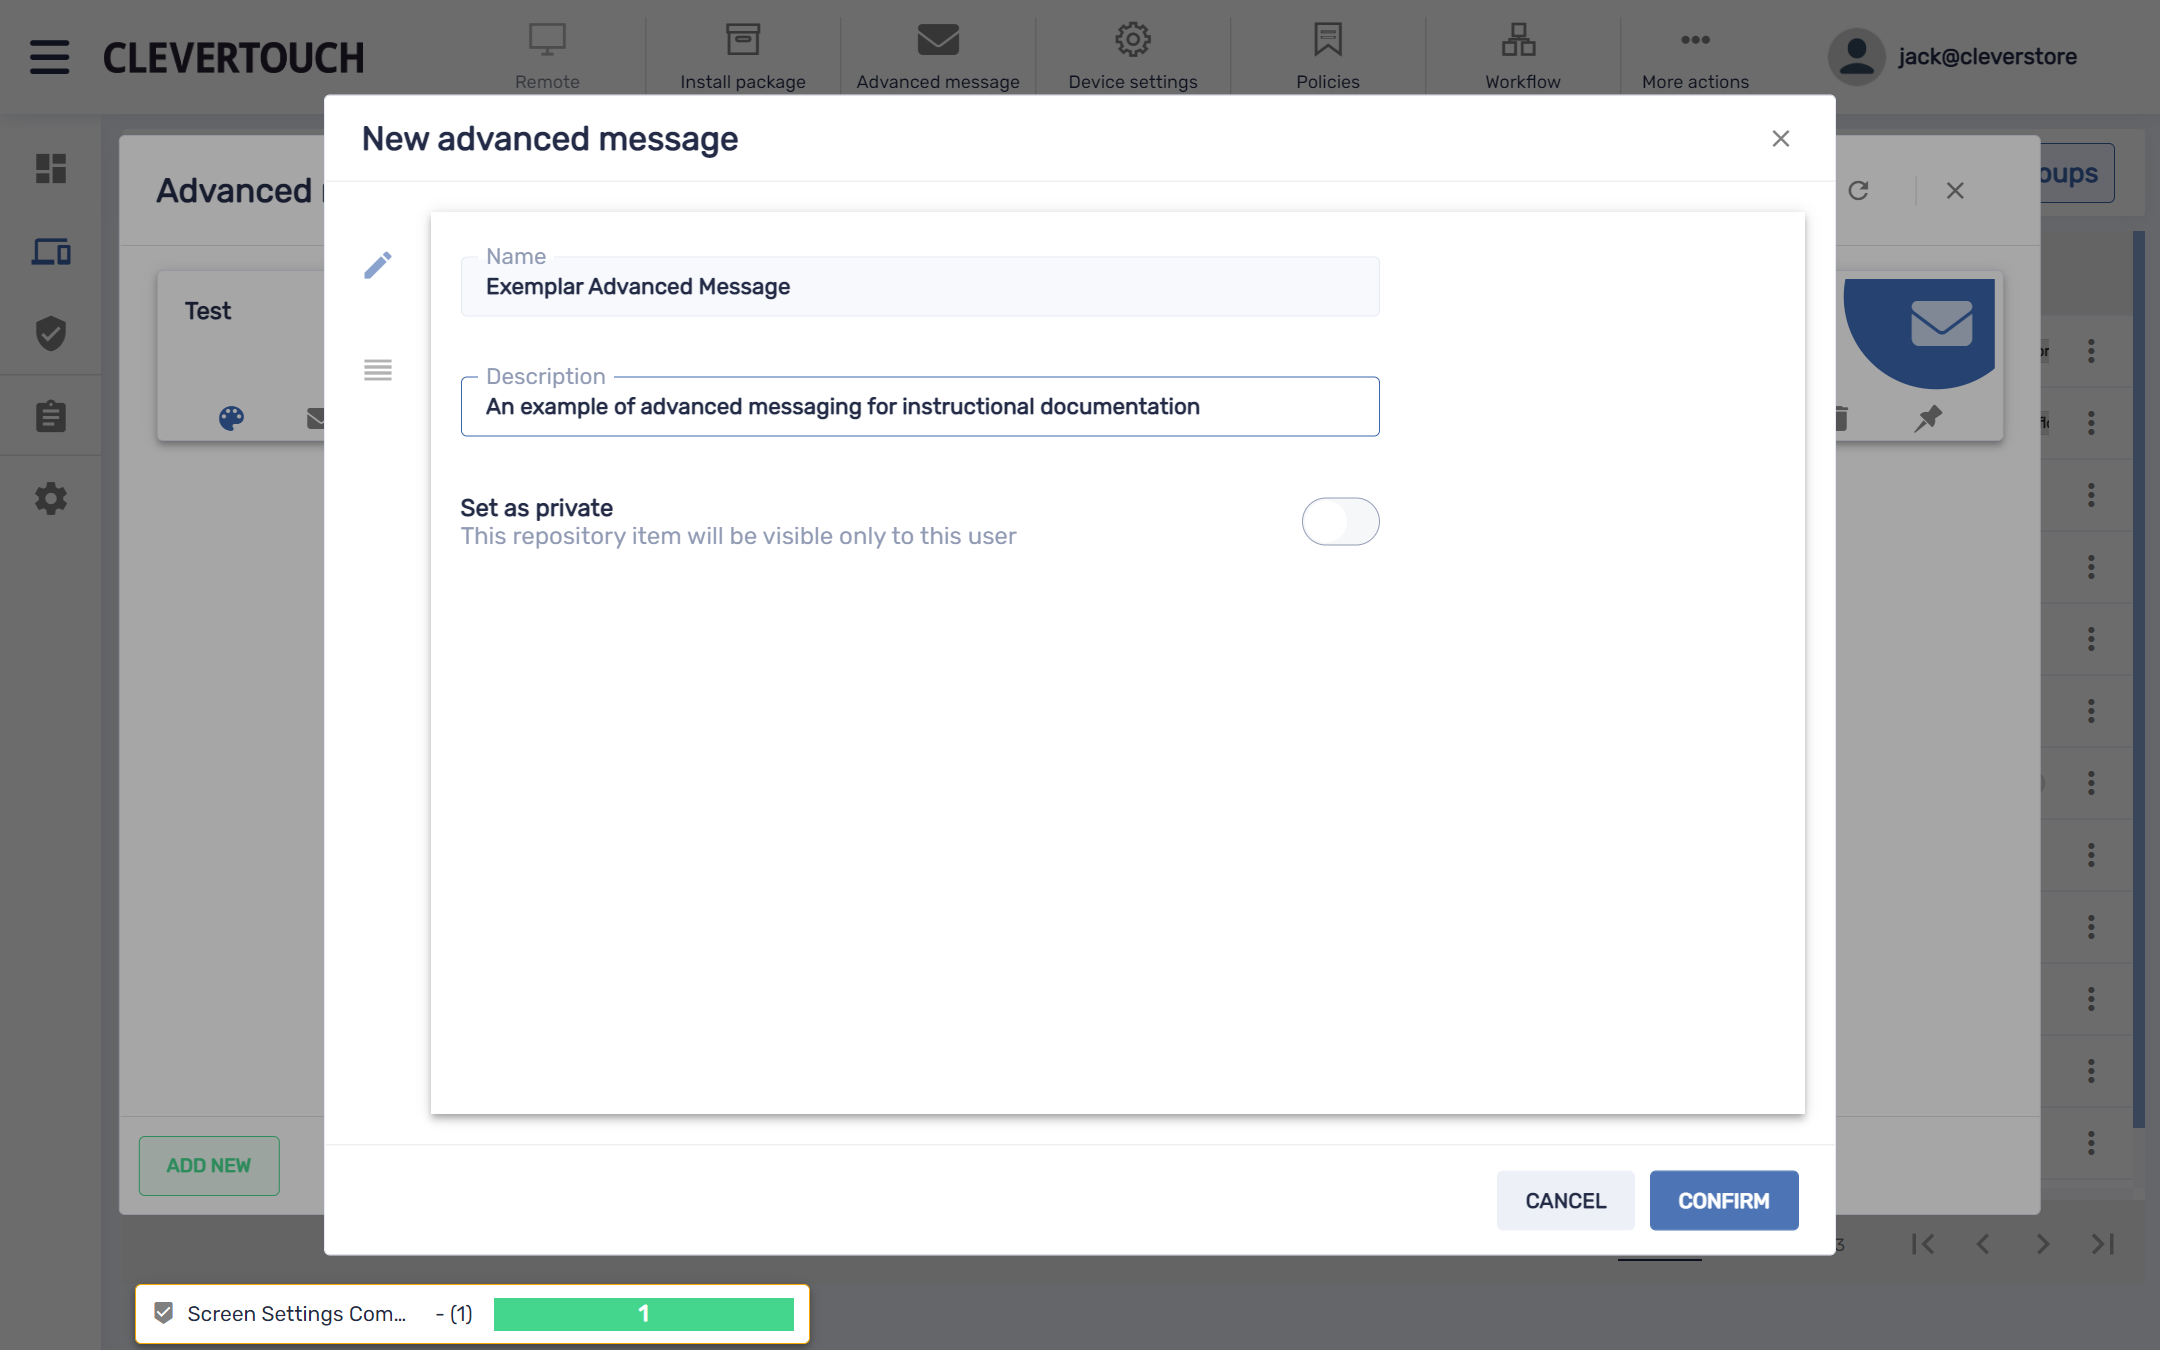
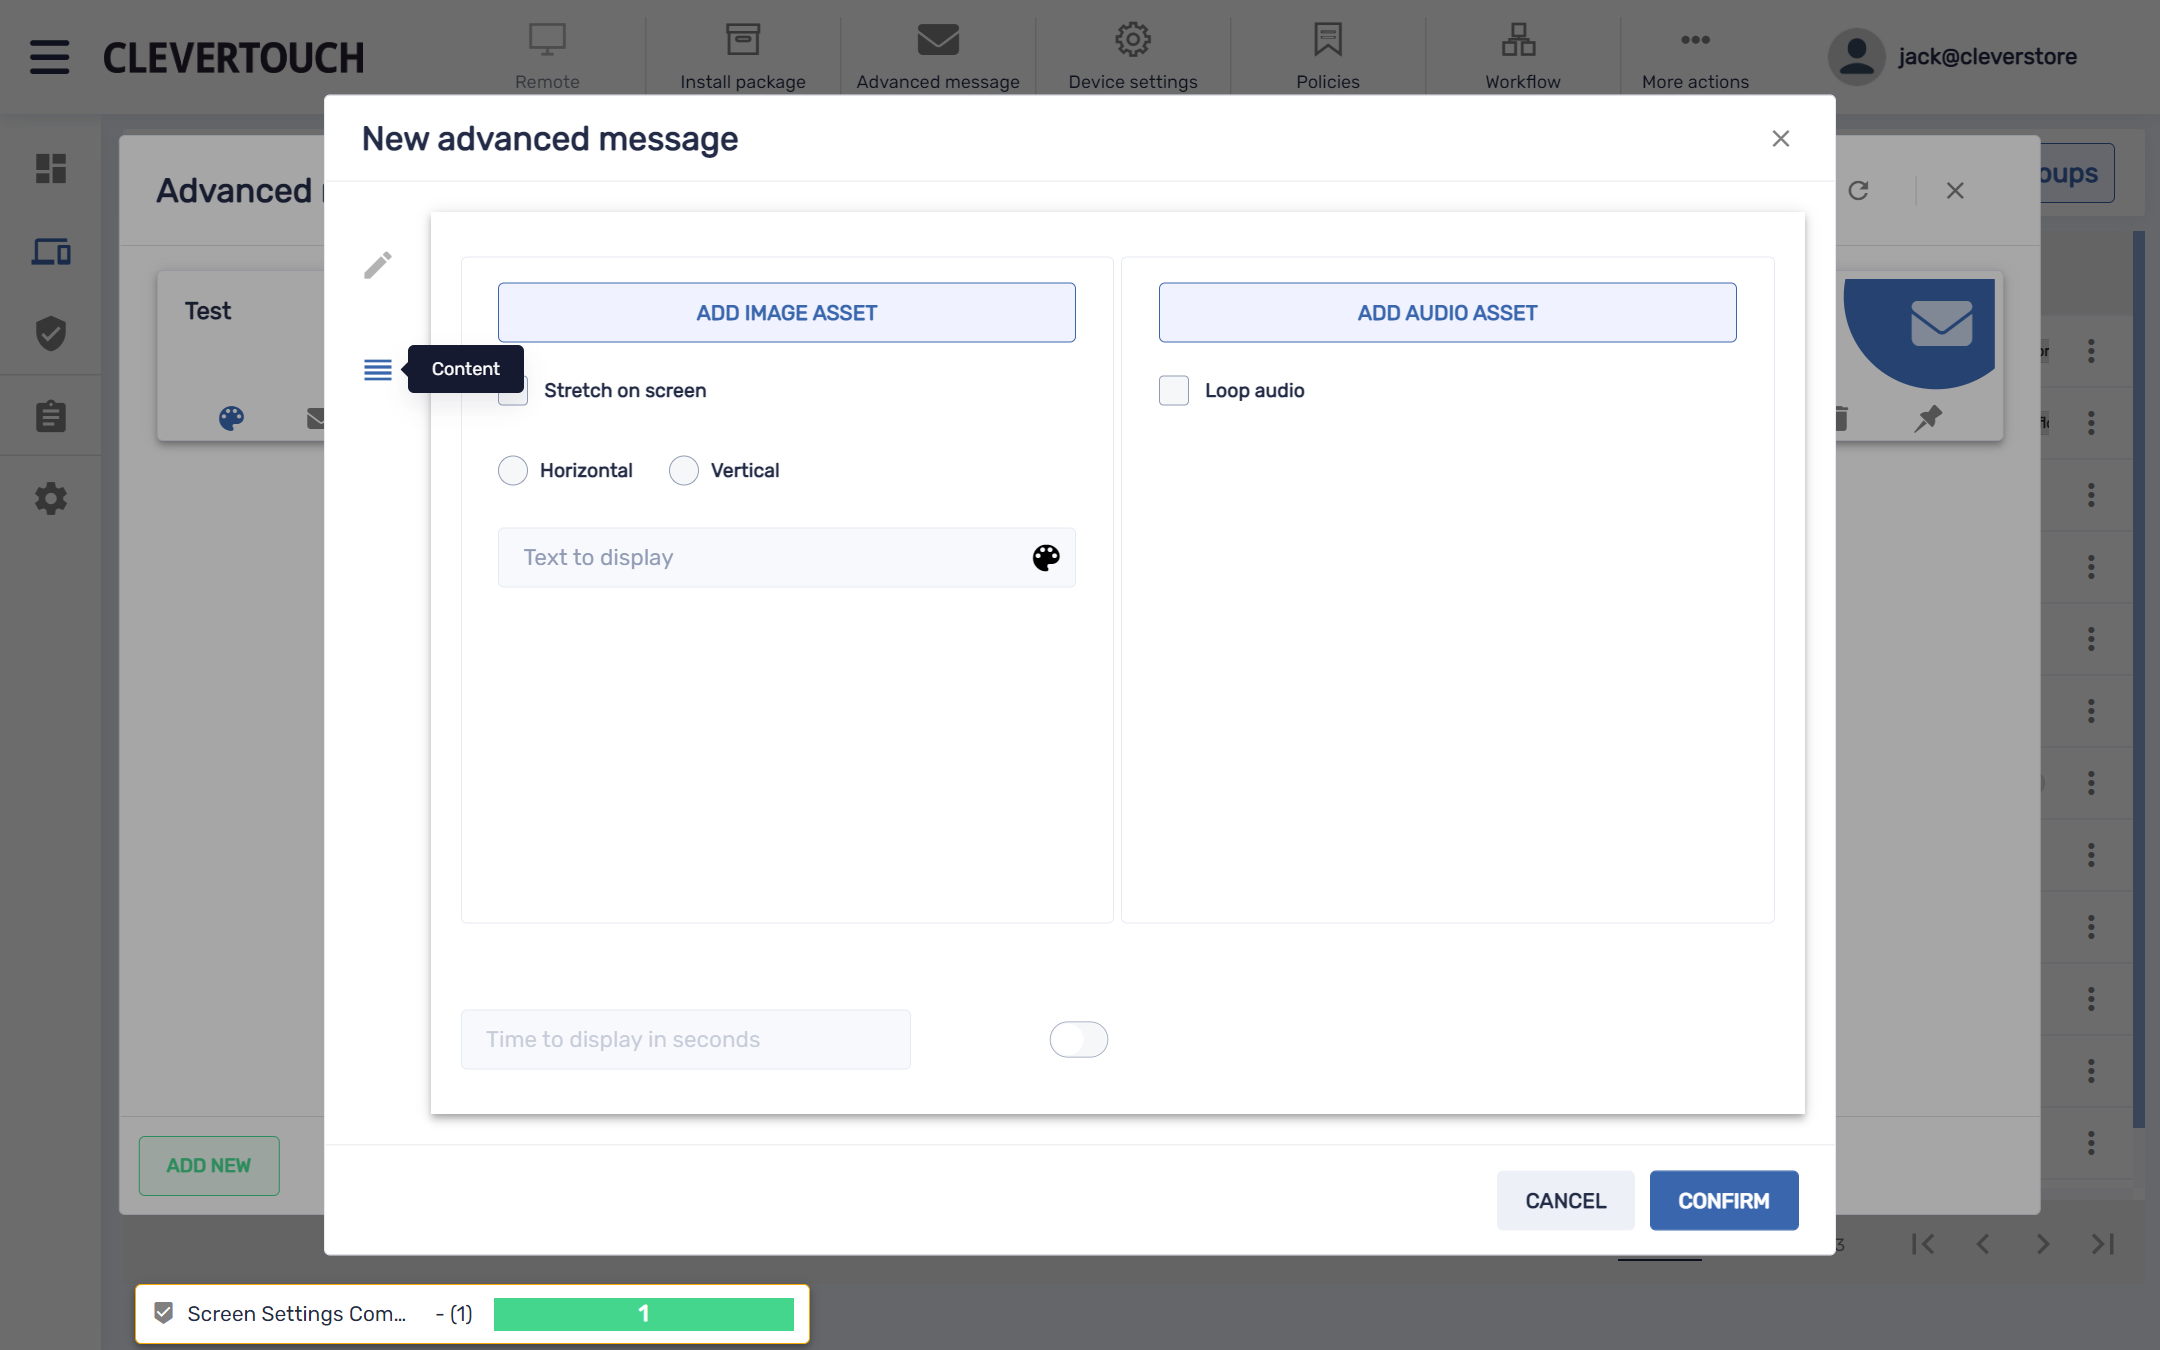
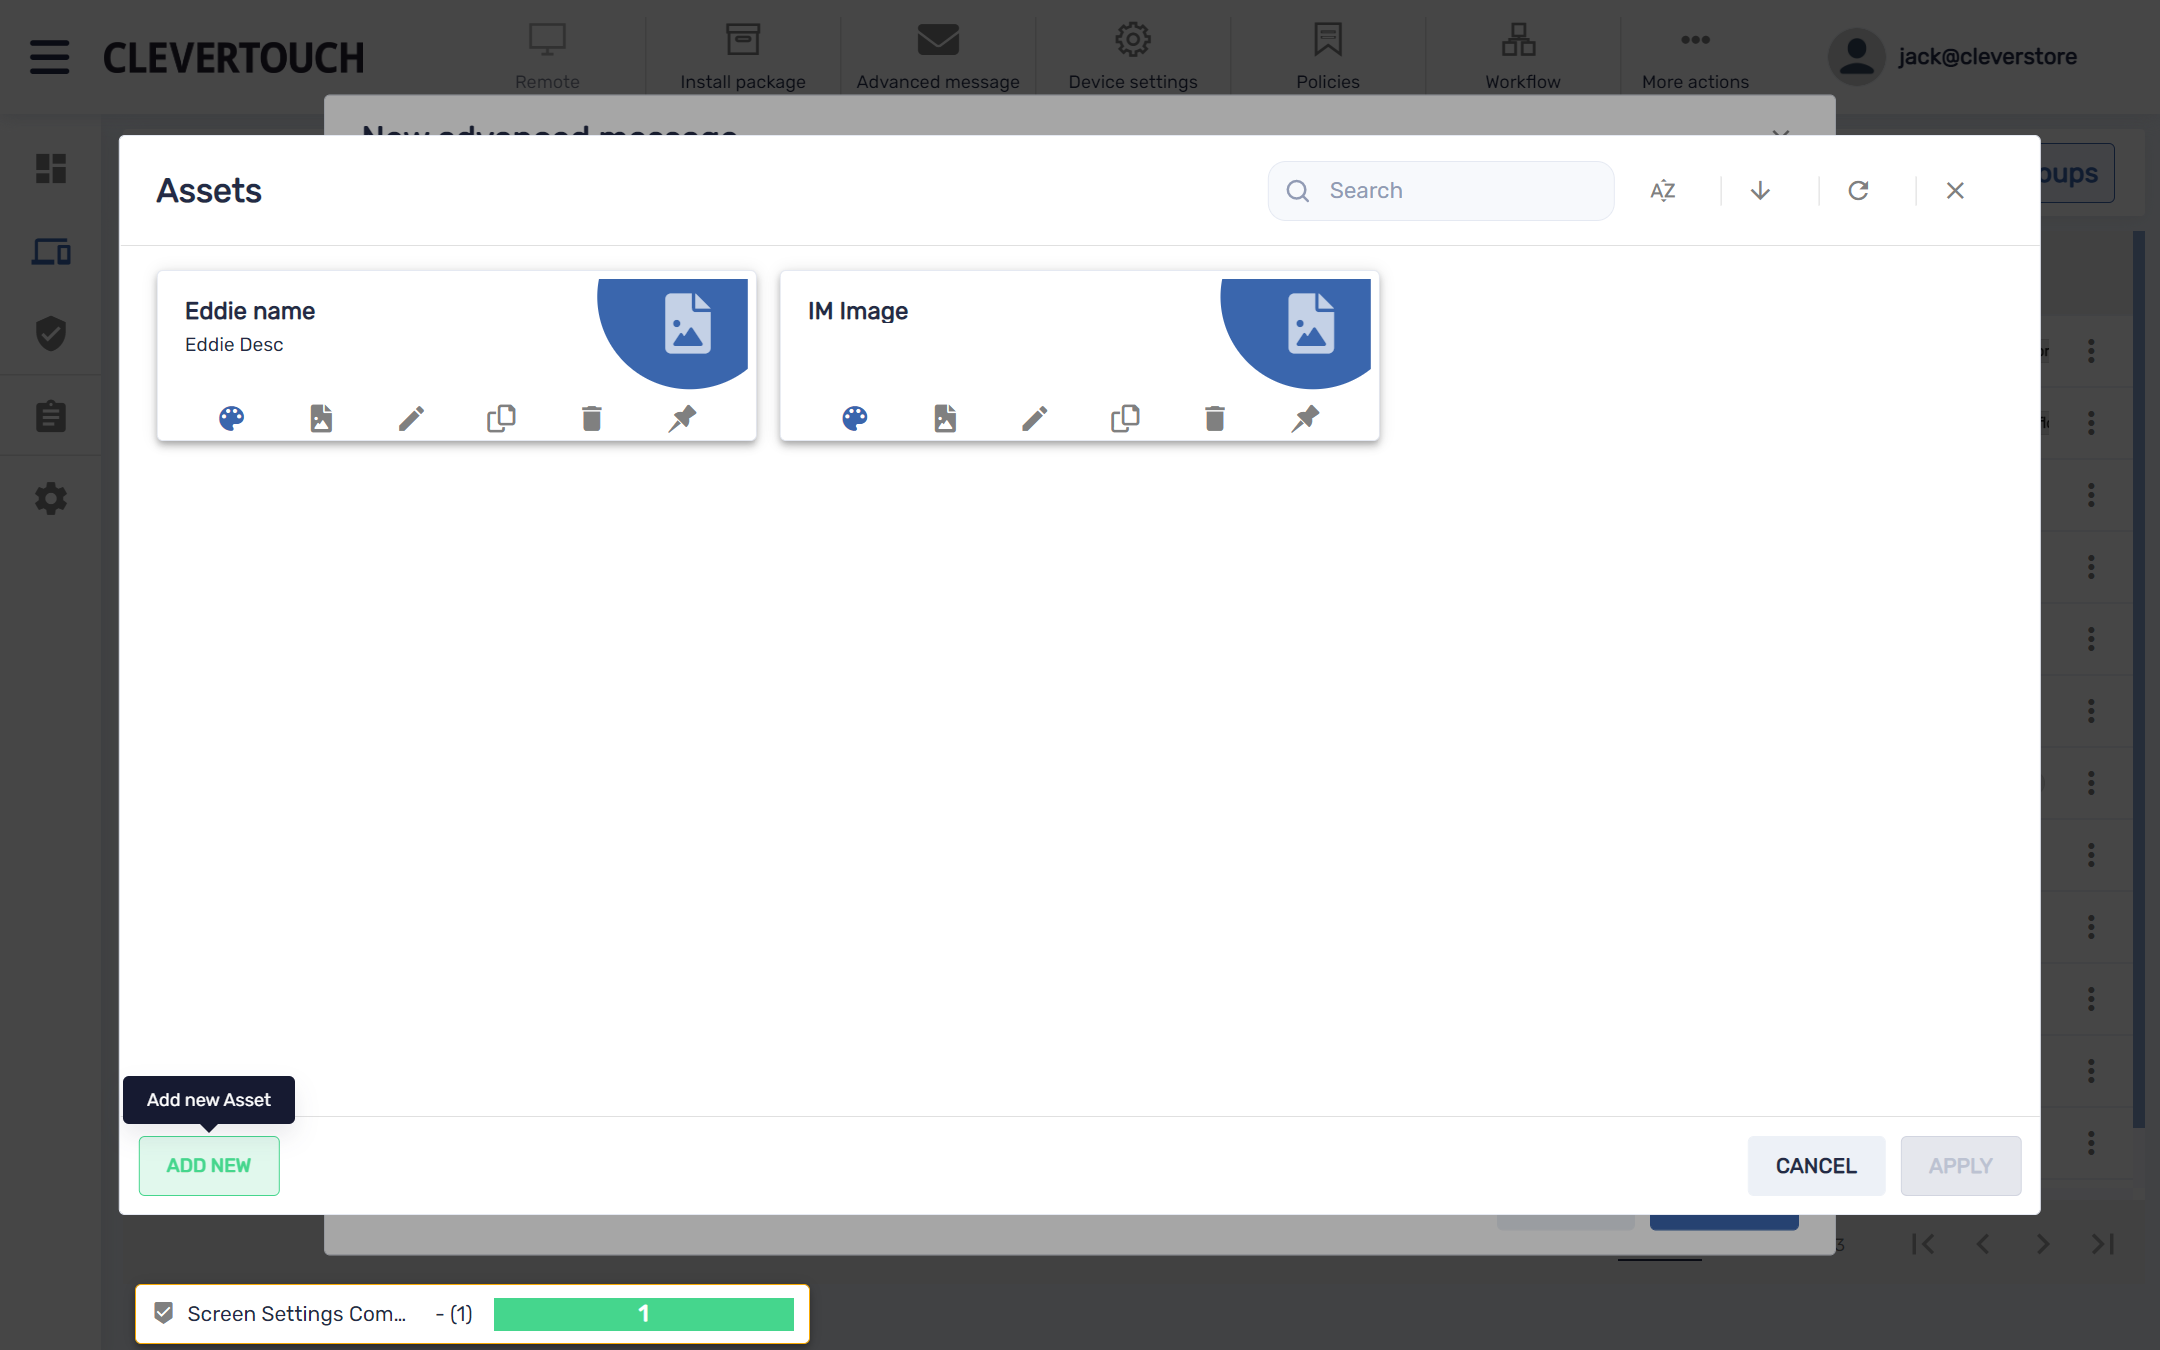
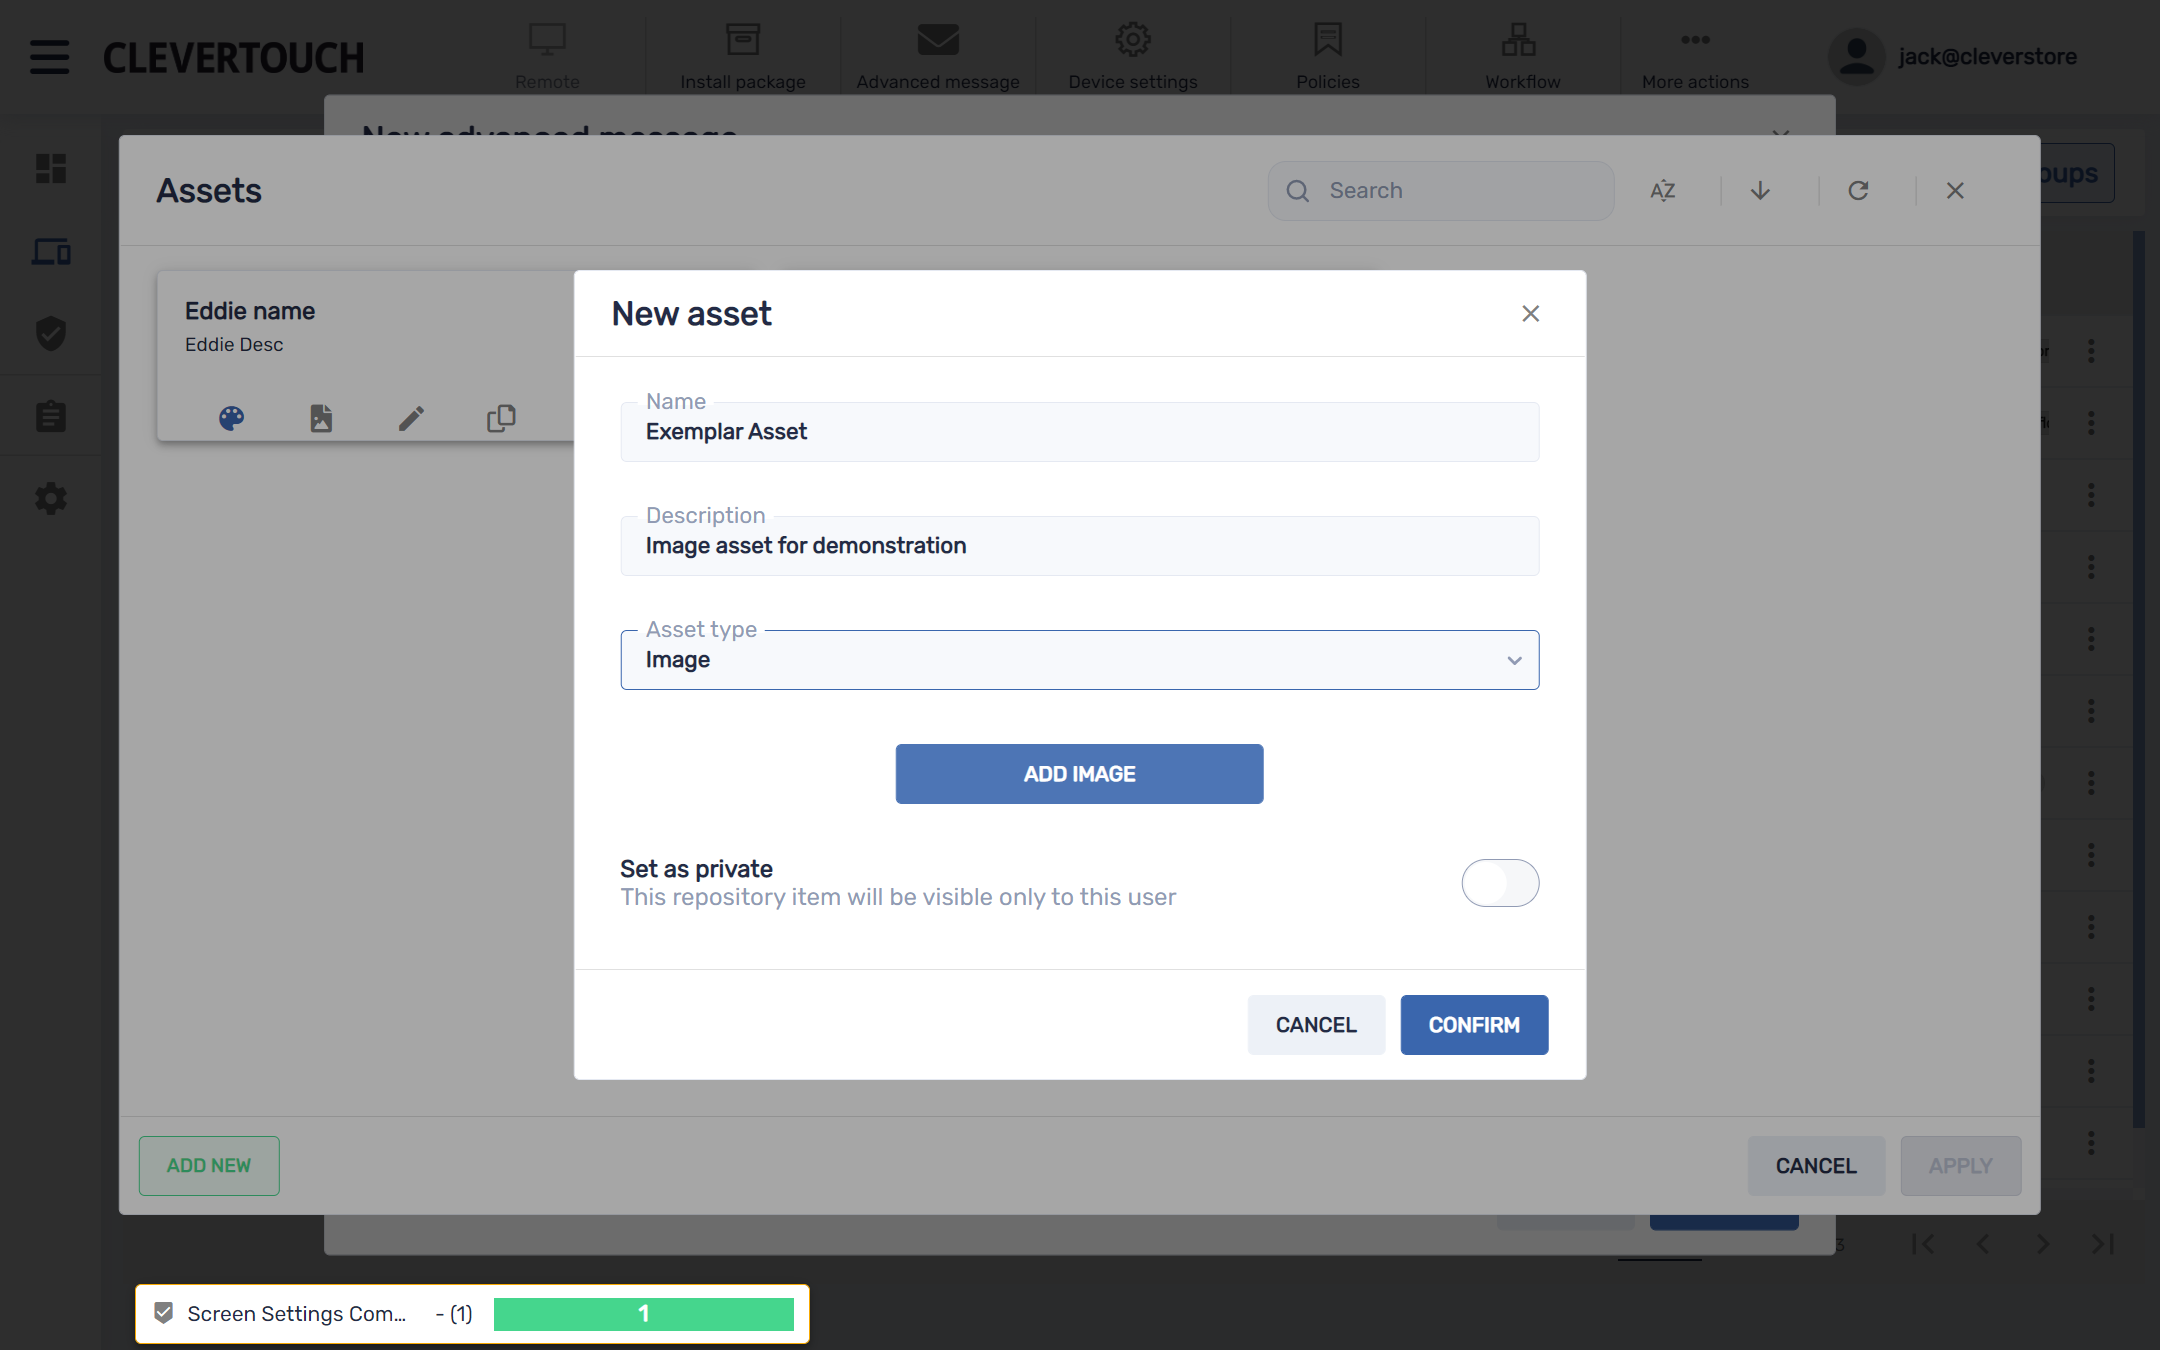
This opens your new asset menu. Set your description and select your asset type – image or audio.

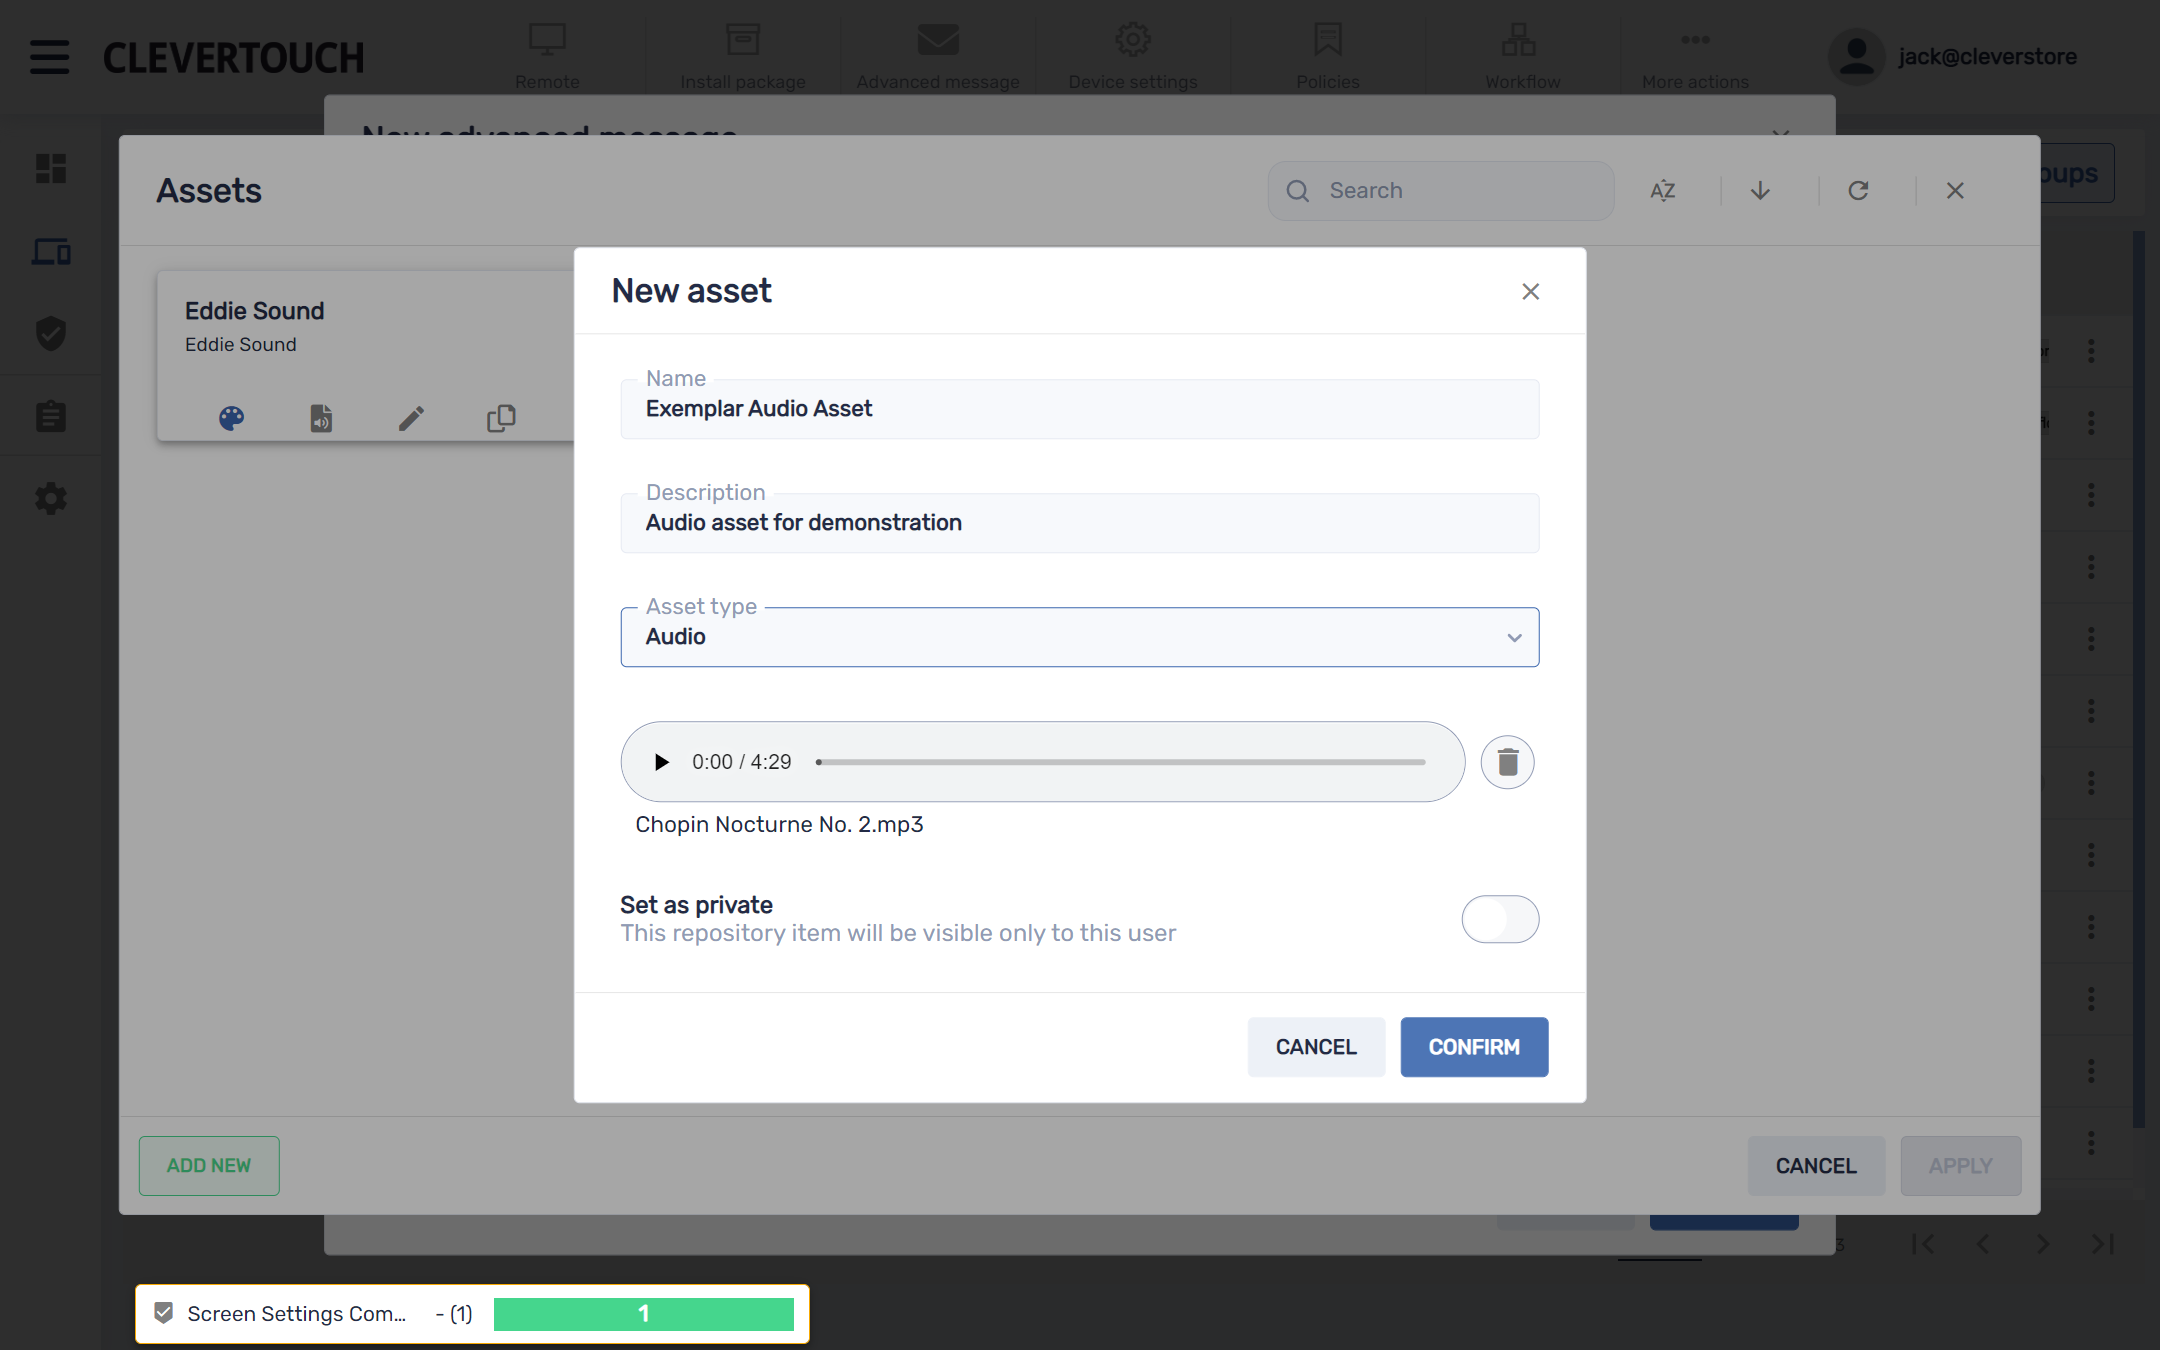
If an audio asset is uploaded, upload a file, set a name and description, and preview your media as needed. When you are happy with your configuration, select the ‘CONFIRM’ button.
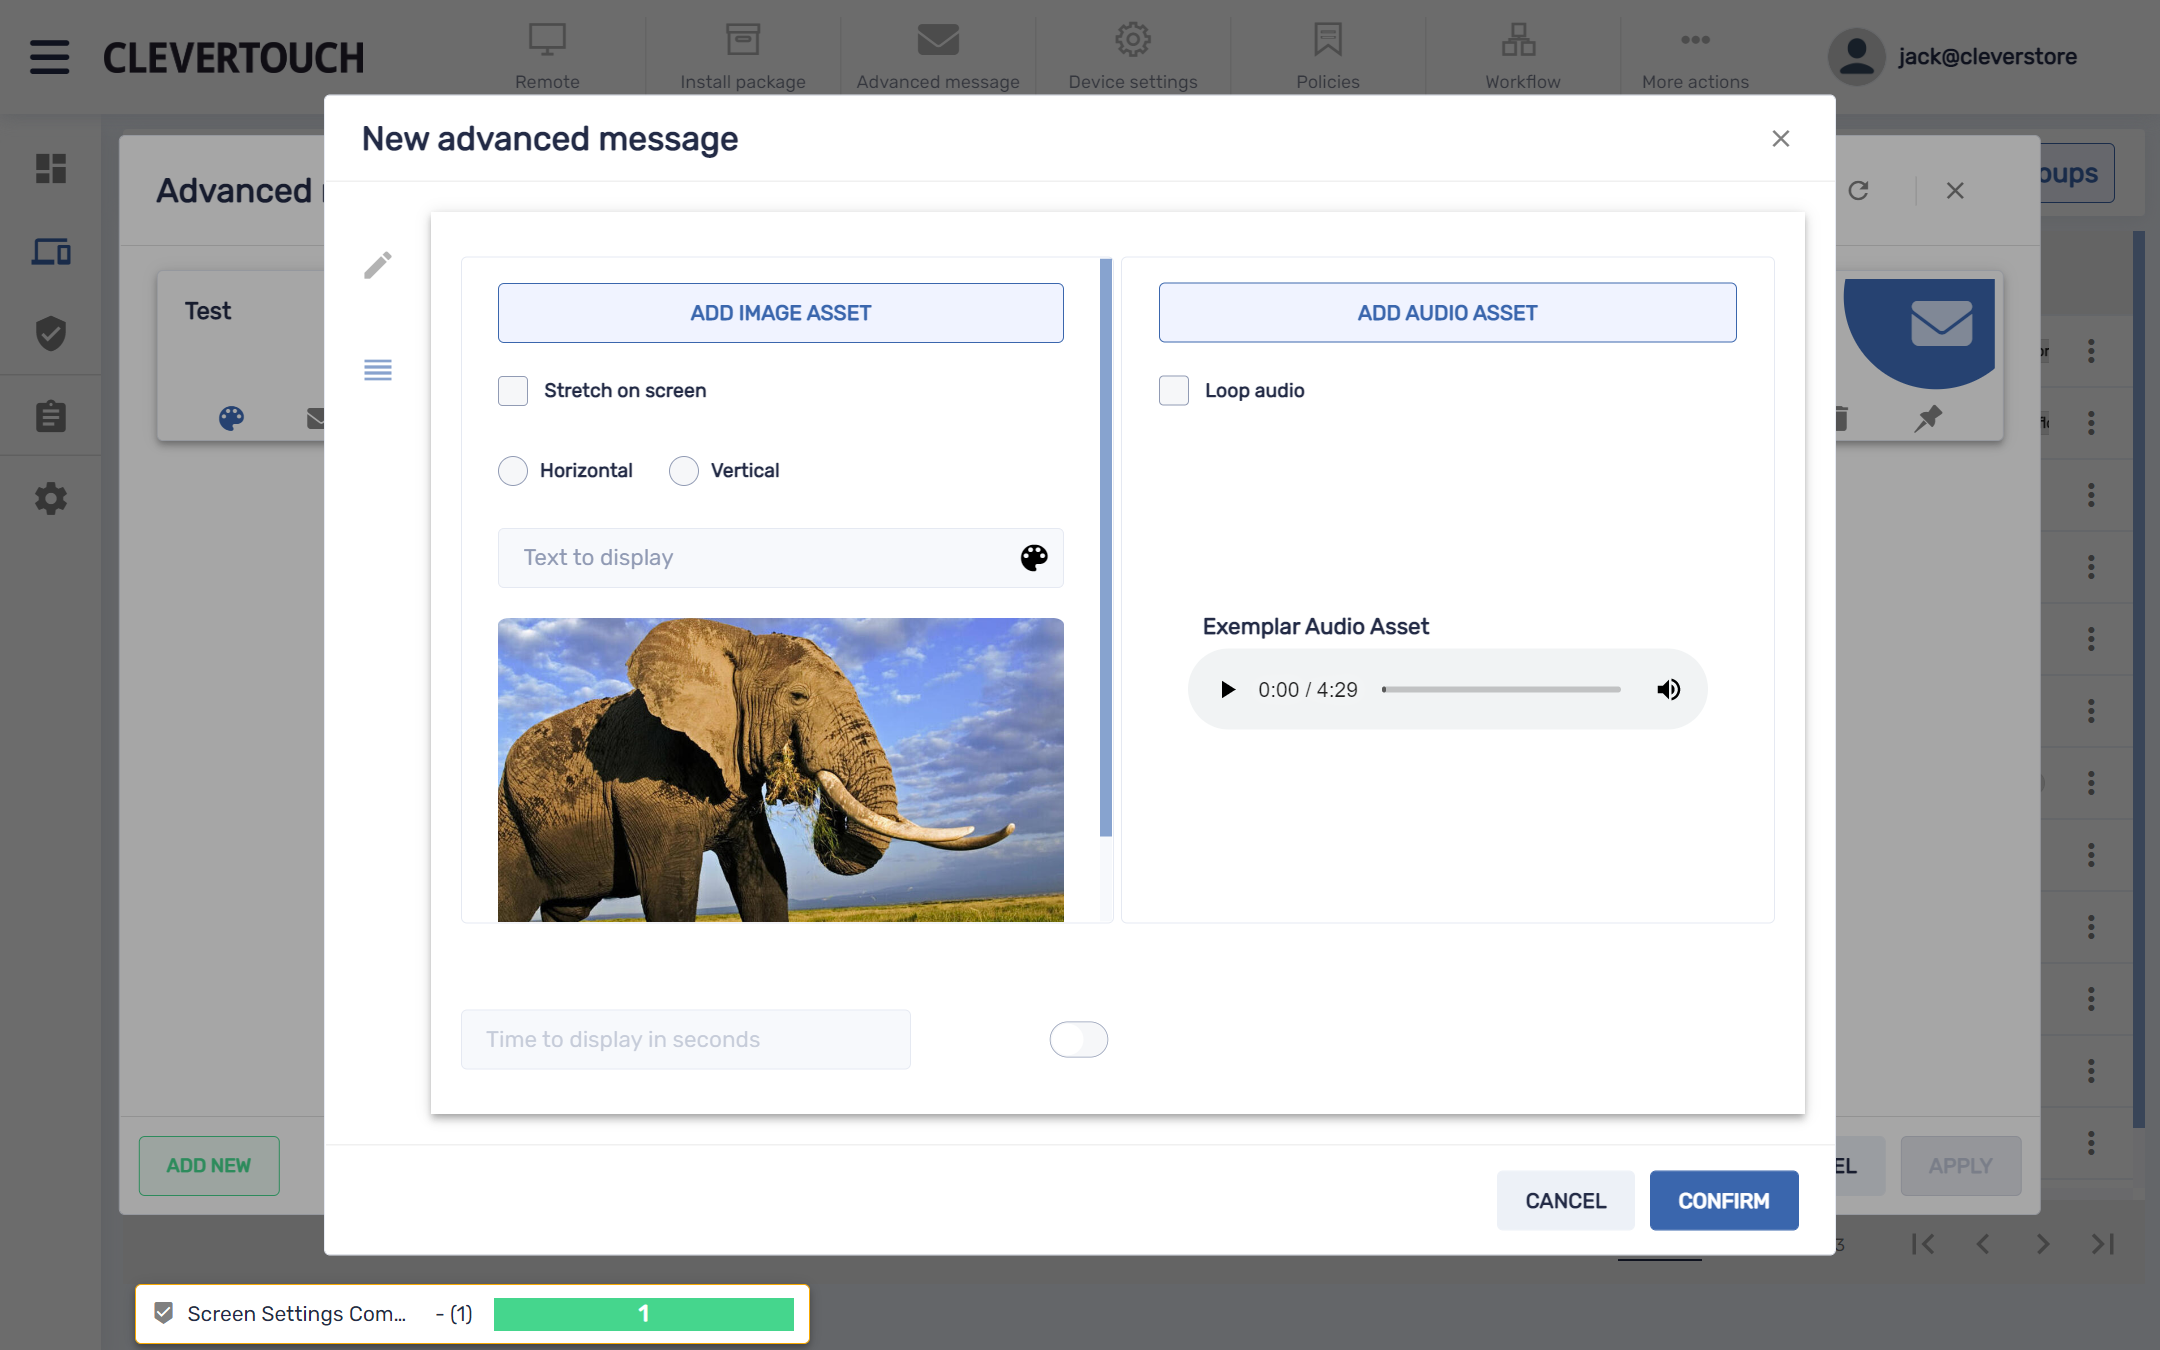
This creates your advanced message on the system. When you are ready to send your message to your display(s), select the ‘CONFIRM’ button.