FAQ 13:
How do I create a trigger
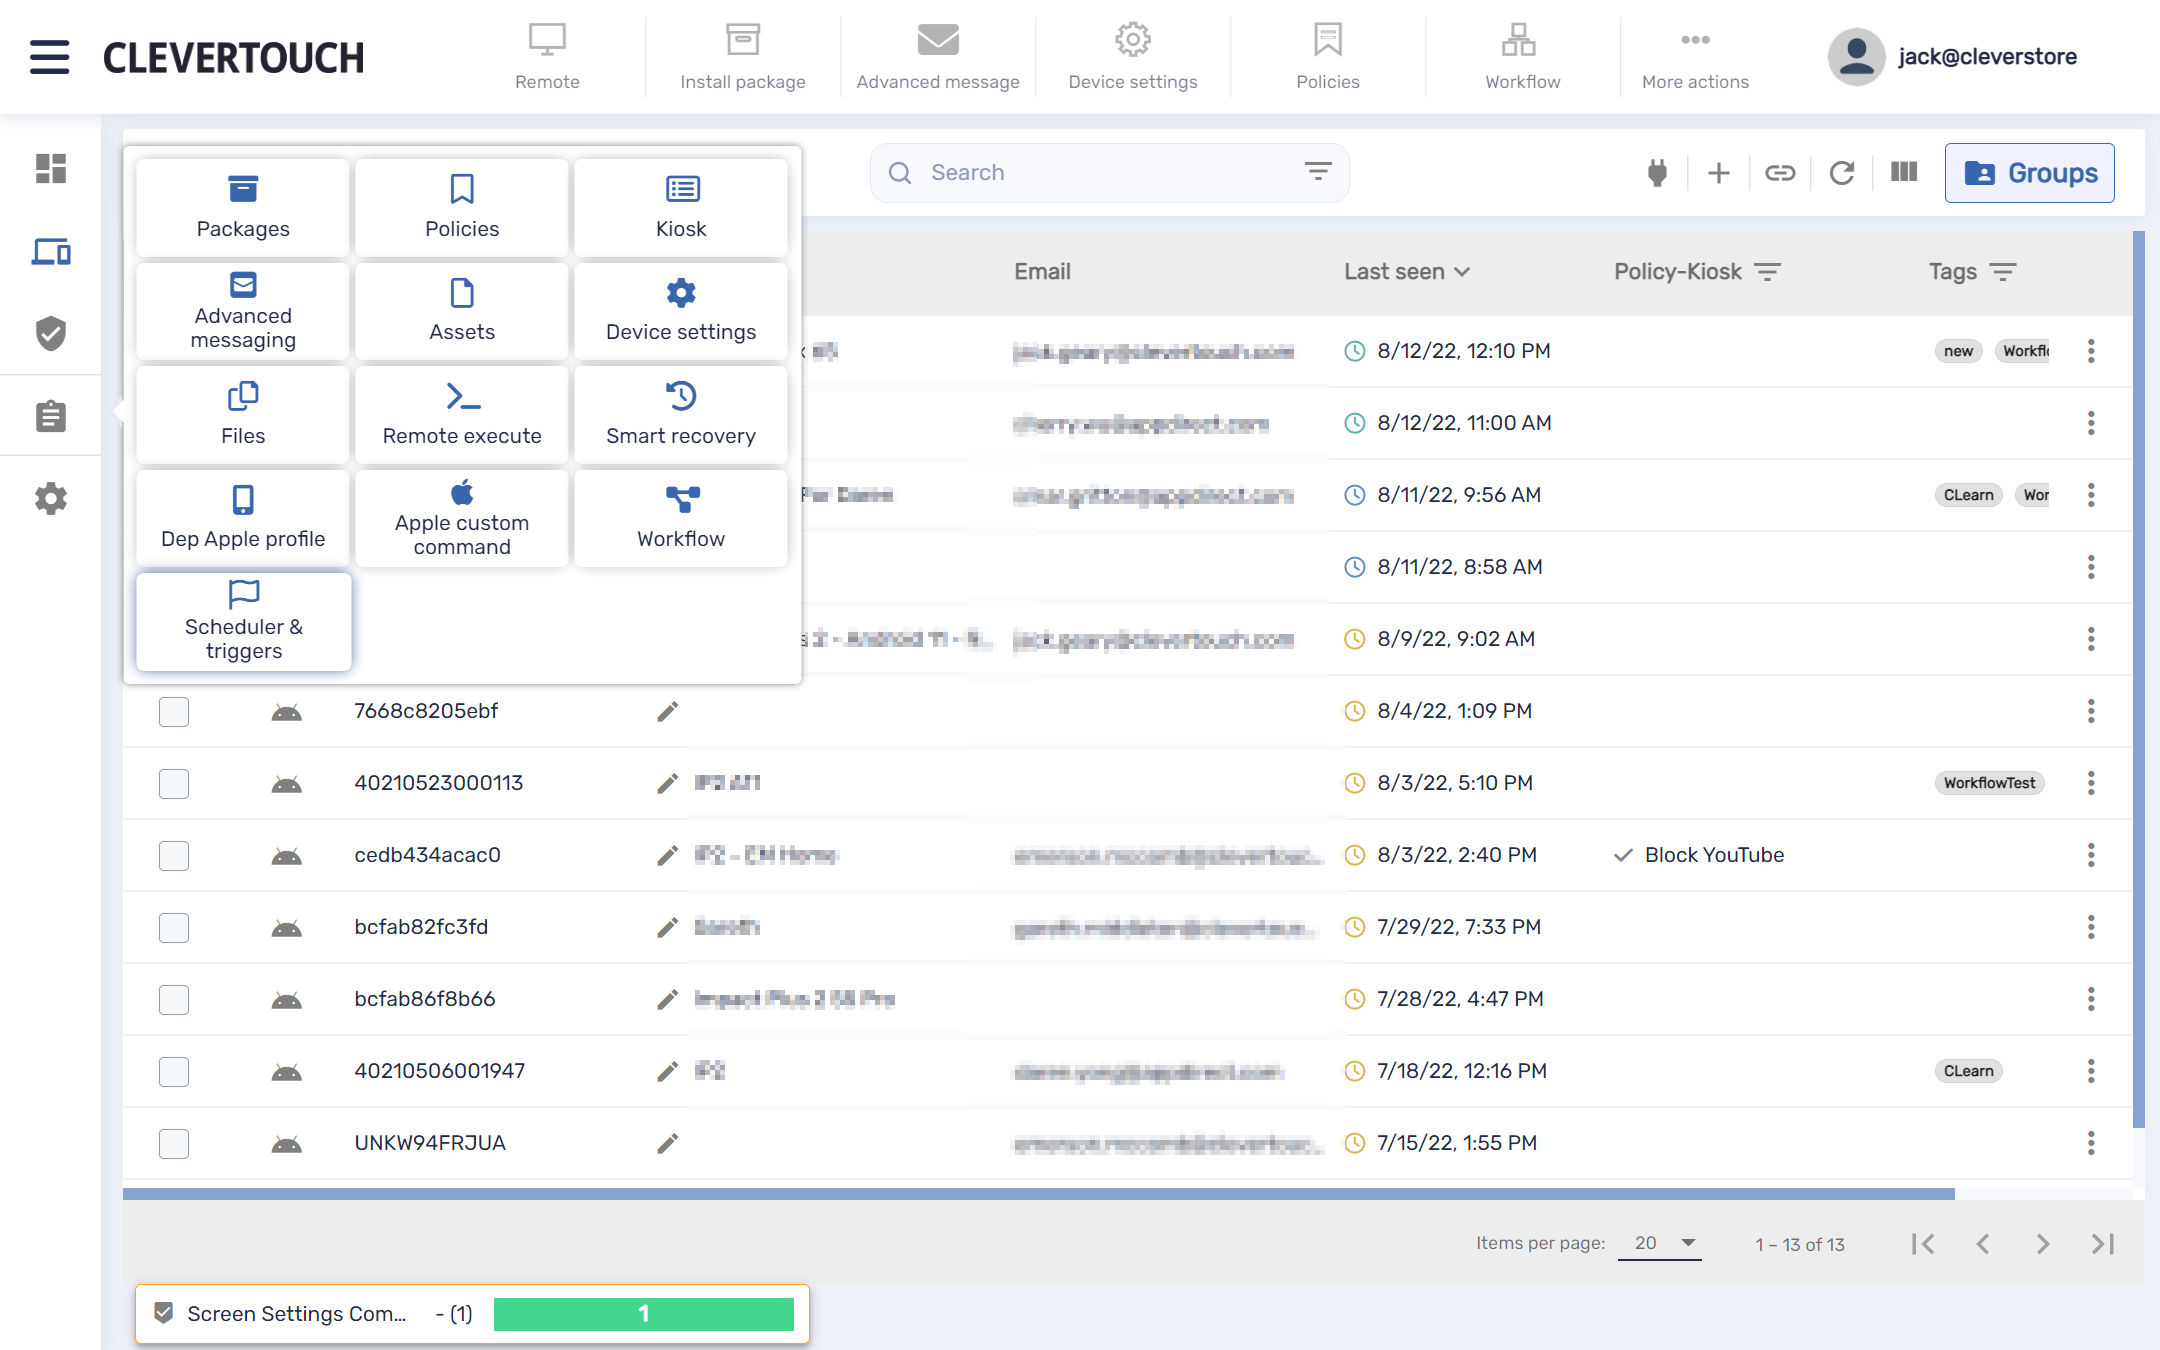
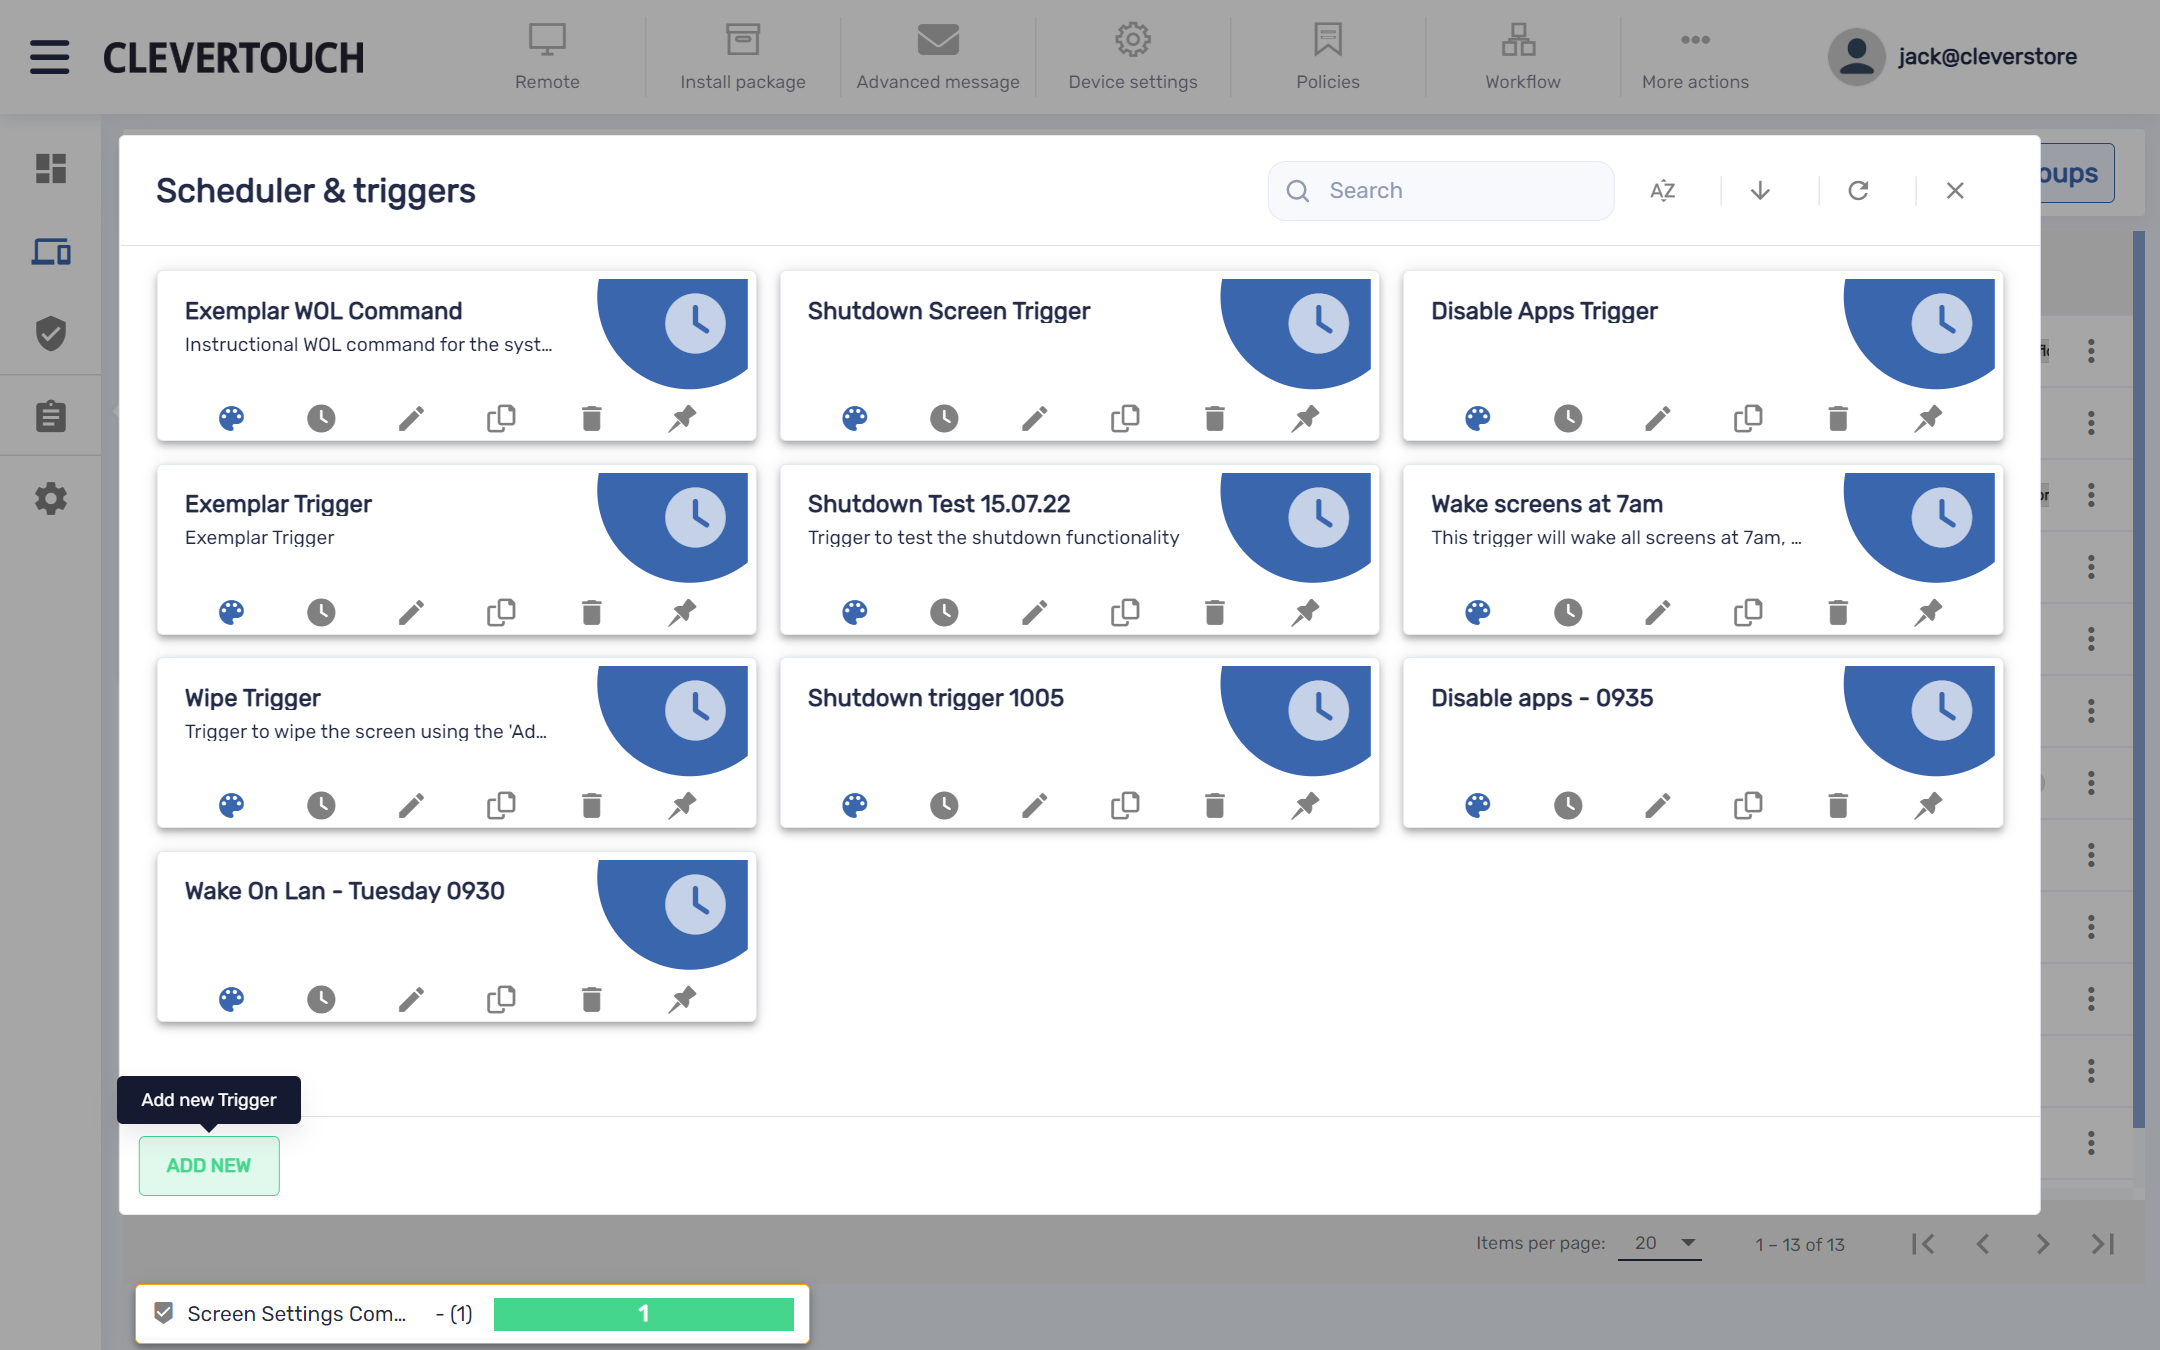
Select the ‘ADD NEW’ button to create a new trigger. Alternatively, select the ‘Copy’ and/or ‘Edit’ options on an existing trigger that you wish to amend.

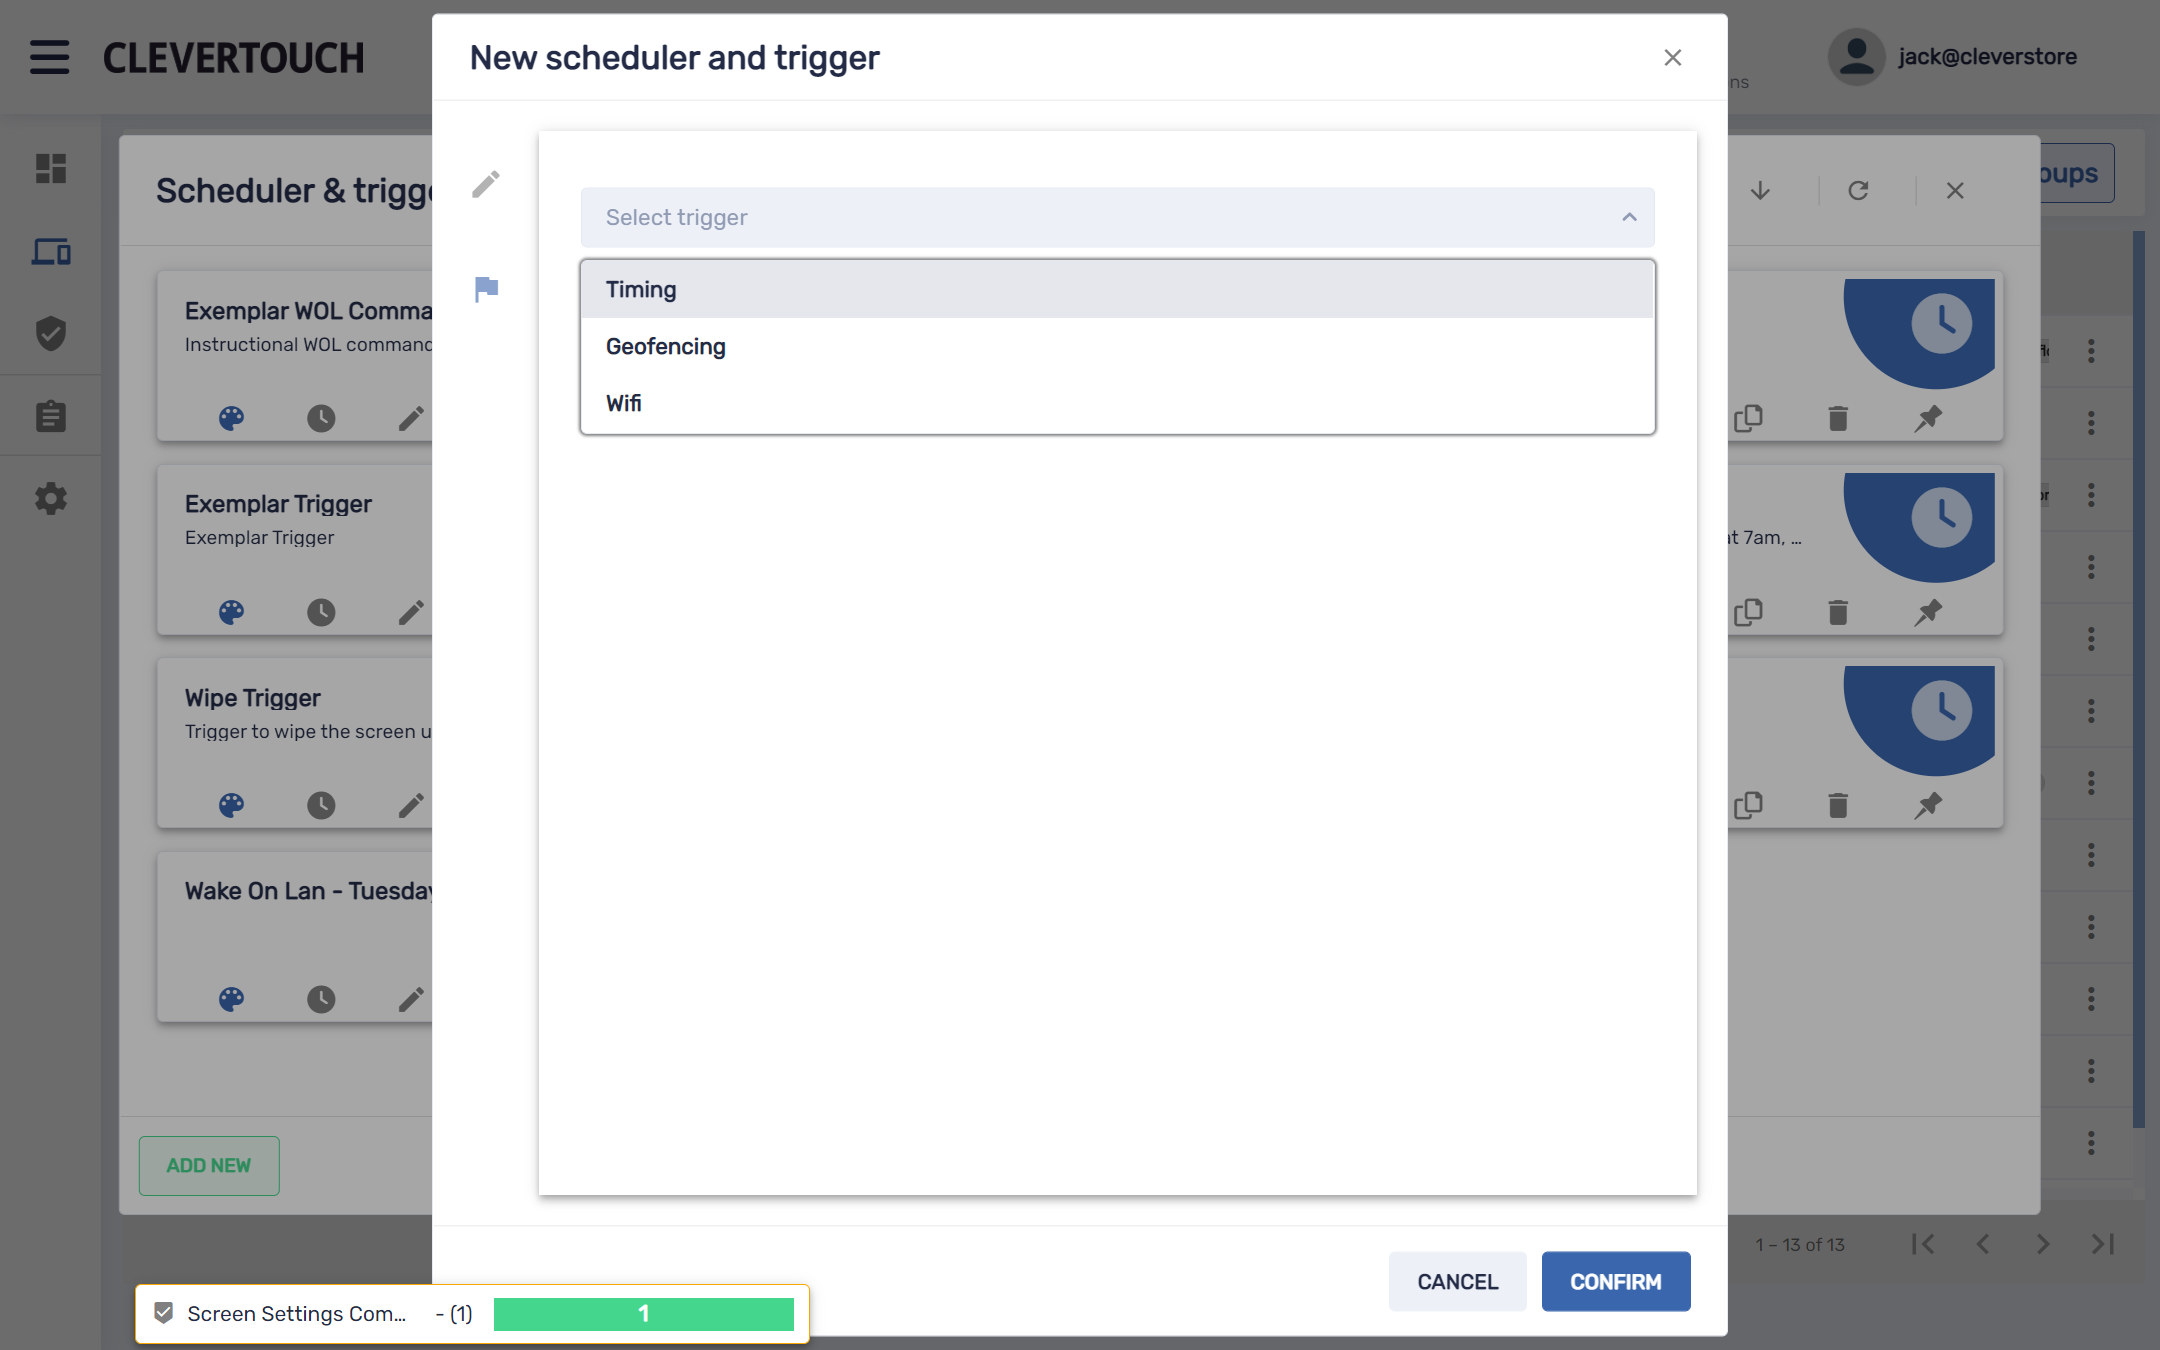
Select the ‘flag’ icon to open the trigger builder. Select the dropdown list to choose between the three menu options: Timing, Geofencing, and Wi-Fi.
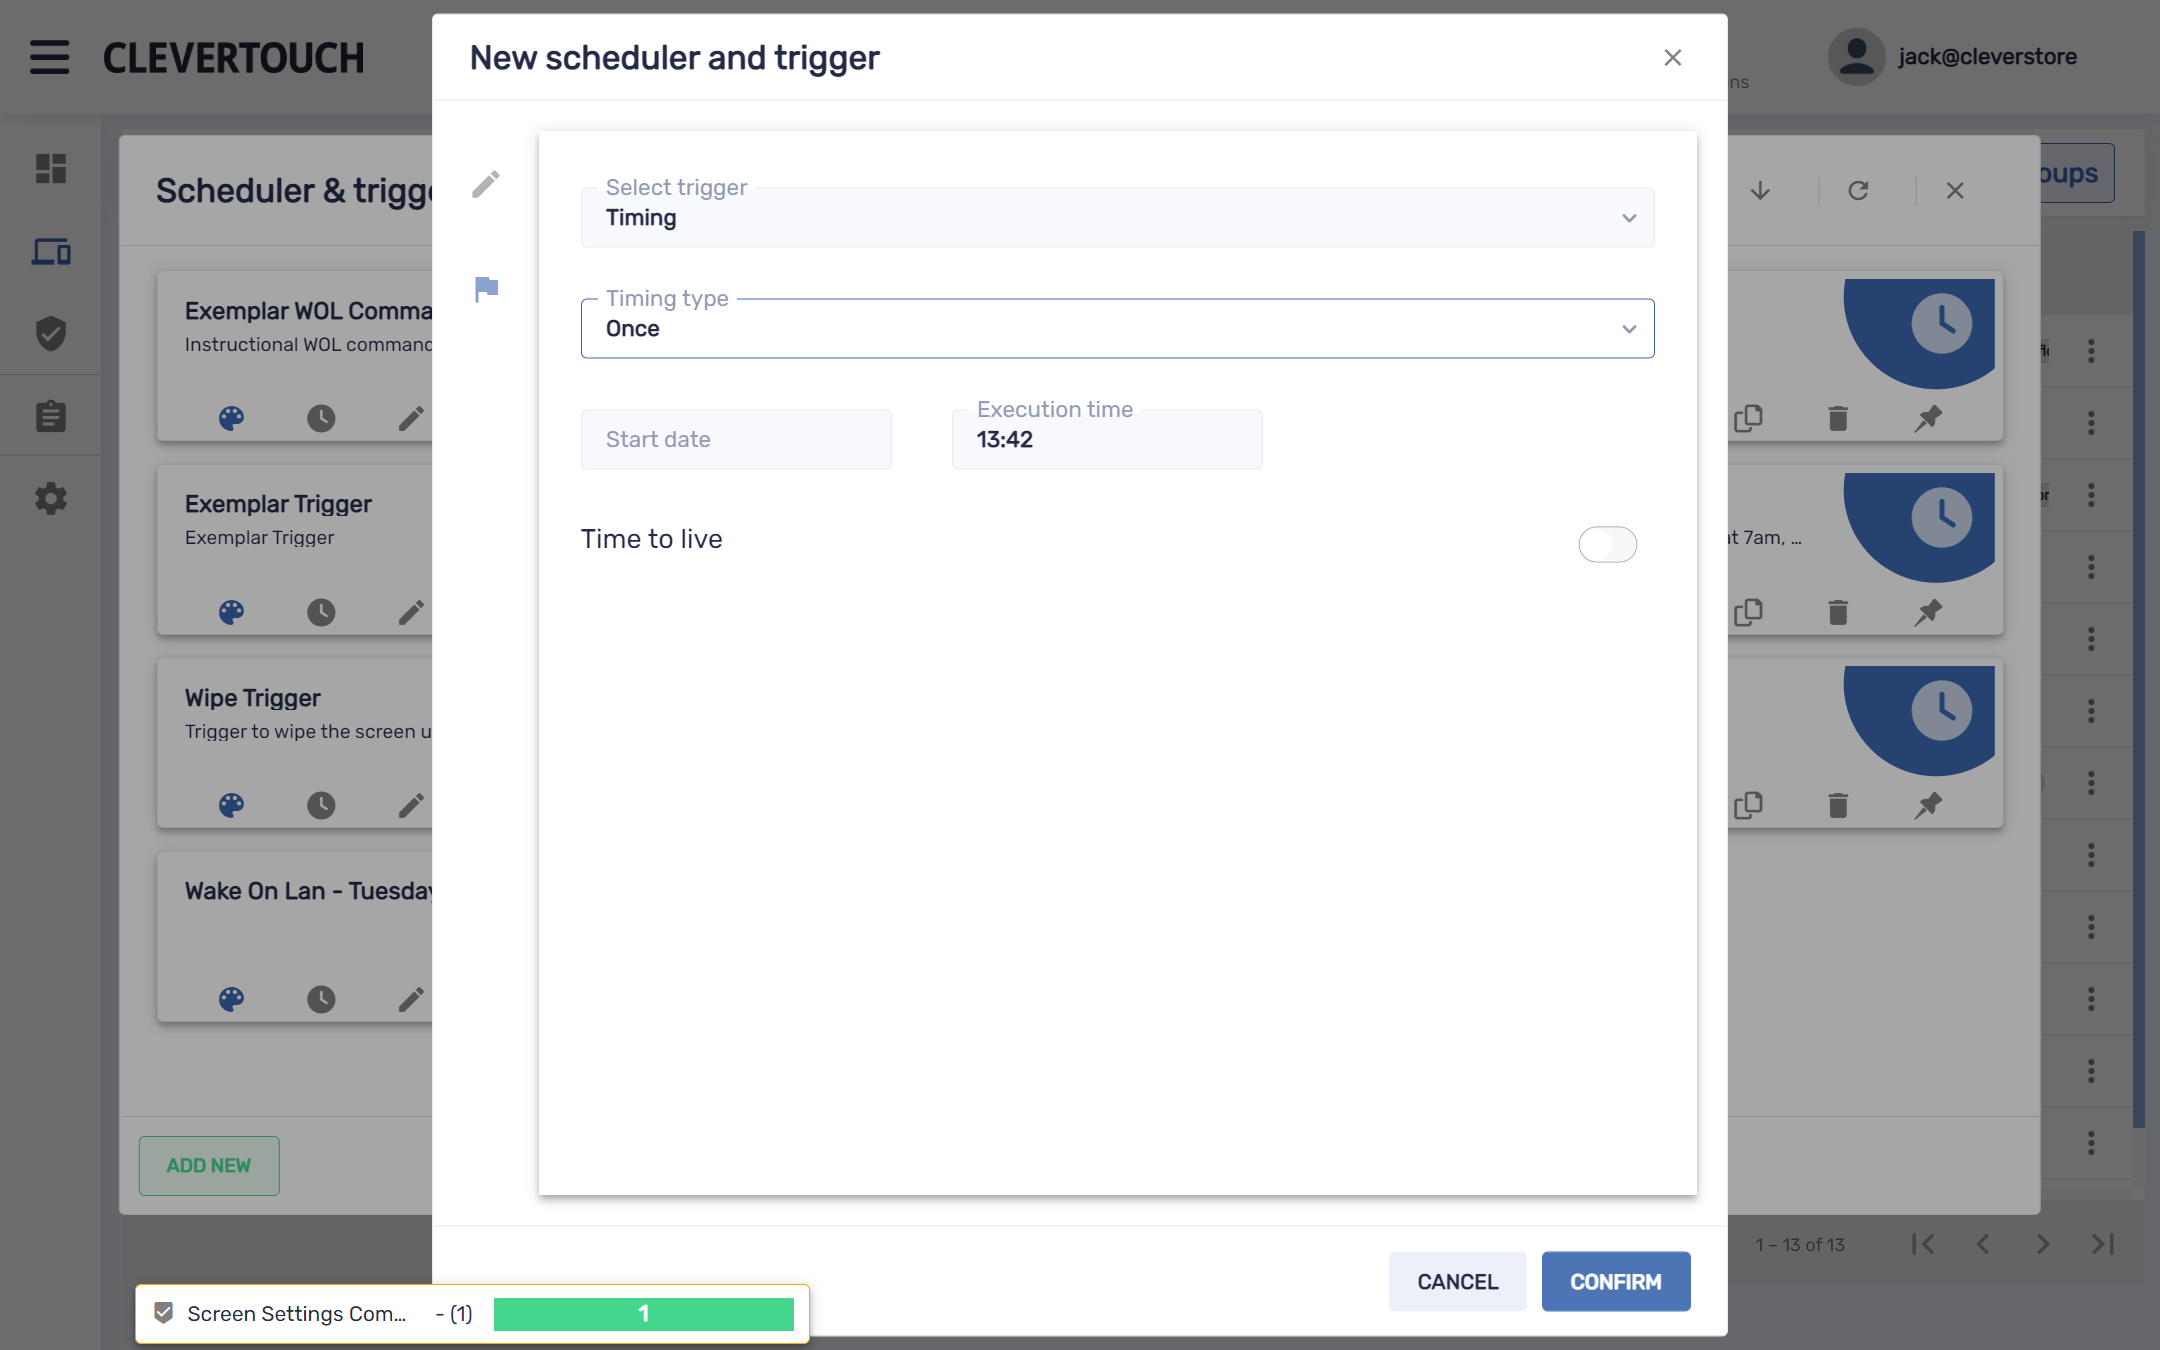
If timing is selected, use the available dropdown list to set your parameters. This allows the command to execute once, repeat, or fire within a set window of time.
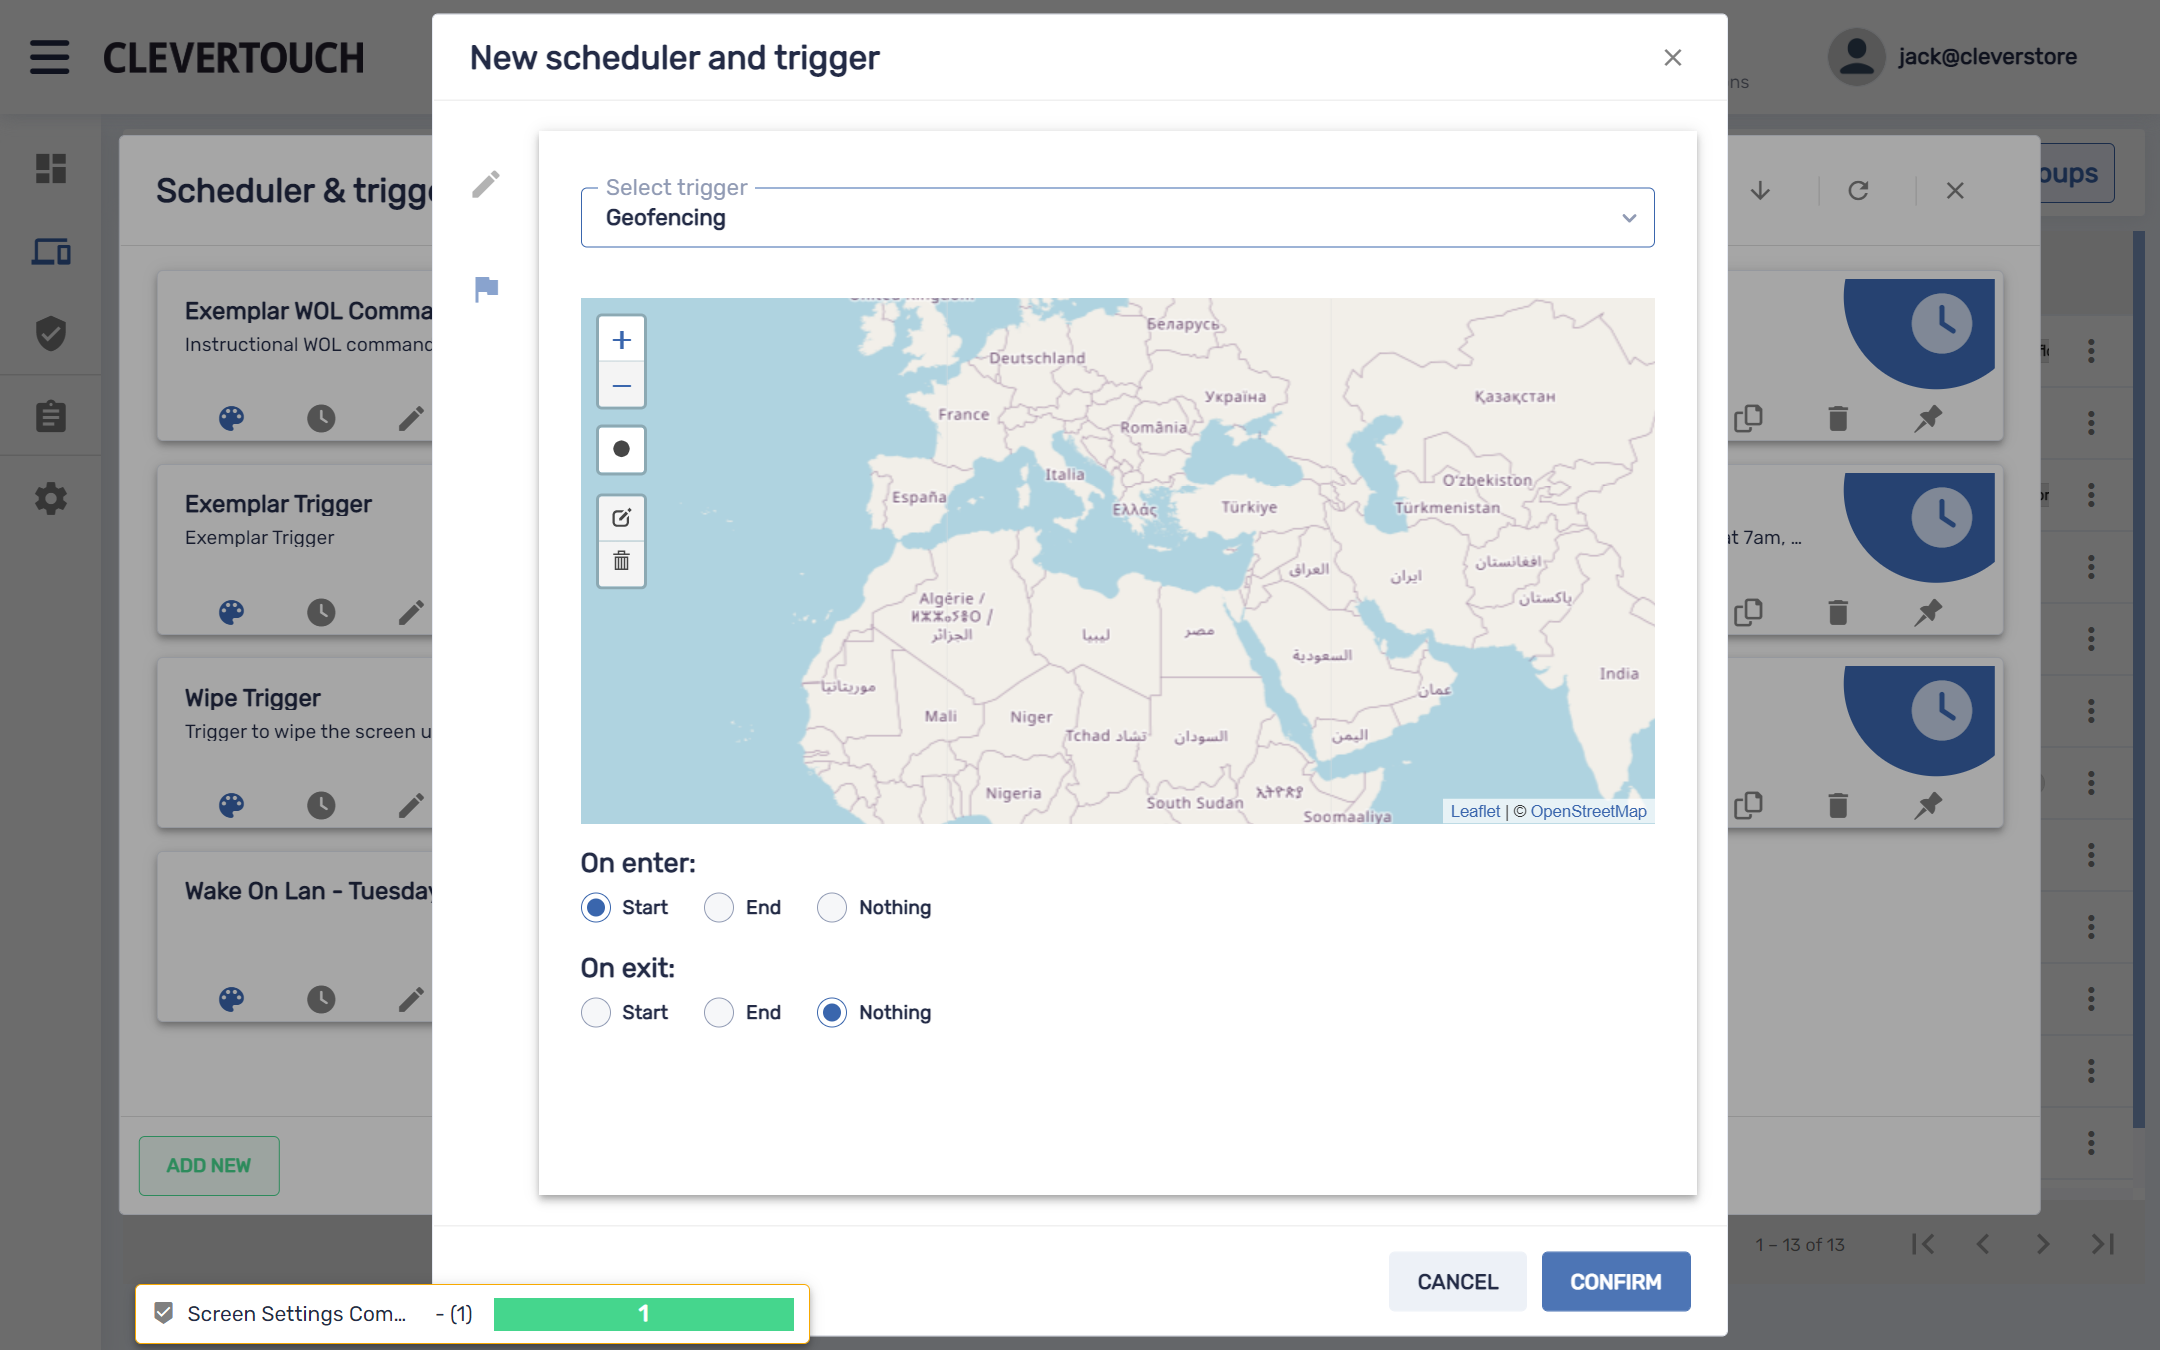
If Geofencing is selected, use the radio groups and map to set your parameters. This defines the trigger’s actions when the geofence is entered and exited.
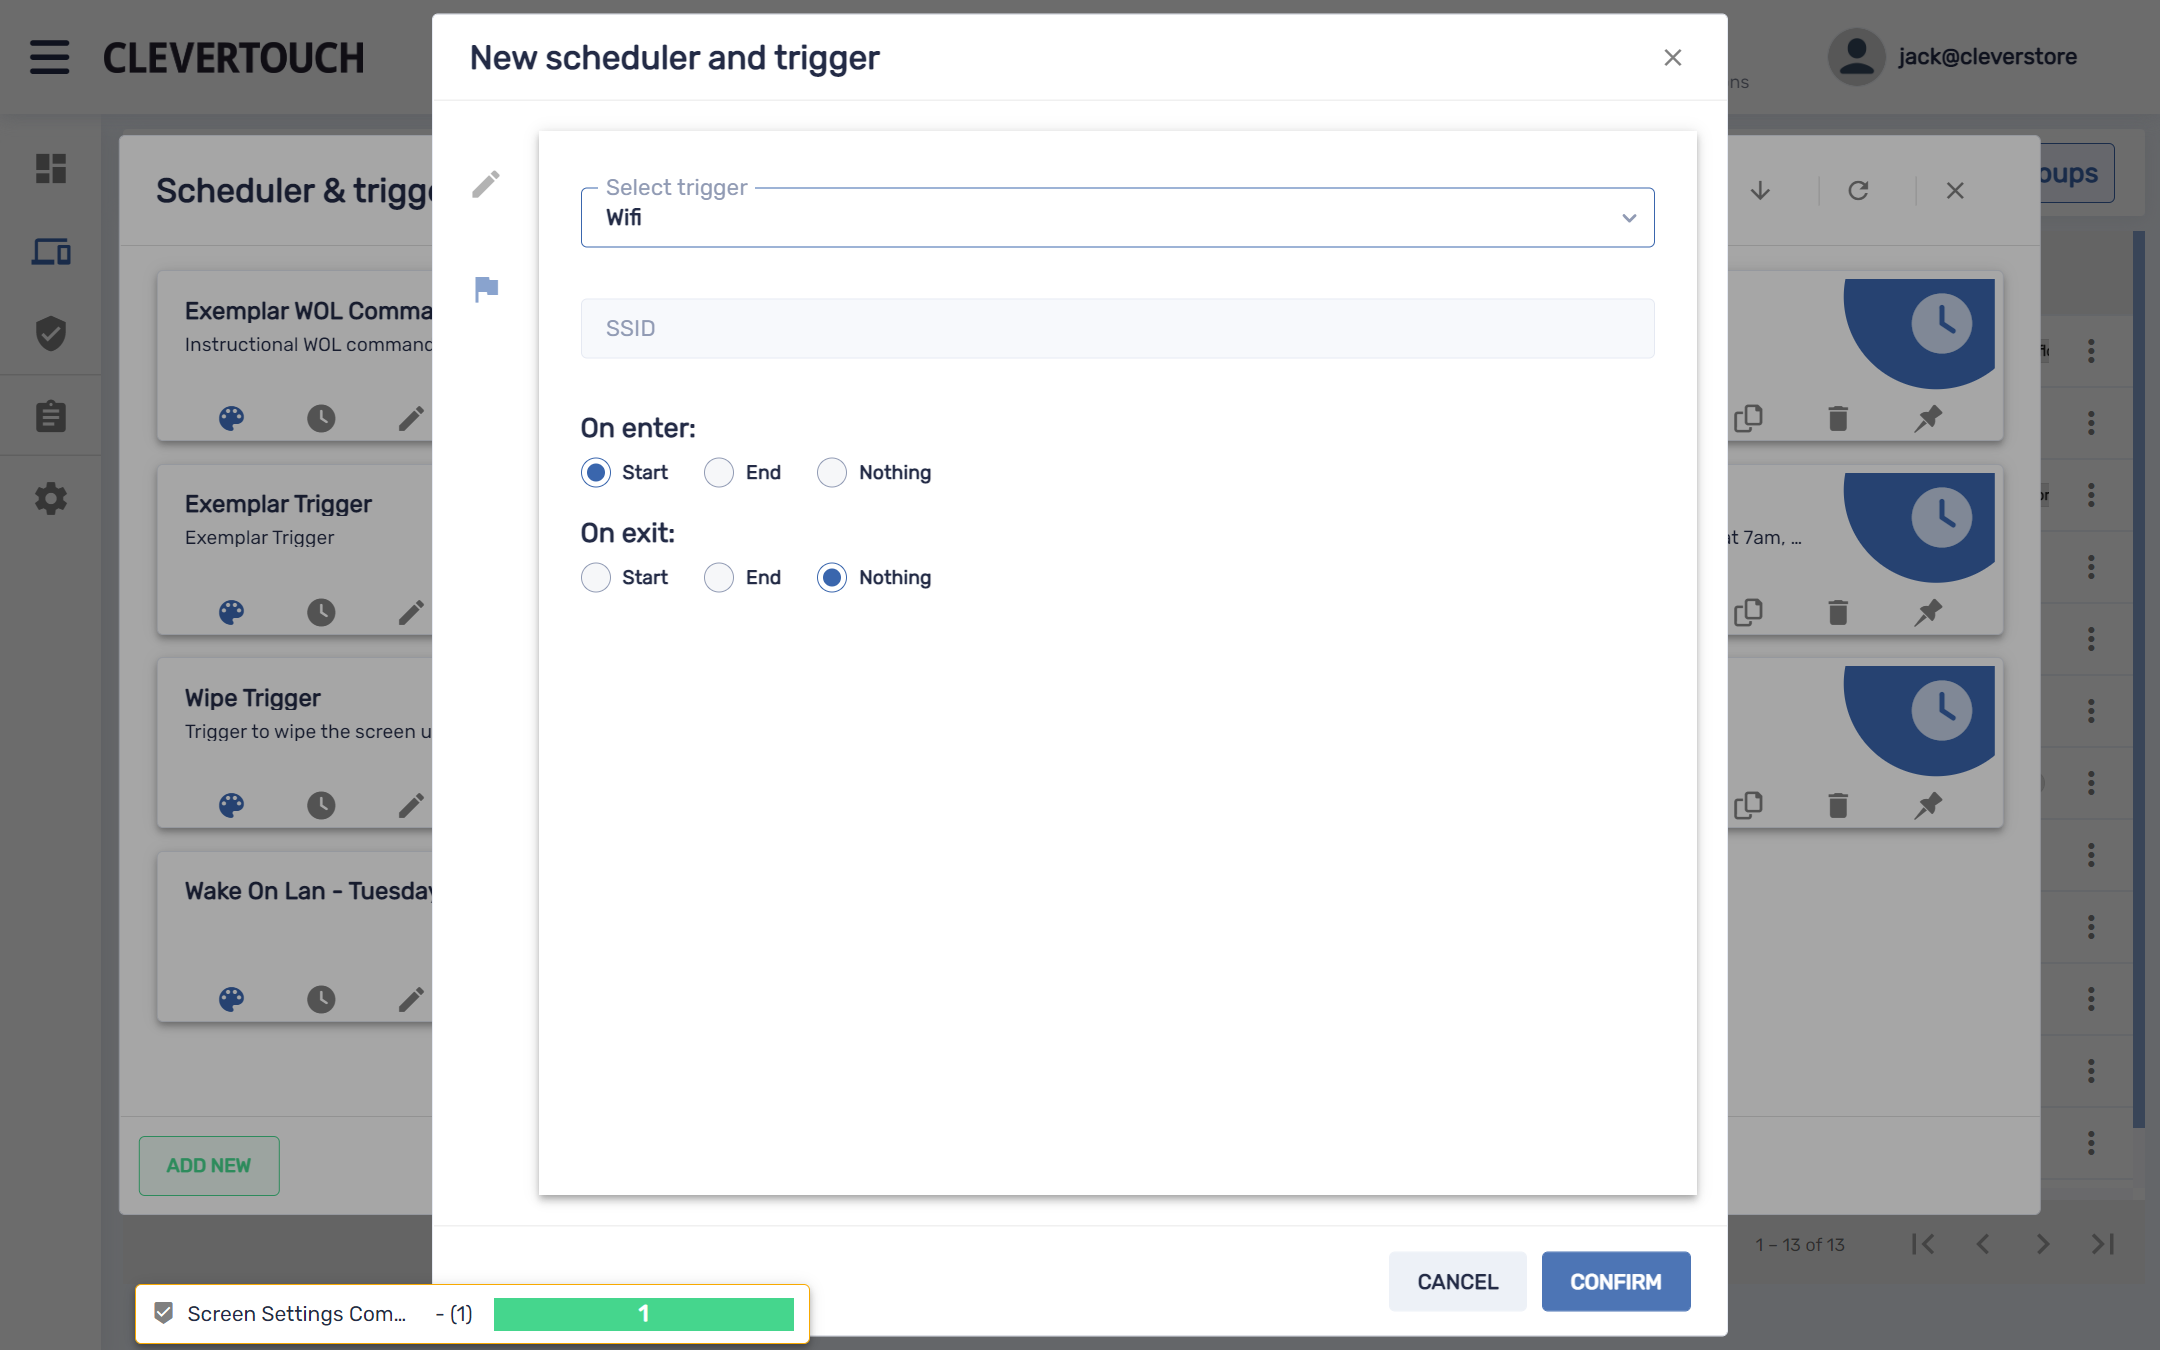
If Wi-Fi is selected, set your SSID and the trigger’s actions when the SSID is entered and exited.

When your configuration is complete, select the ‘CONFIRM’ button to add your trigger to the system.