FAQ 17:
How do I add a PDF to my Presentation
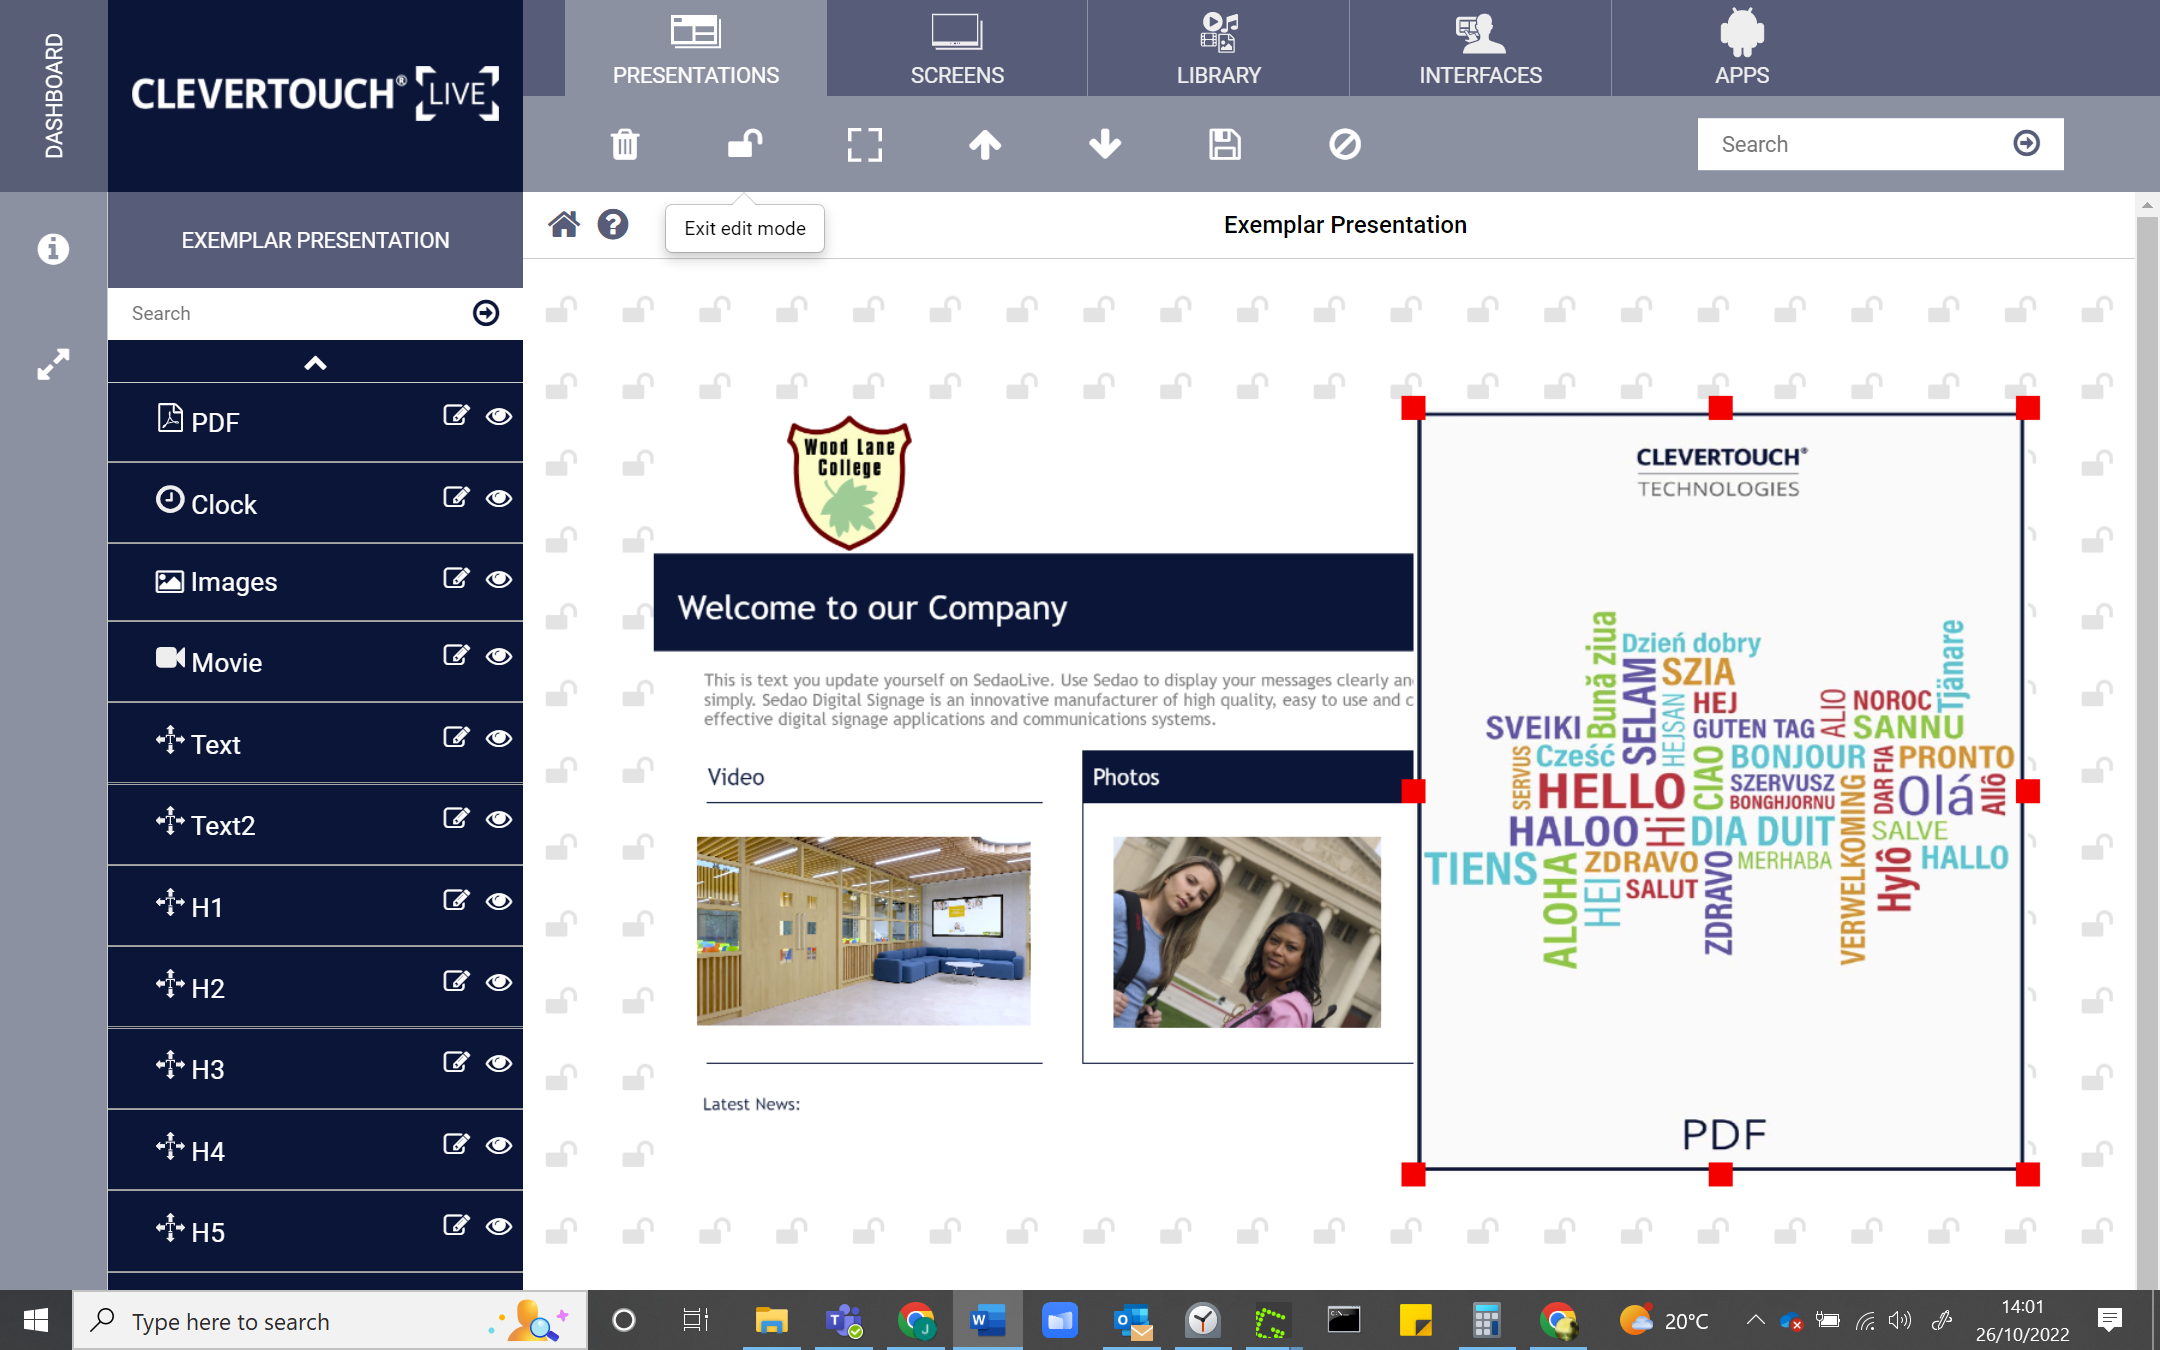
05
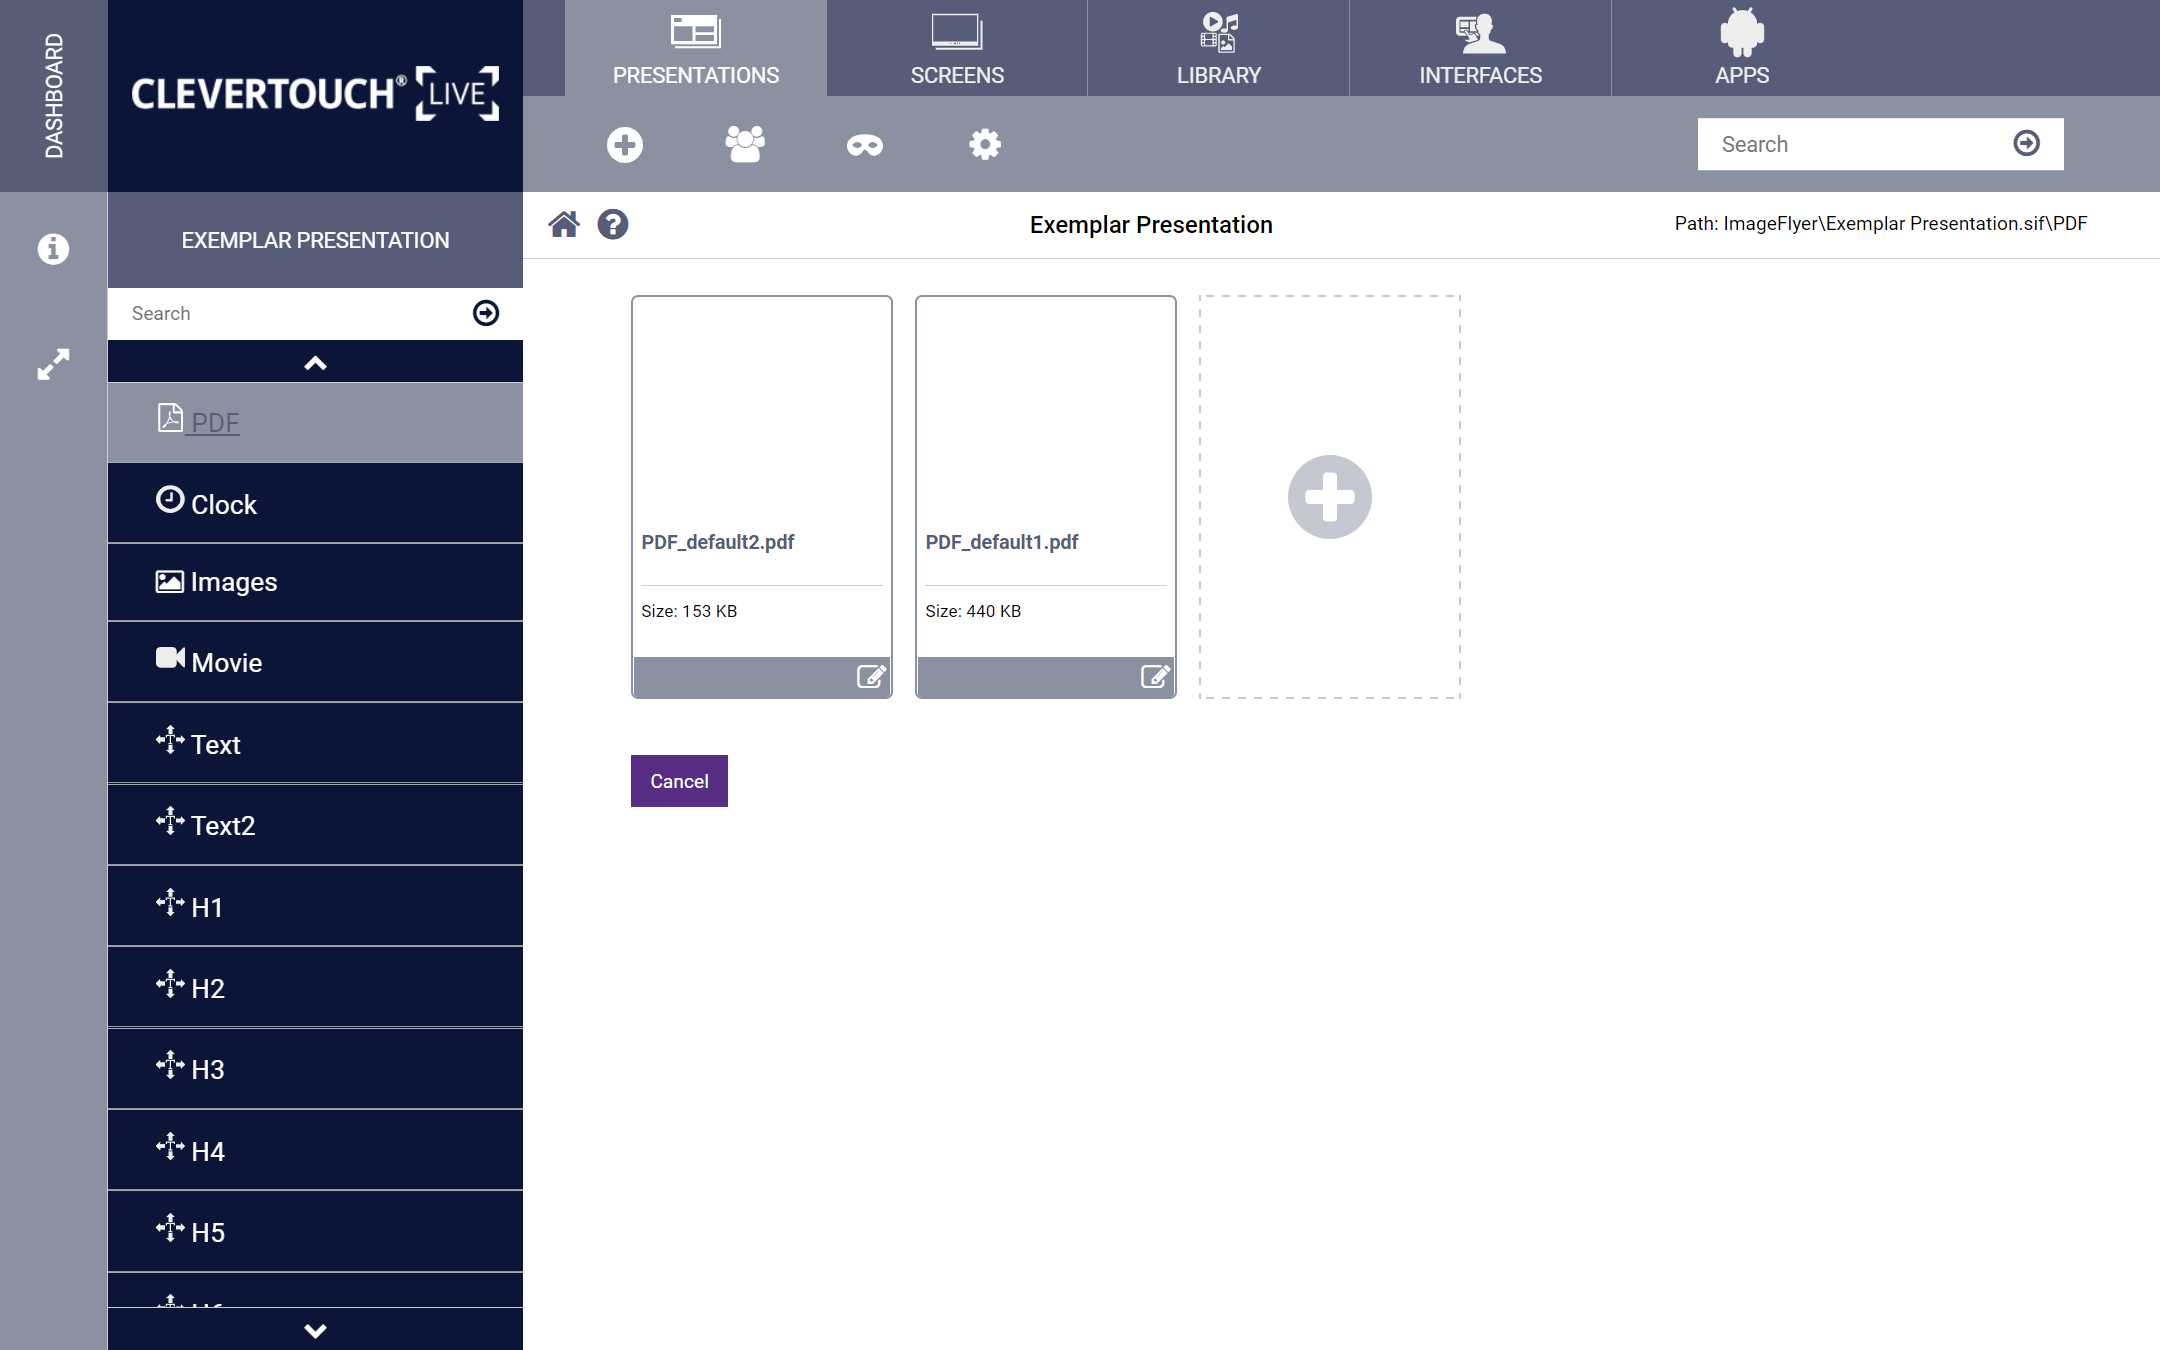
Double-click the zone to edit it further. This allows you to delete or add PDF files to the zone.
06
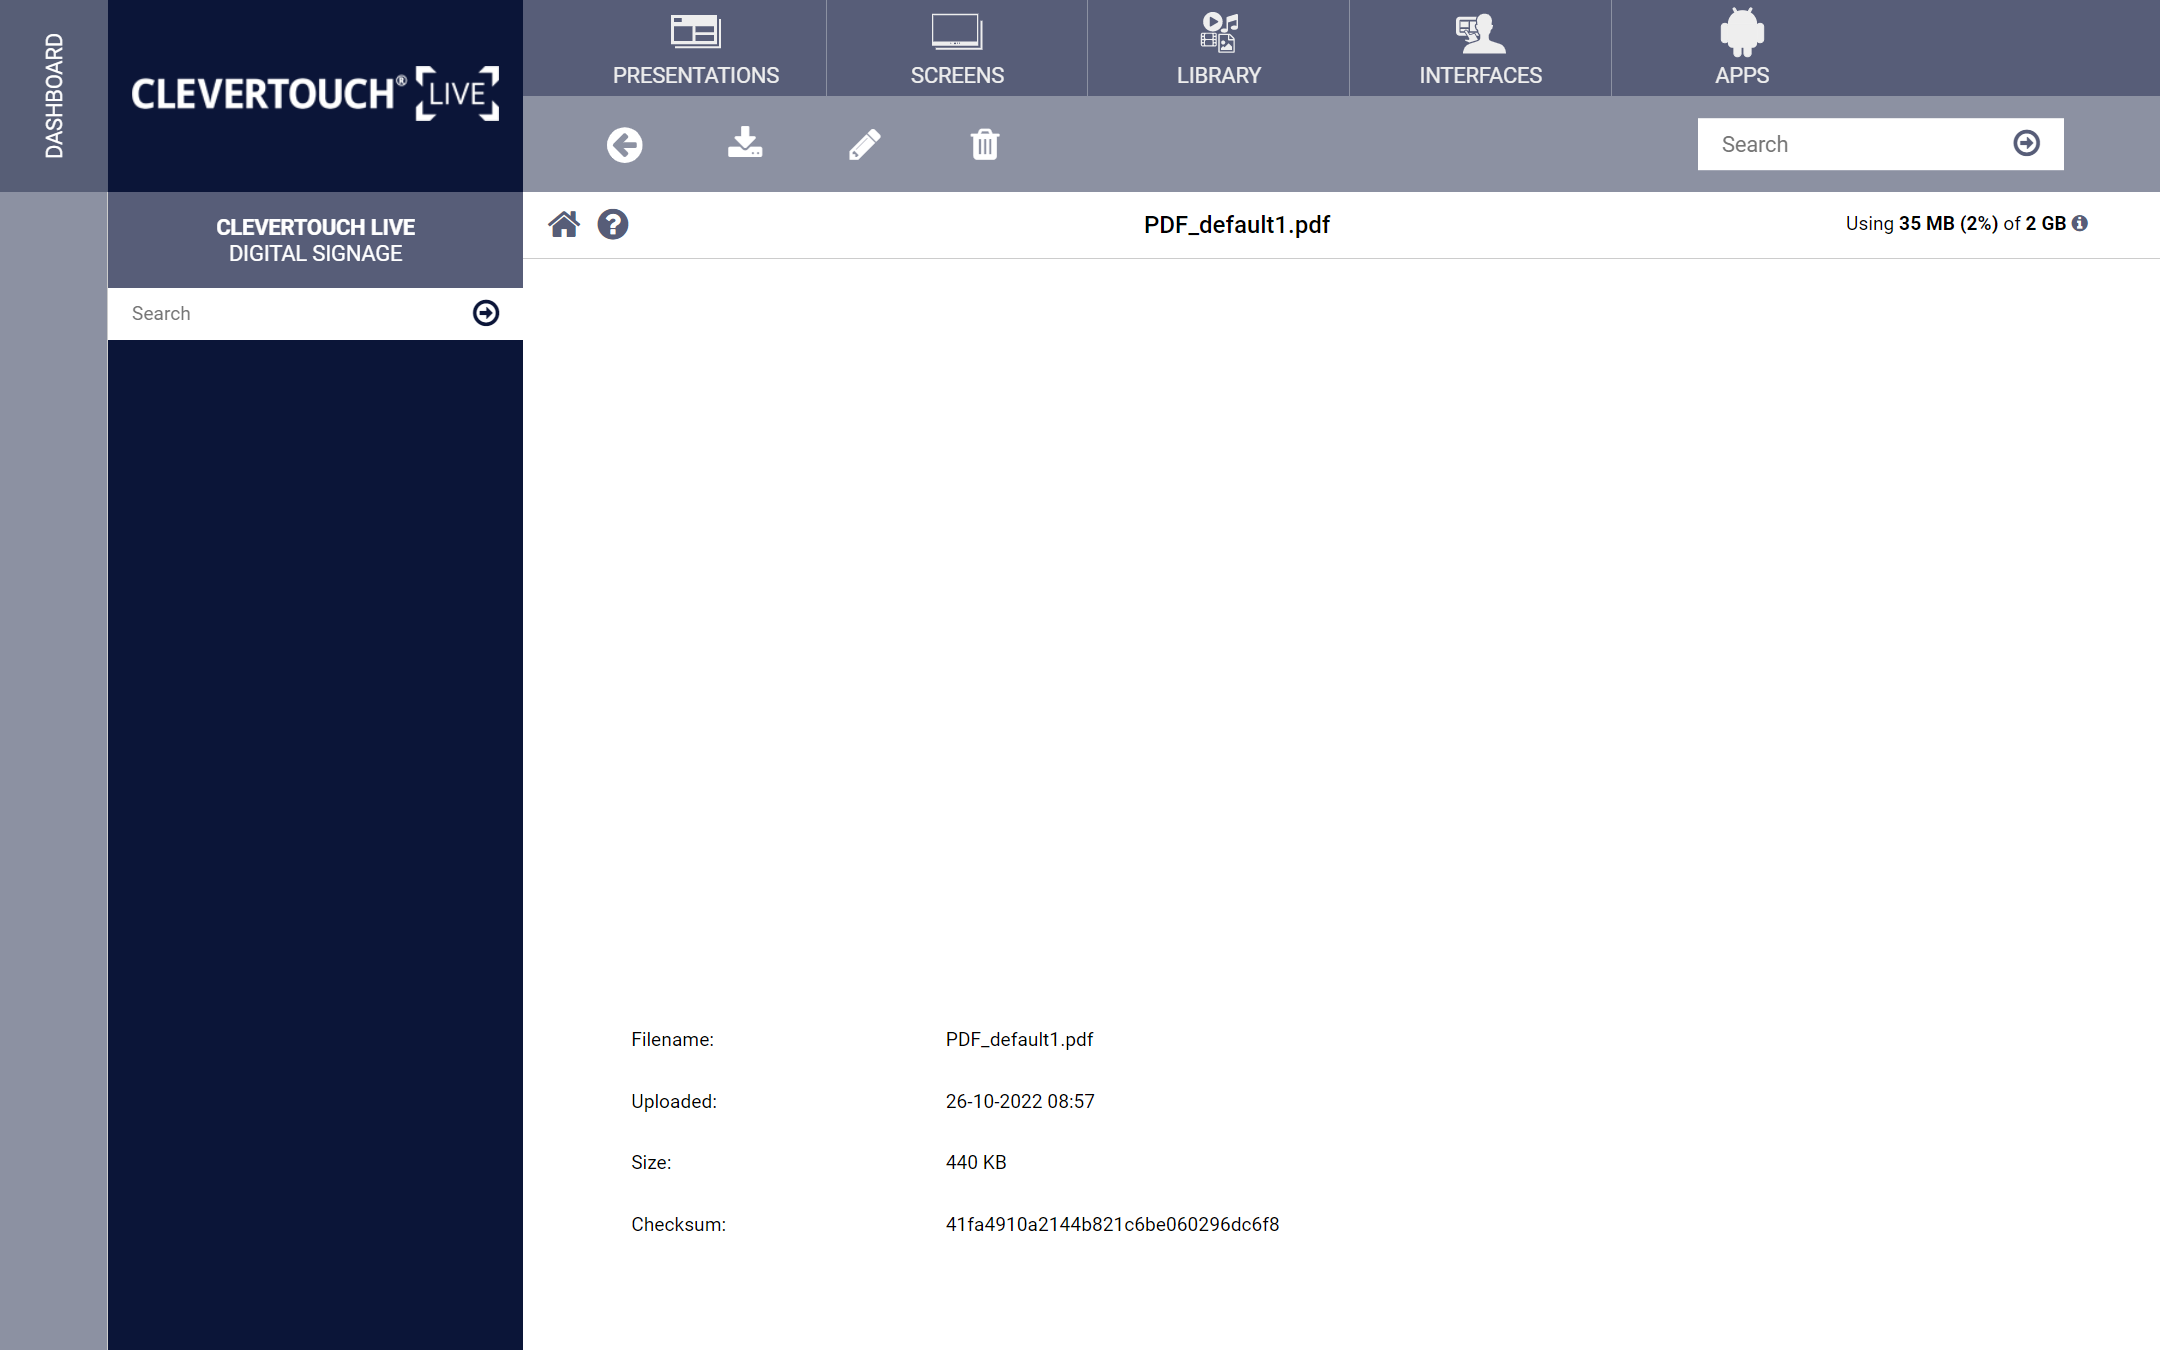
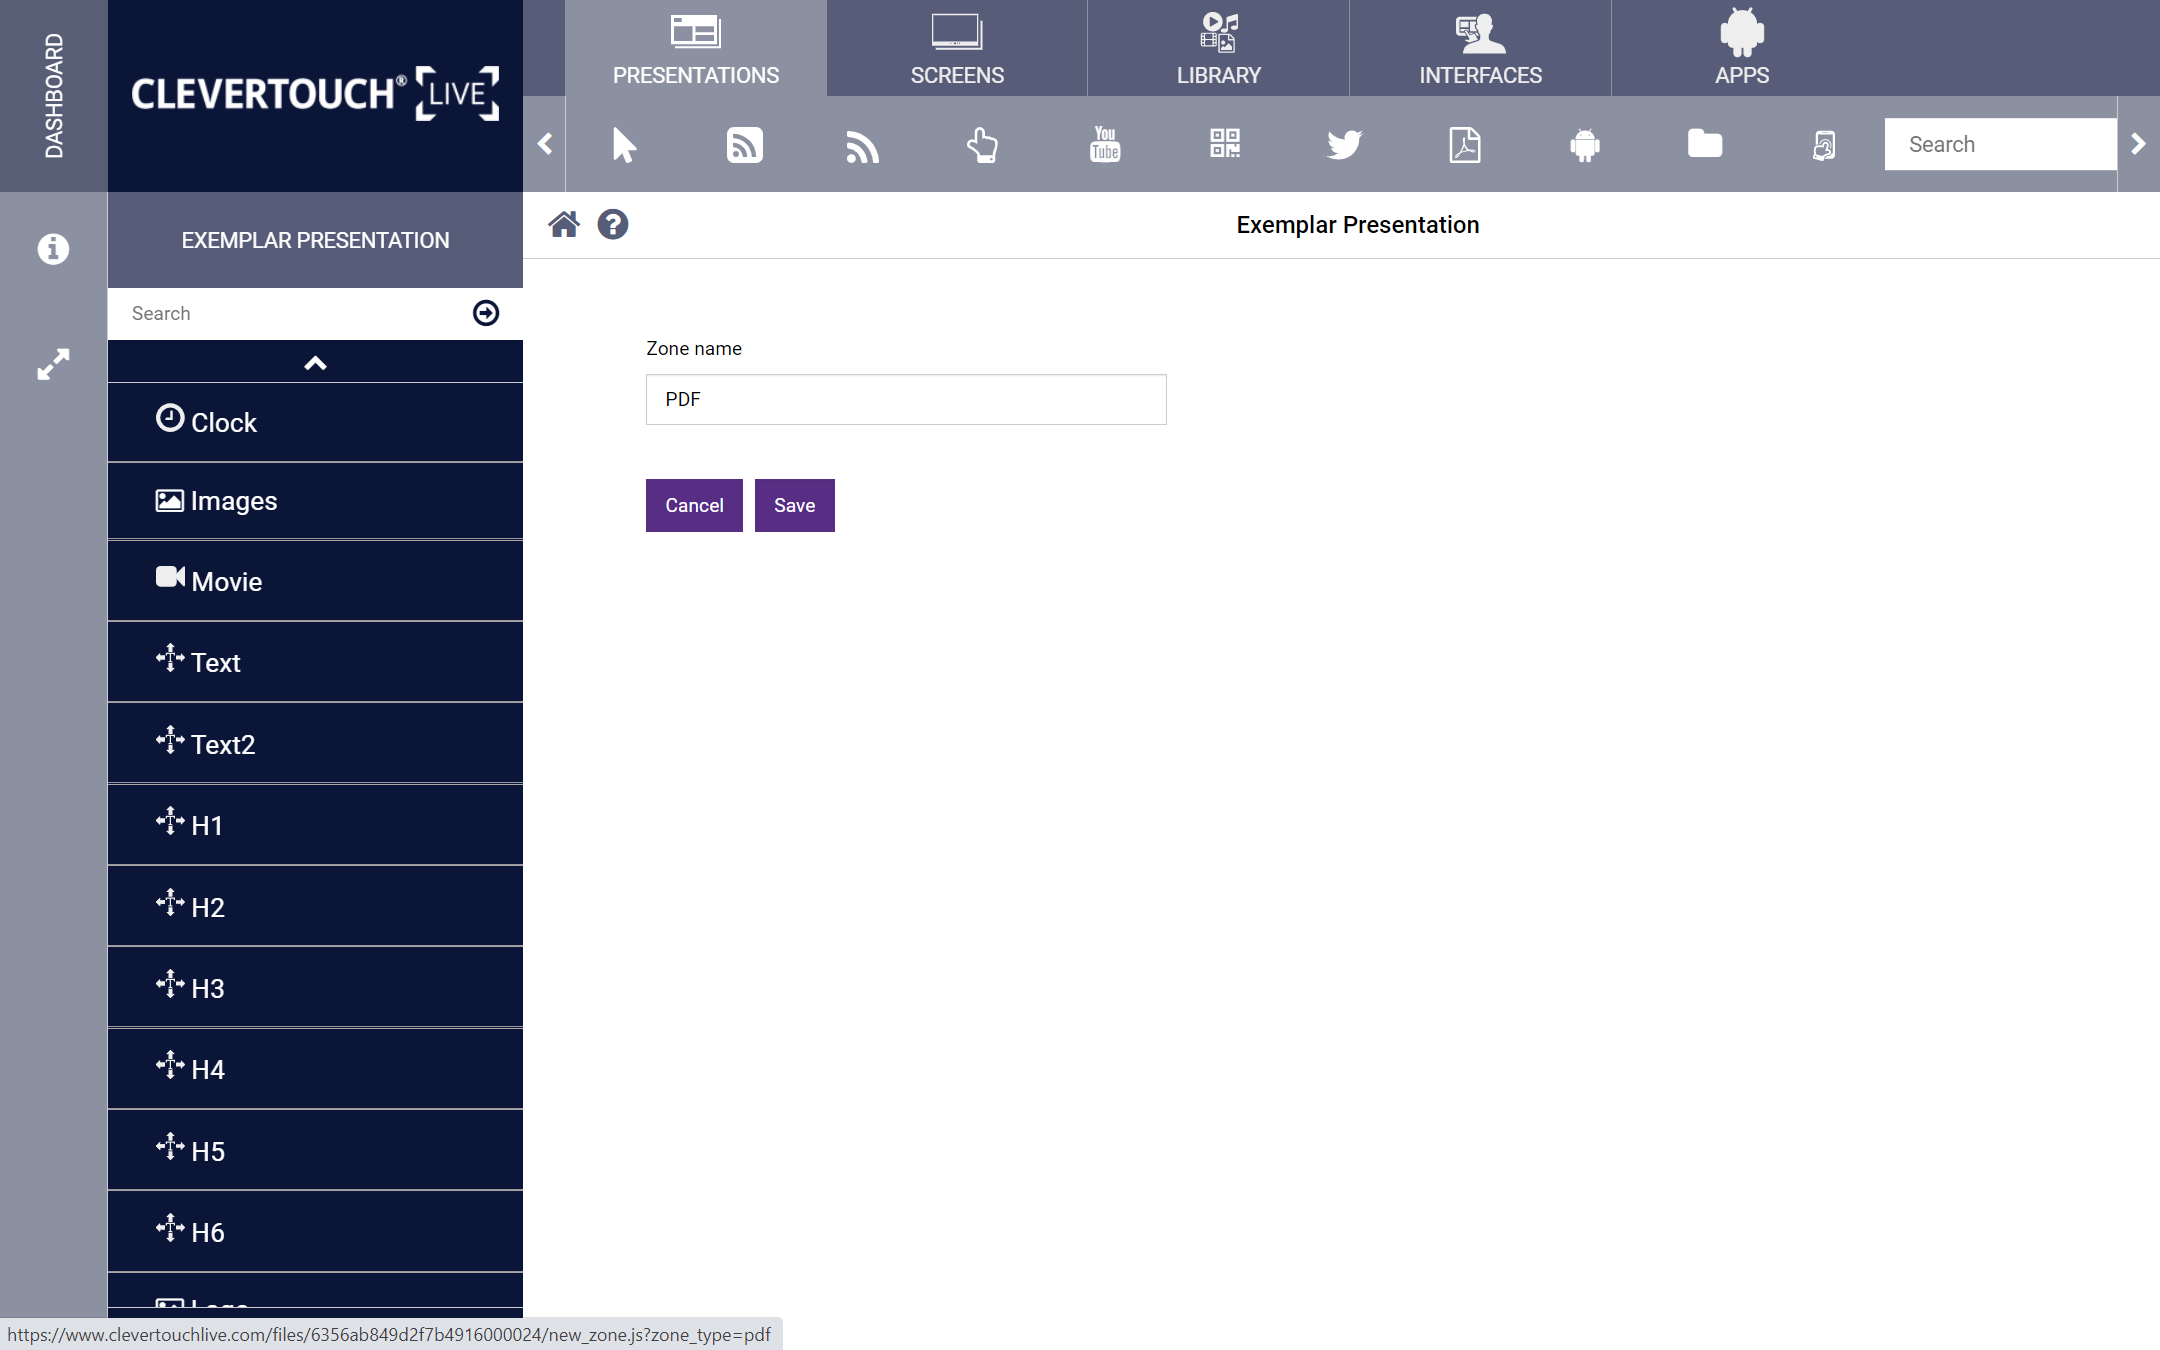
Select the ‘edit’ menu option to make changes to your file. This allows you to download the PDF to your computer, change the zone name, and delete.
07
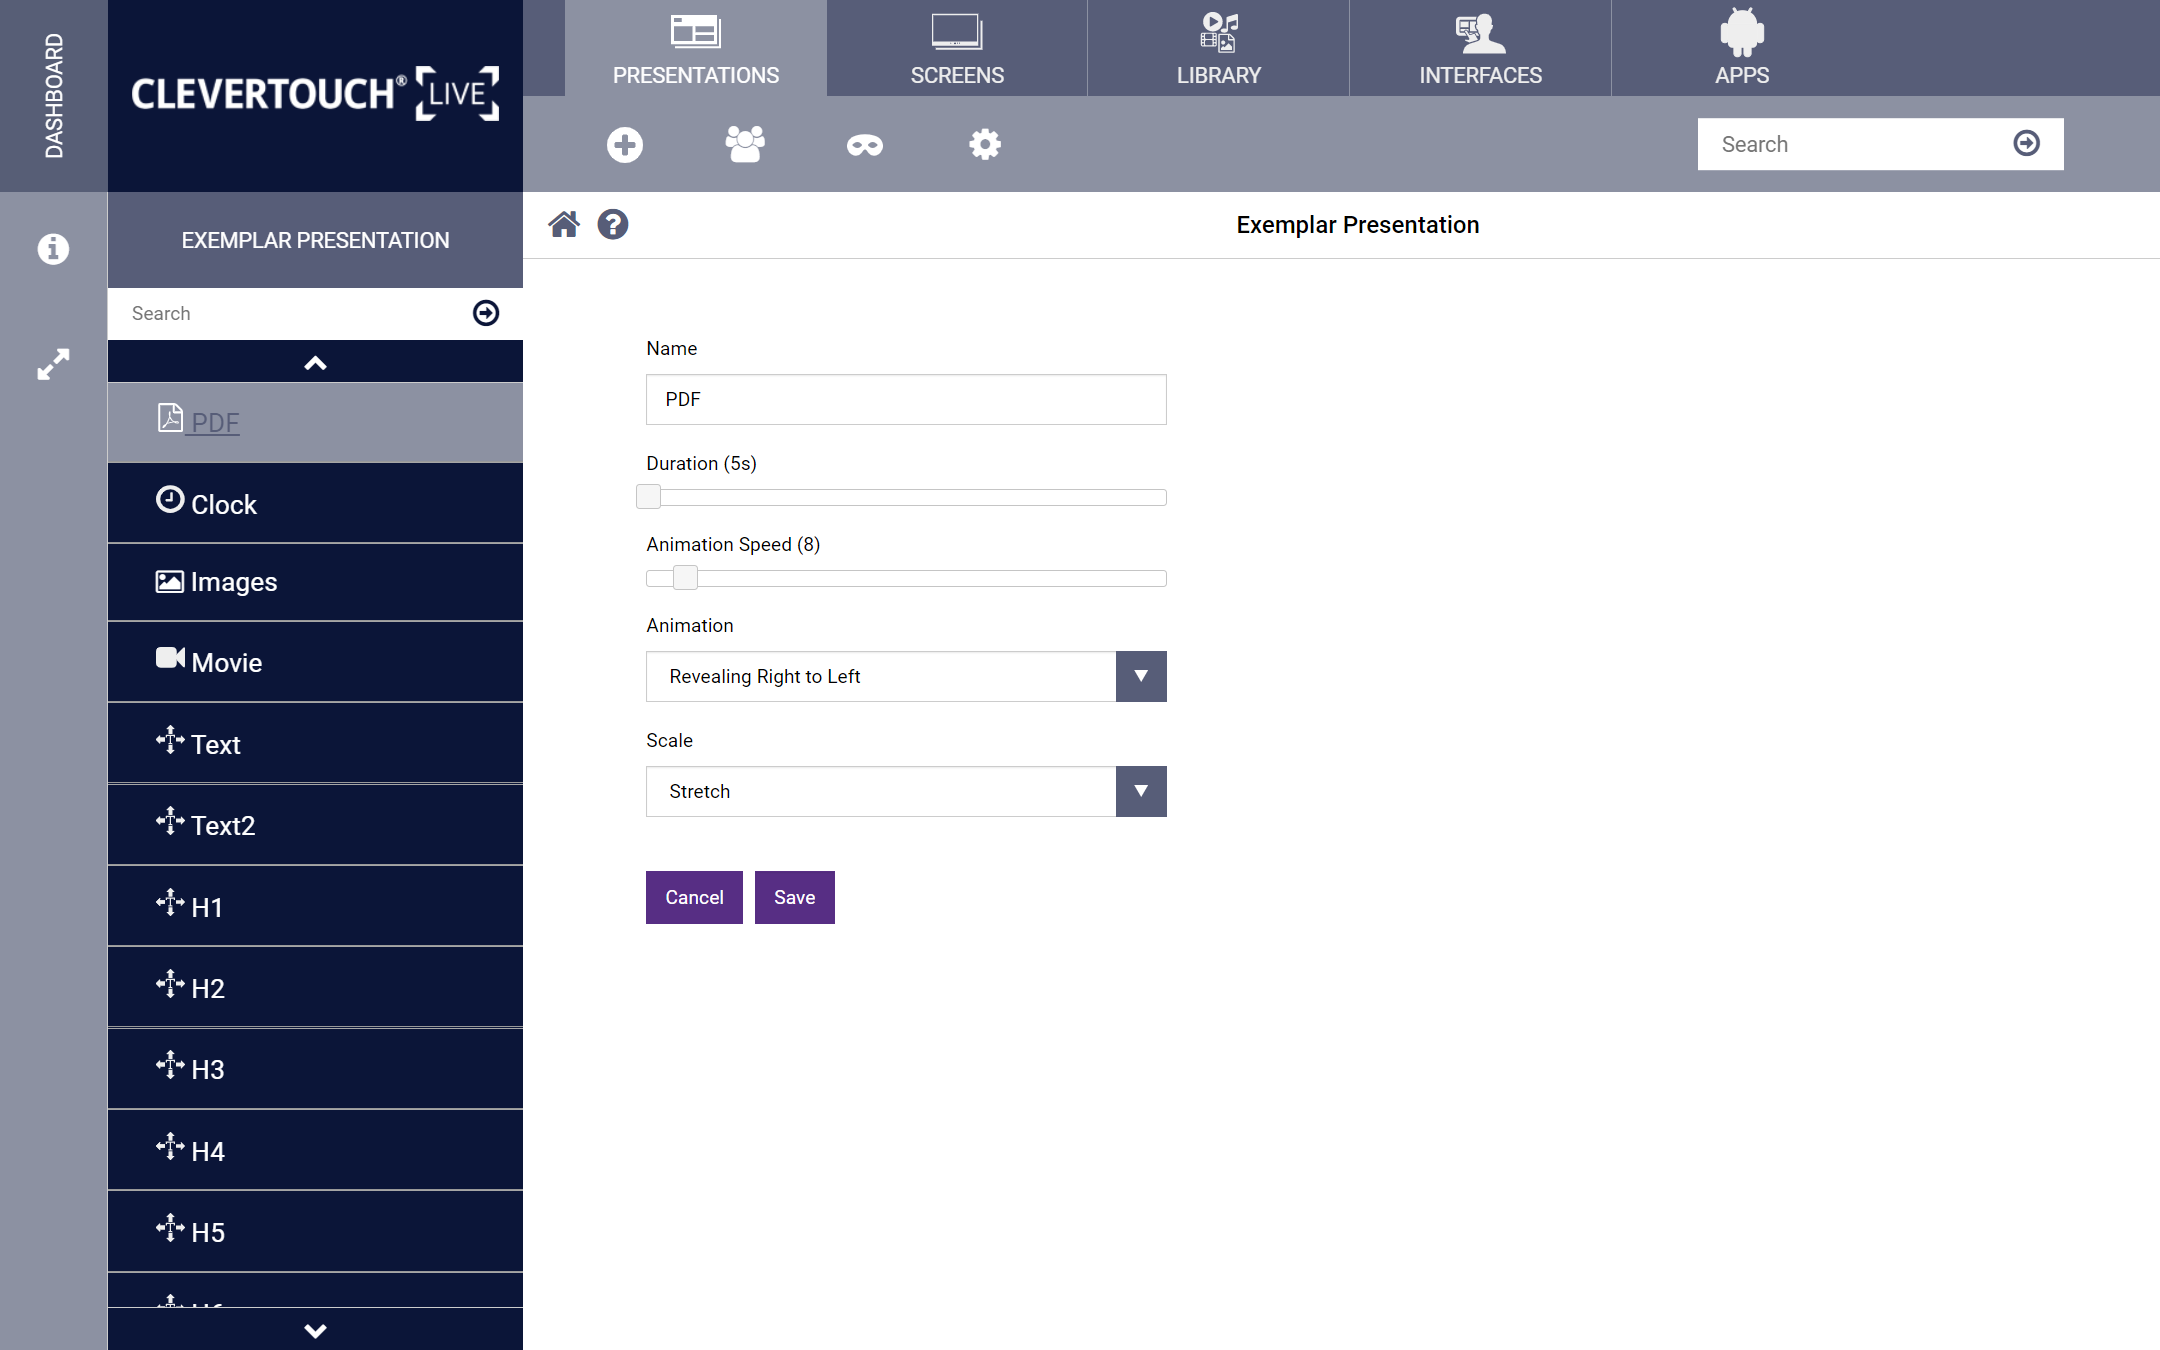
Select the ‘Settings’ cog icon to set the name, duration of each PDF, animation speed, animation style, and scaling options.
09
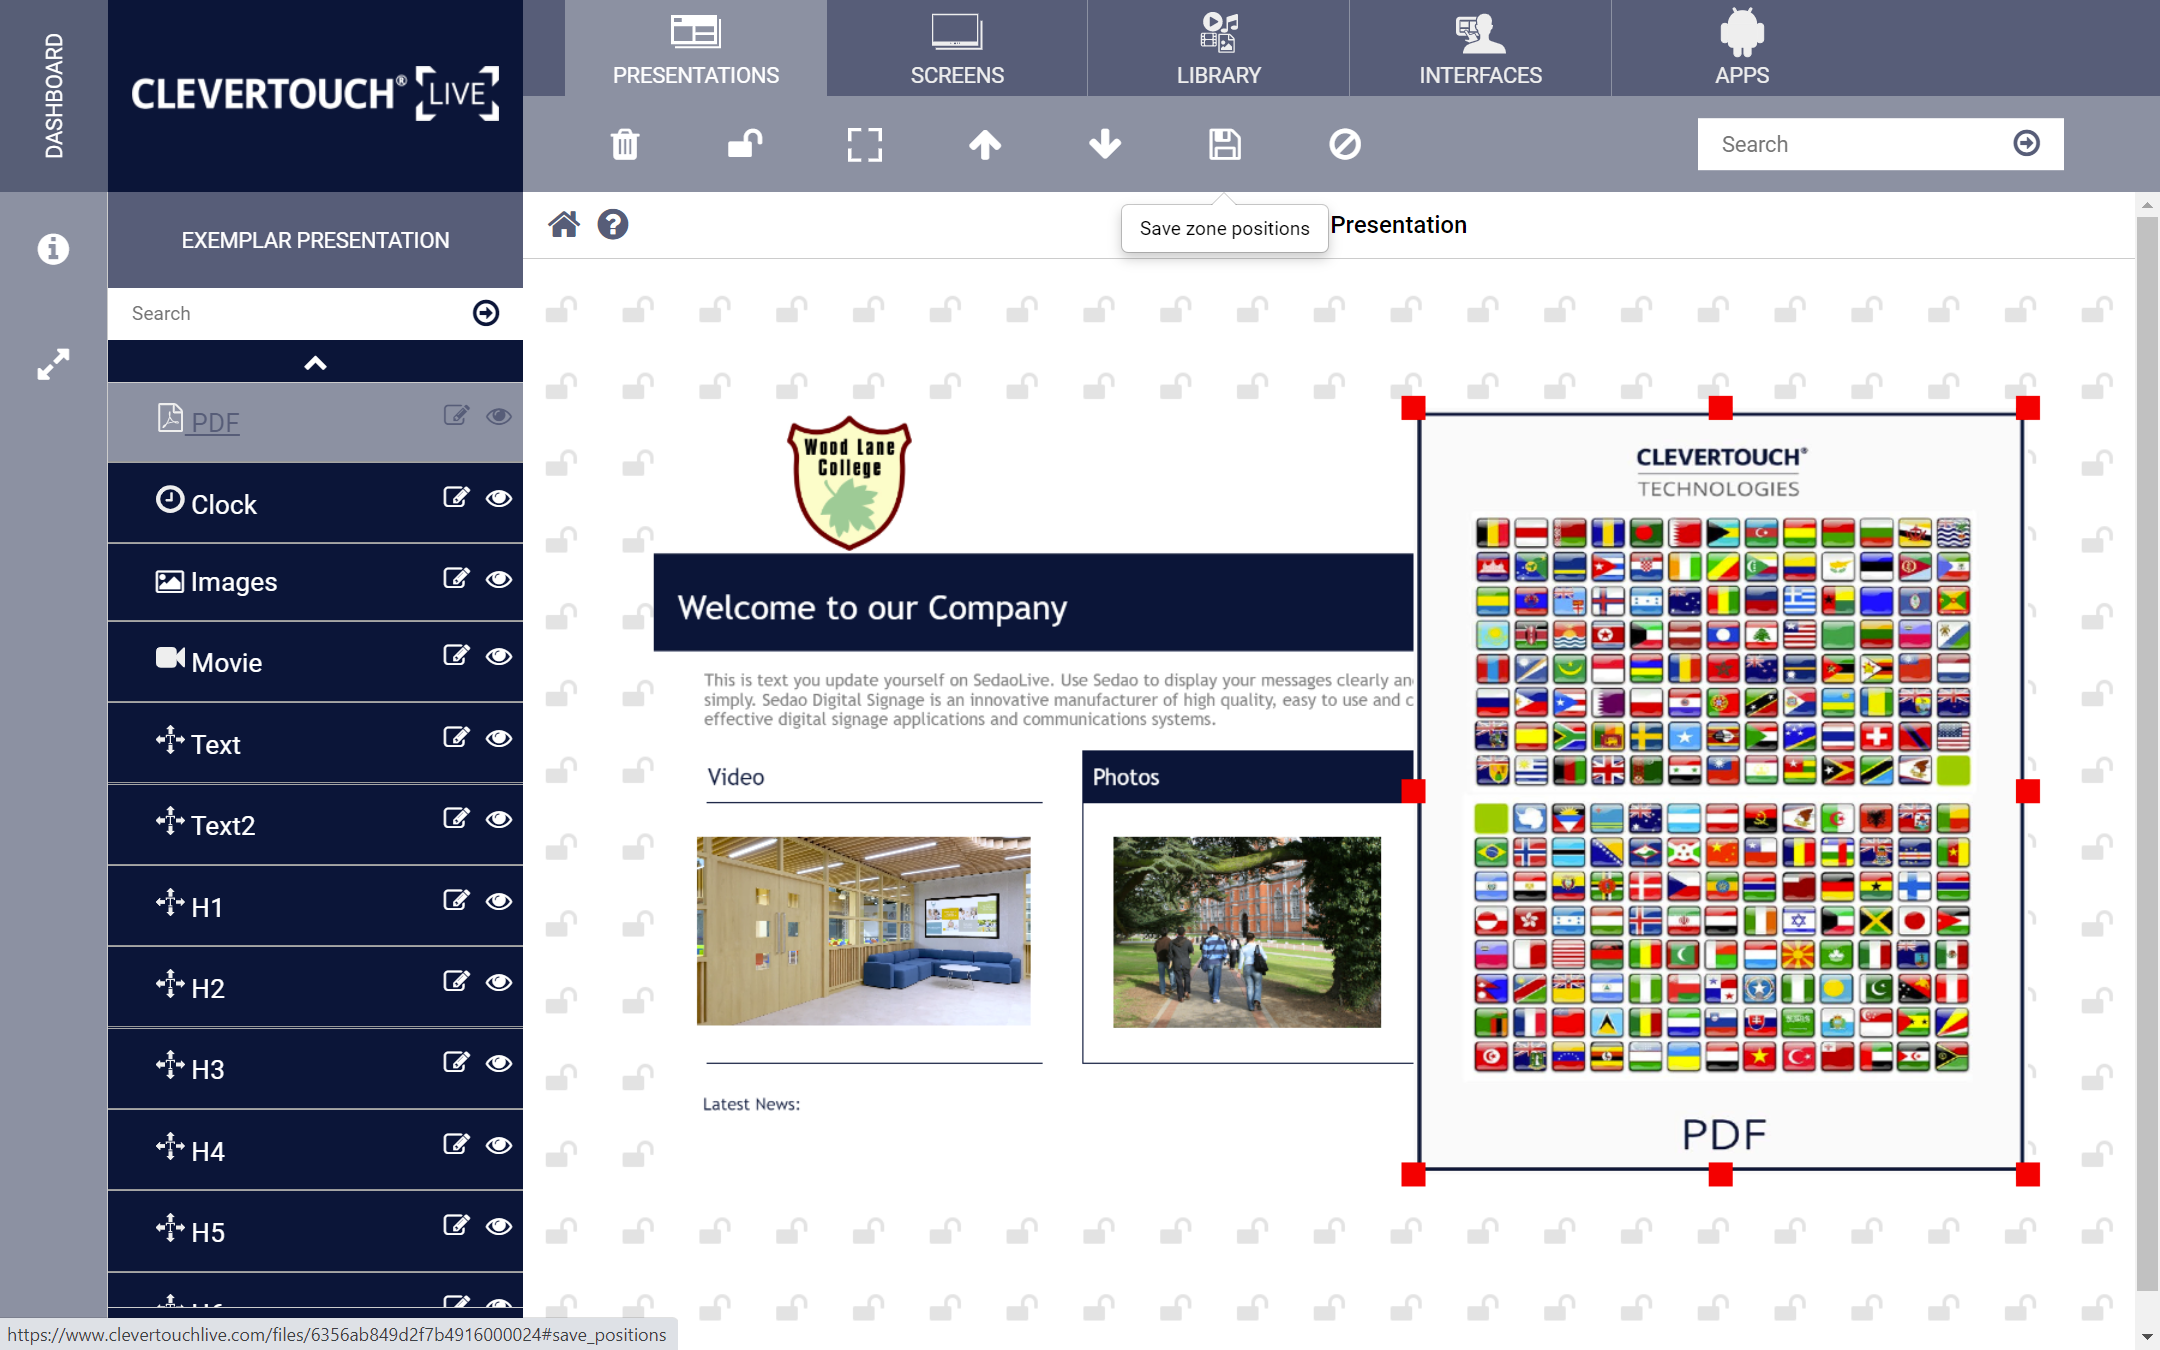
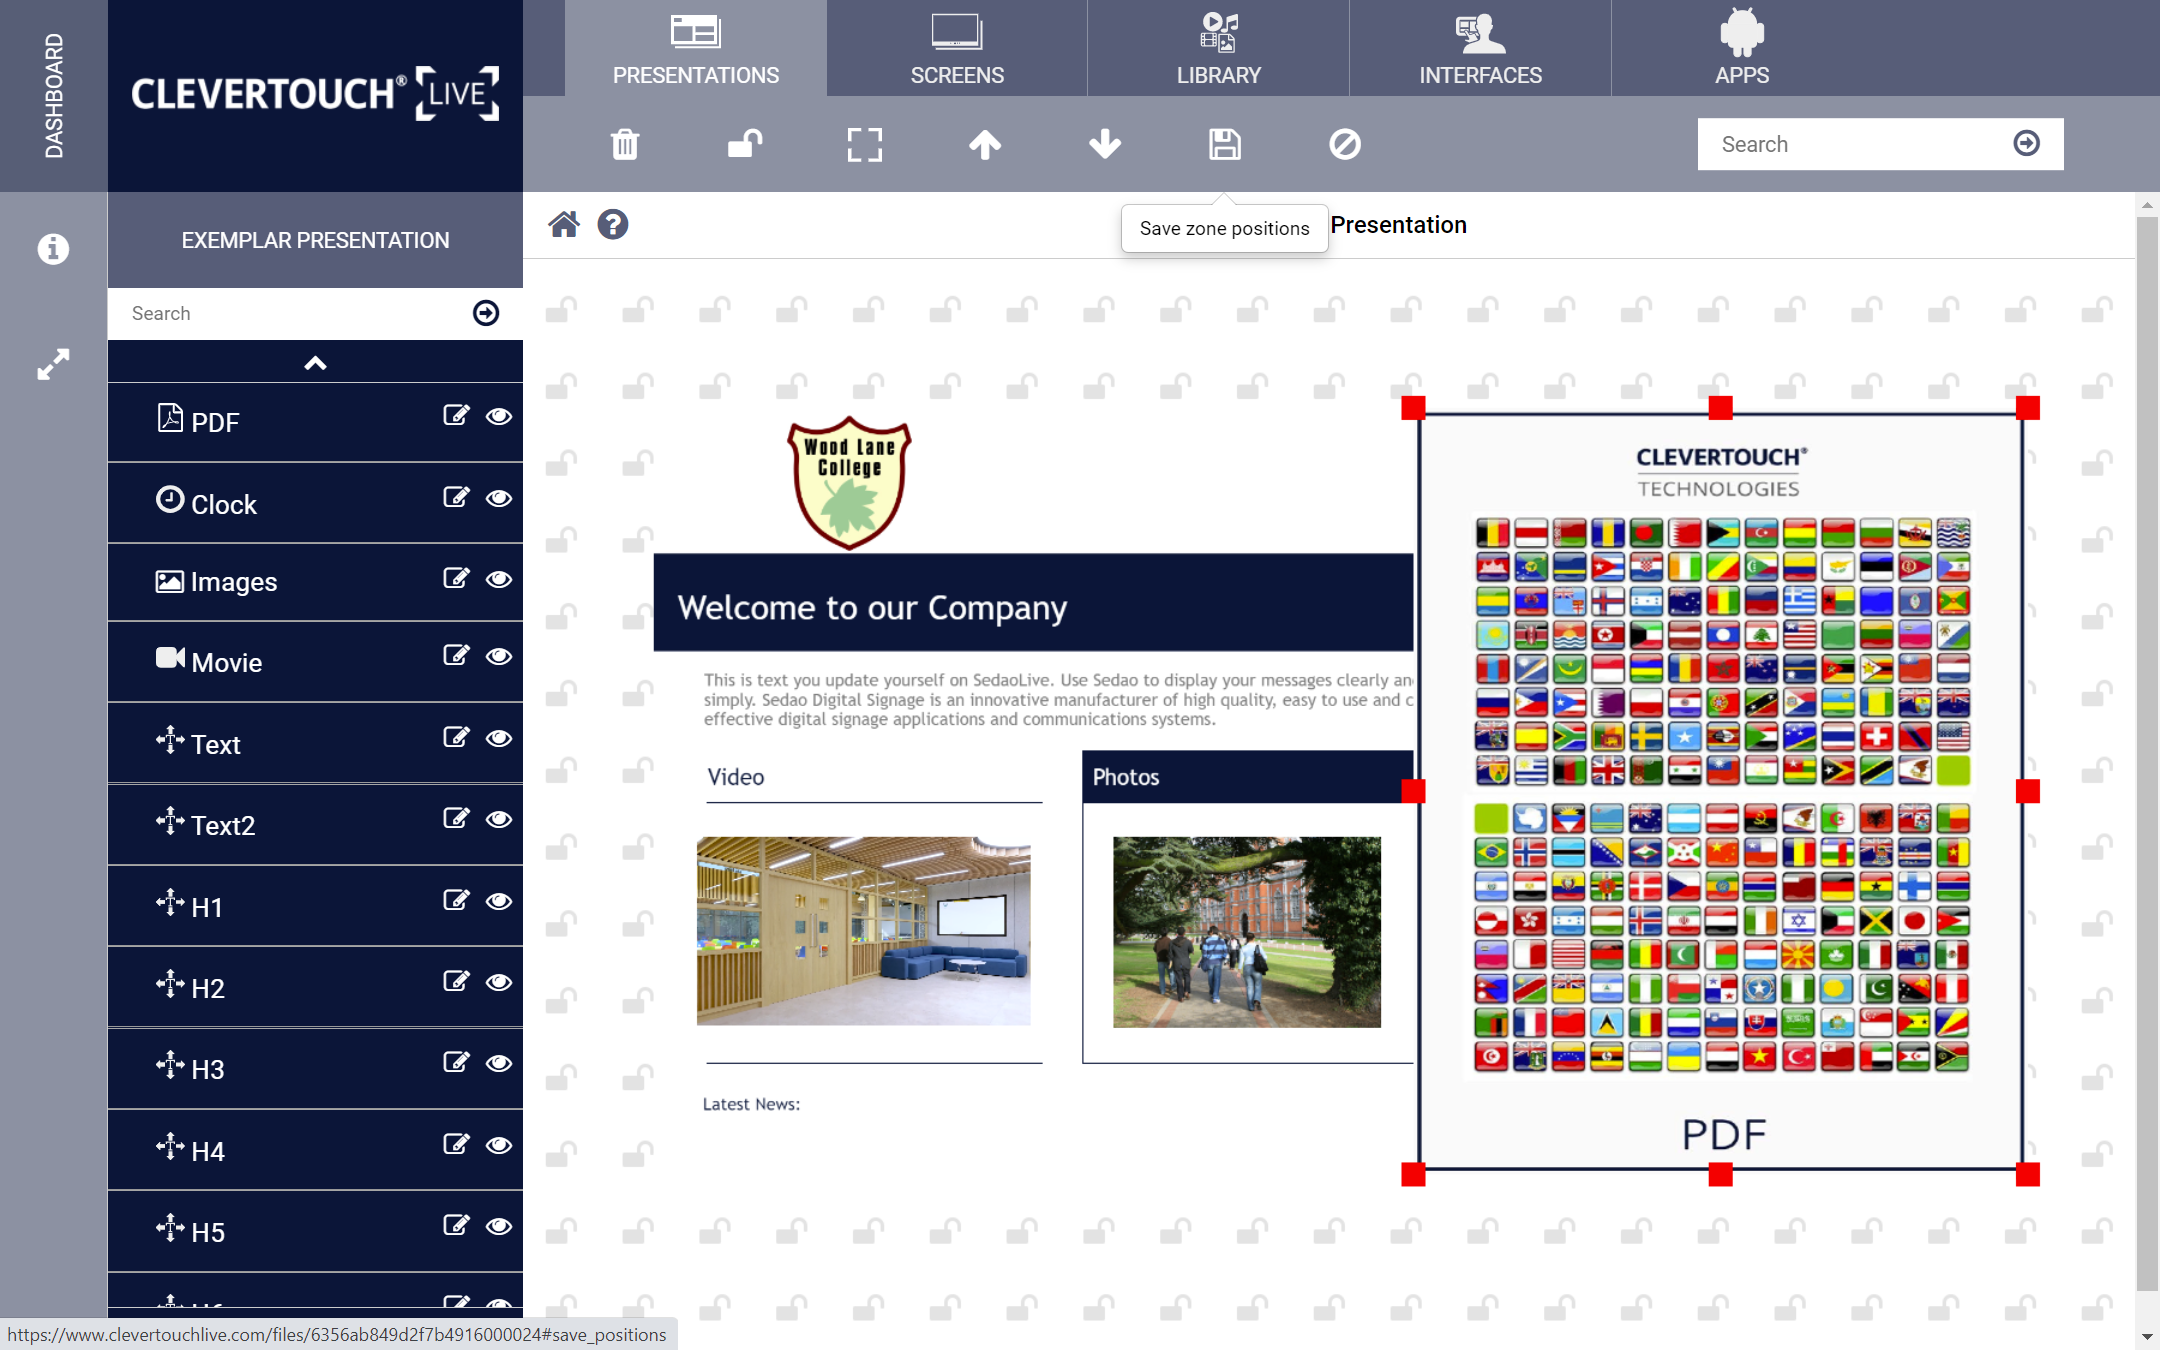
Select the ‘Lock’ icon again to commit your changes to the presentation and make it accessible on the system.