FAQ 10:
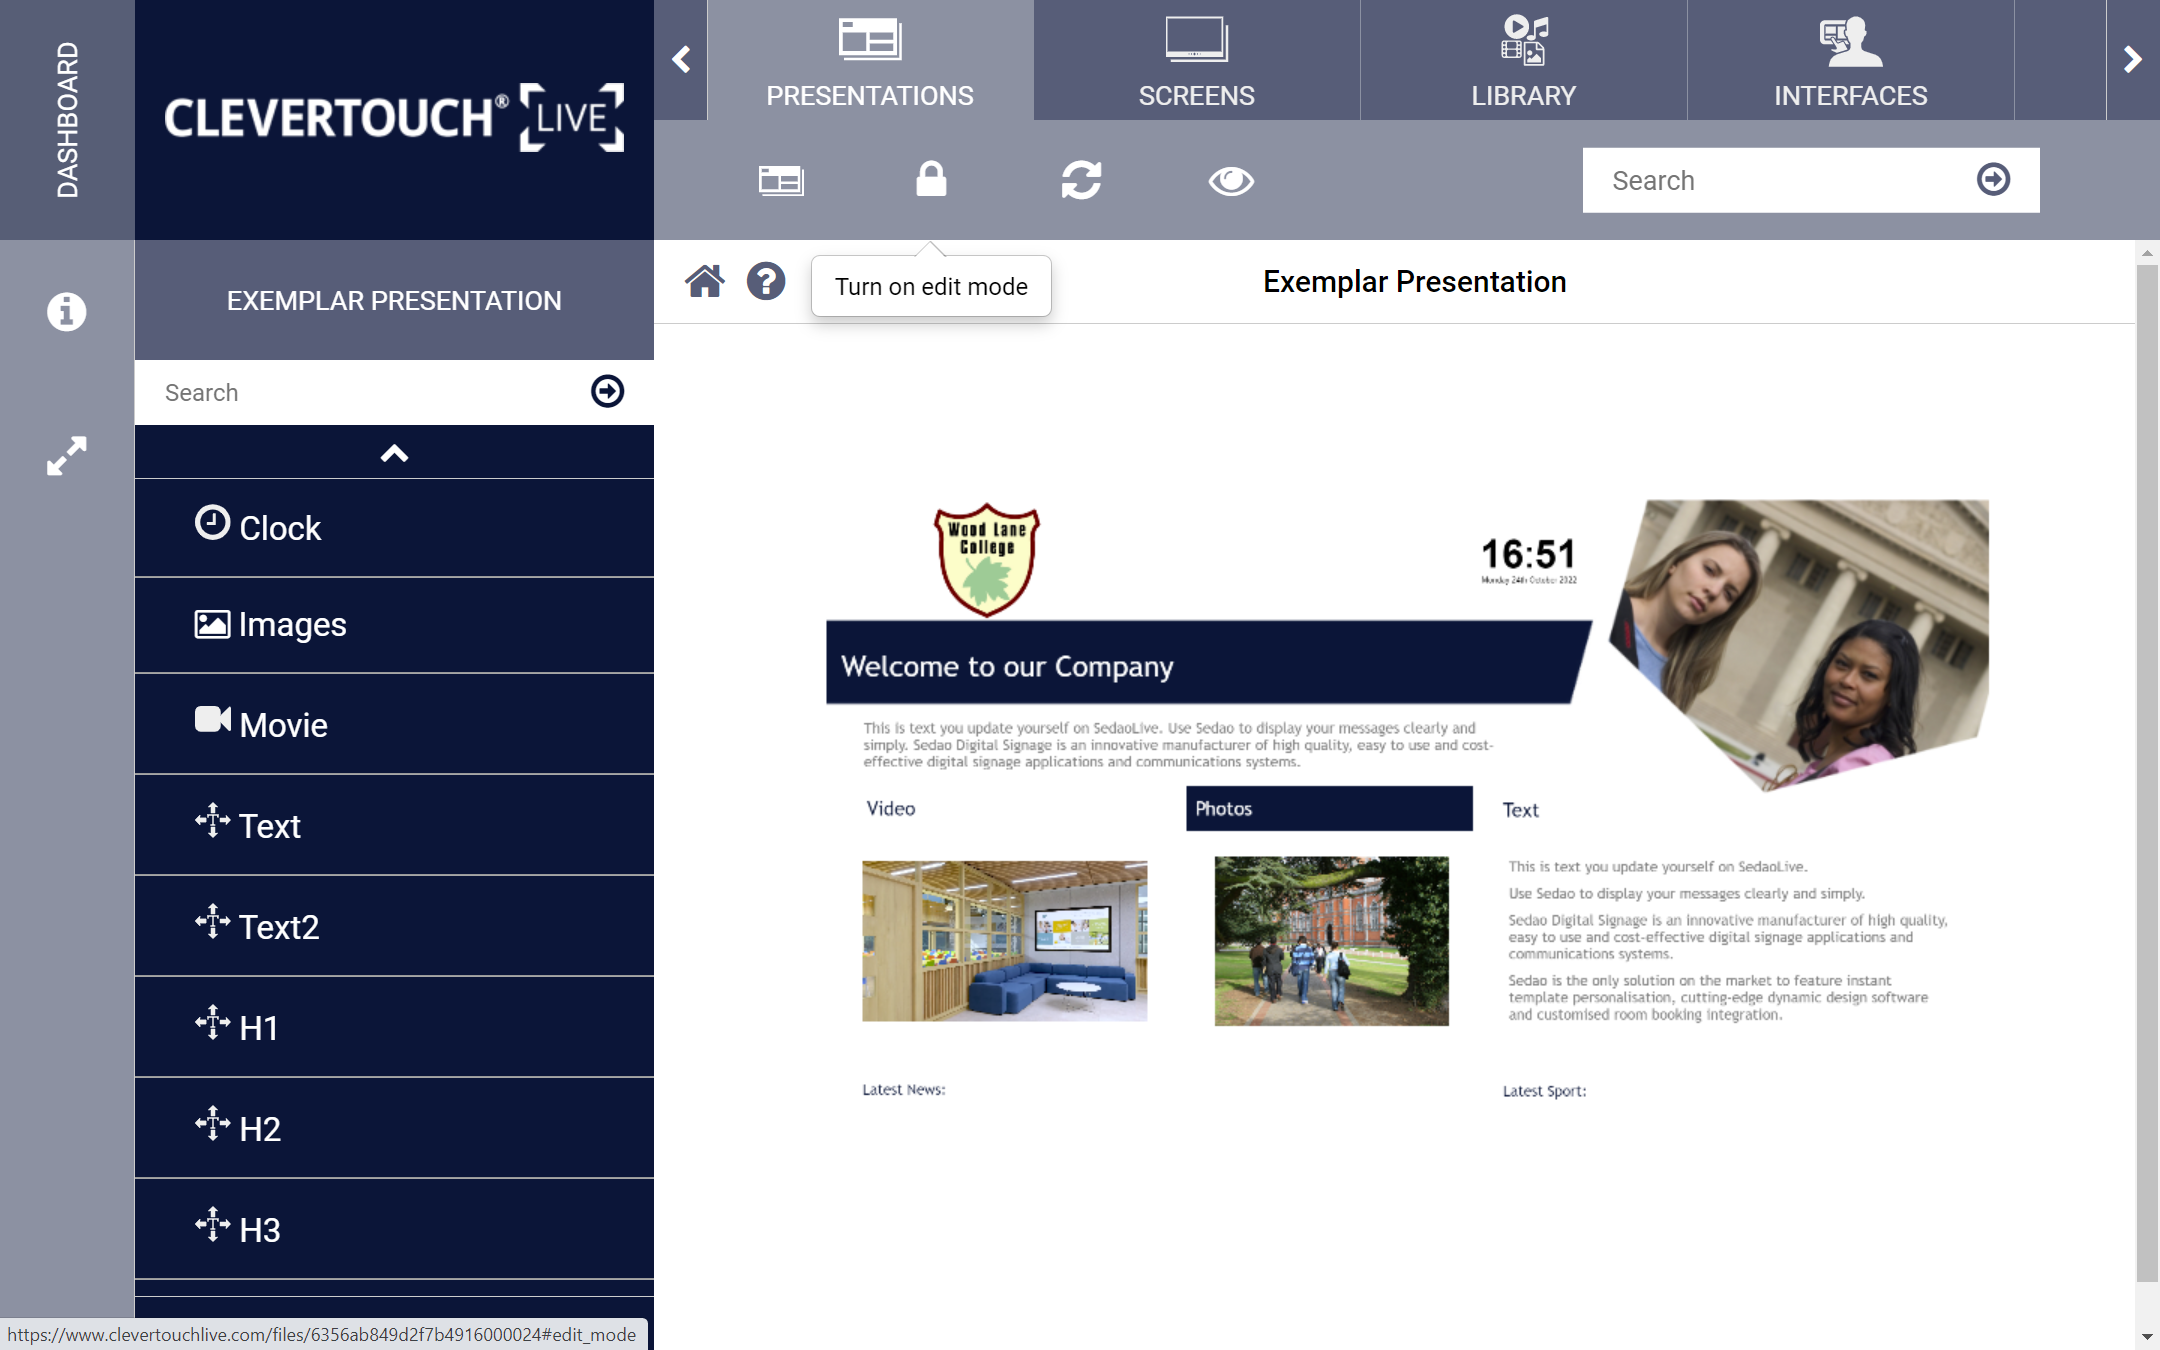
How do I add an image to my presentation
04
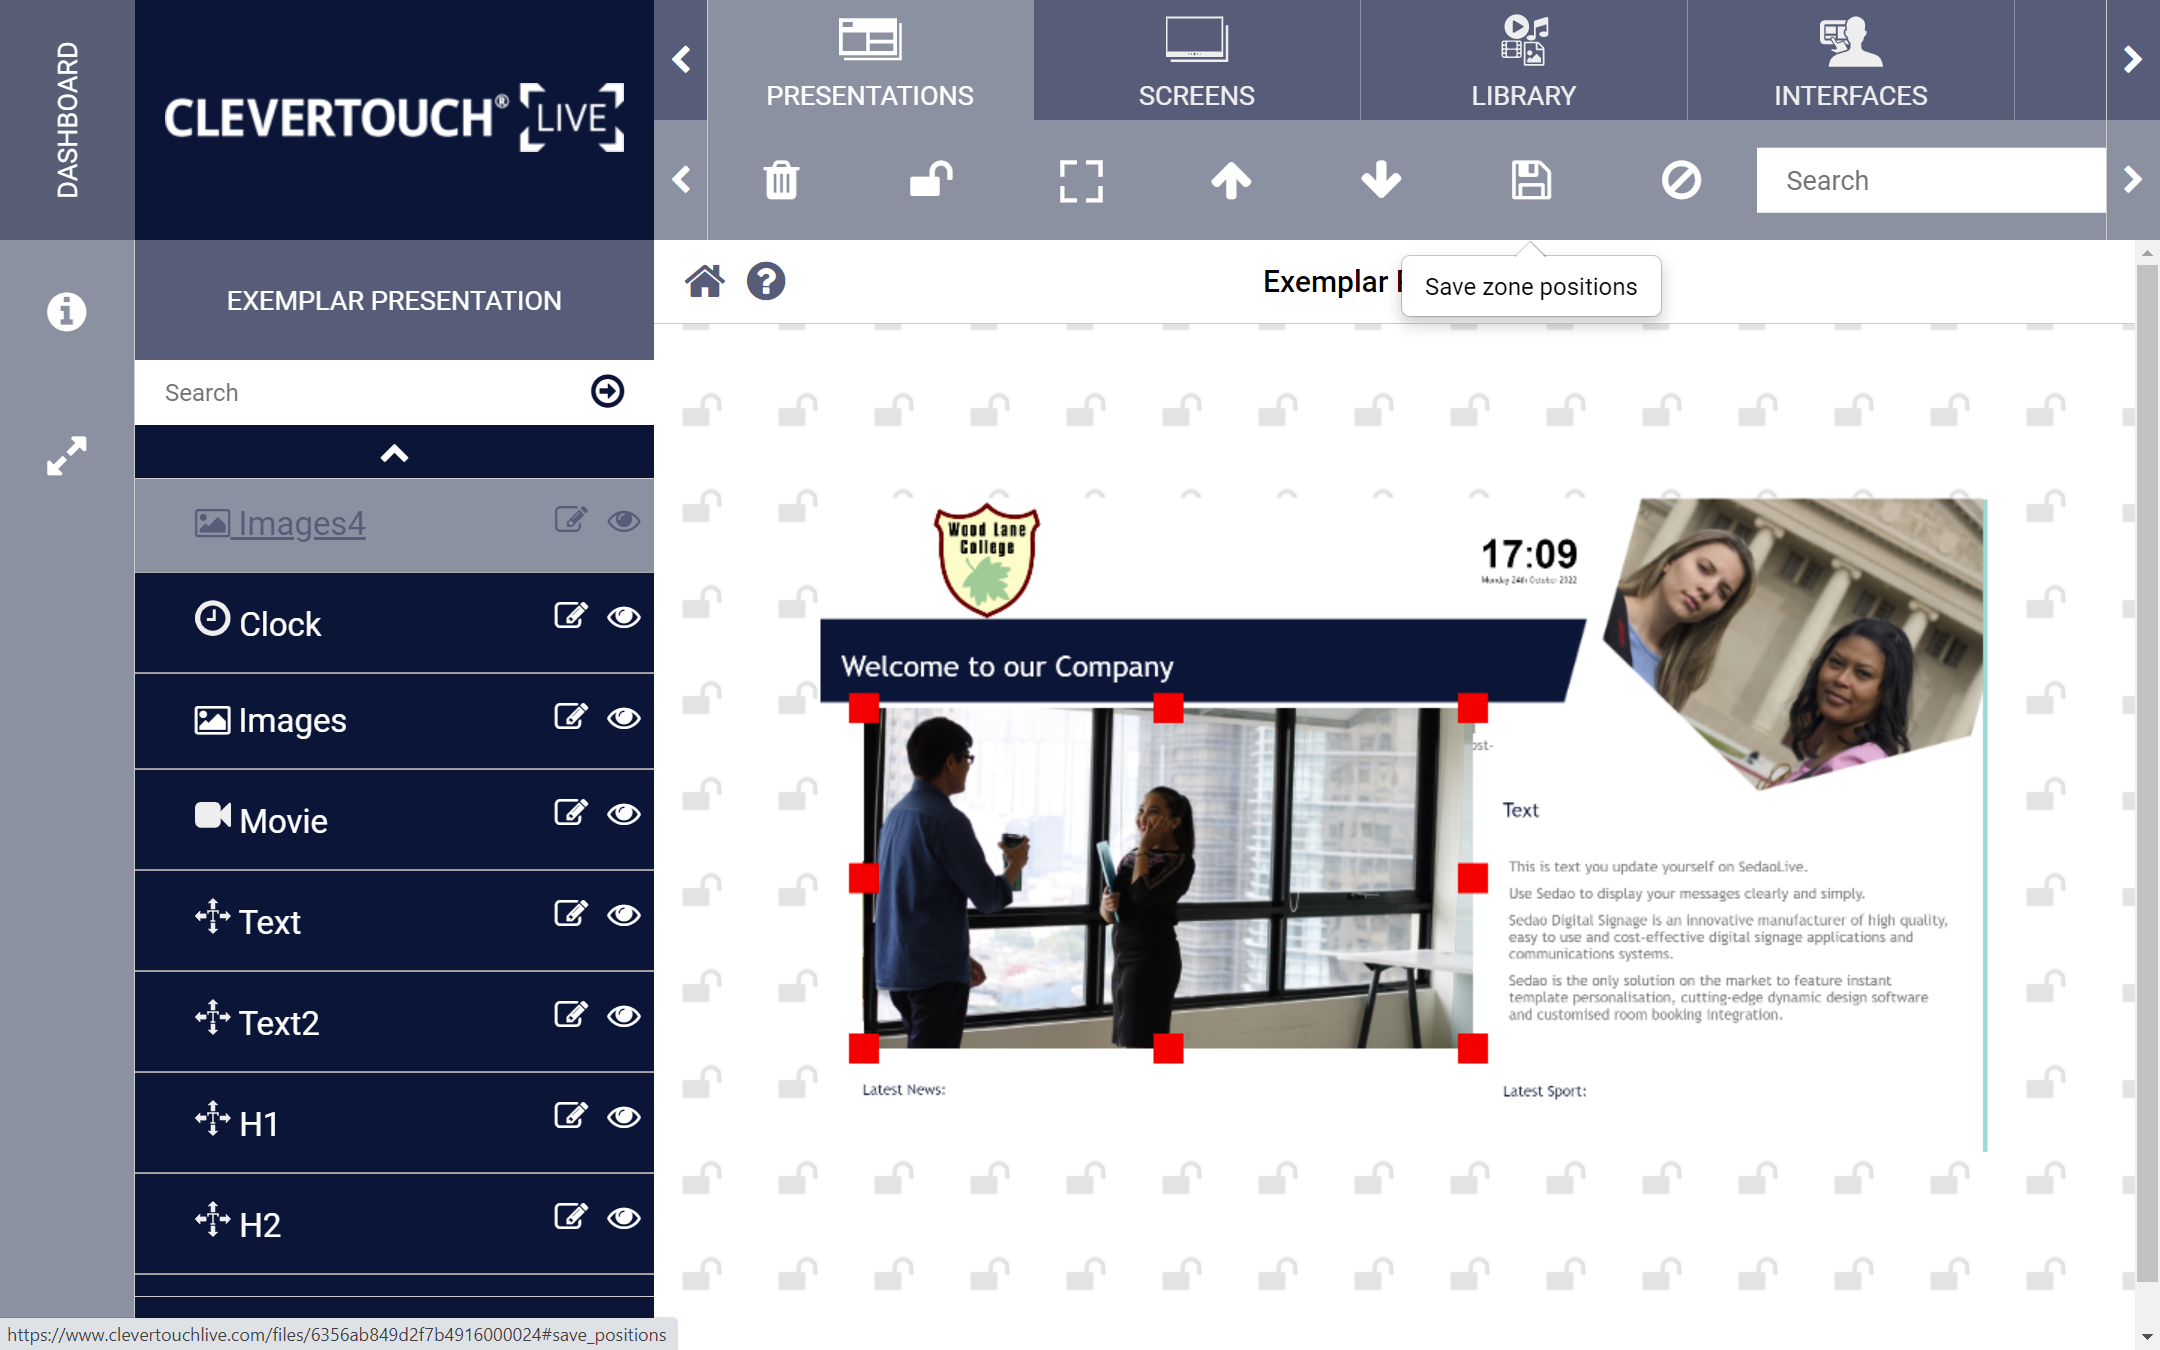
Select and drag the zone to set its dimensions. Select the ‘Save’ menu option to keep your changes. If required, double click the zone to edit it further.
05
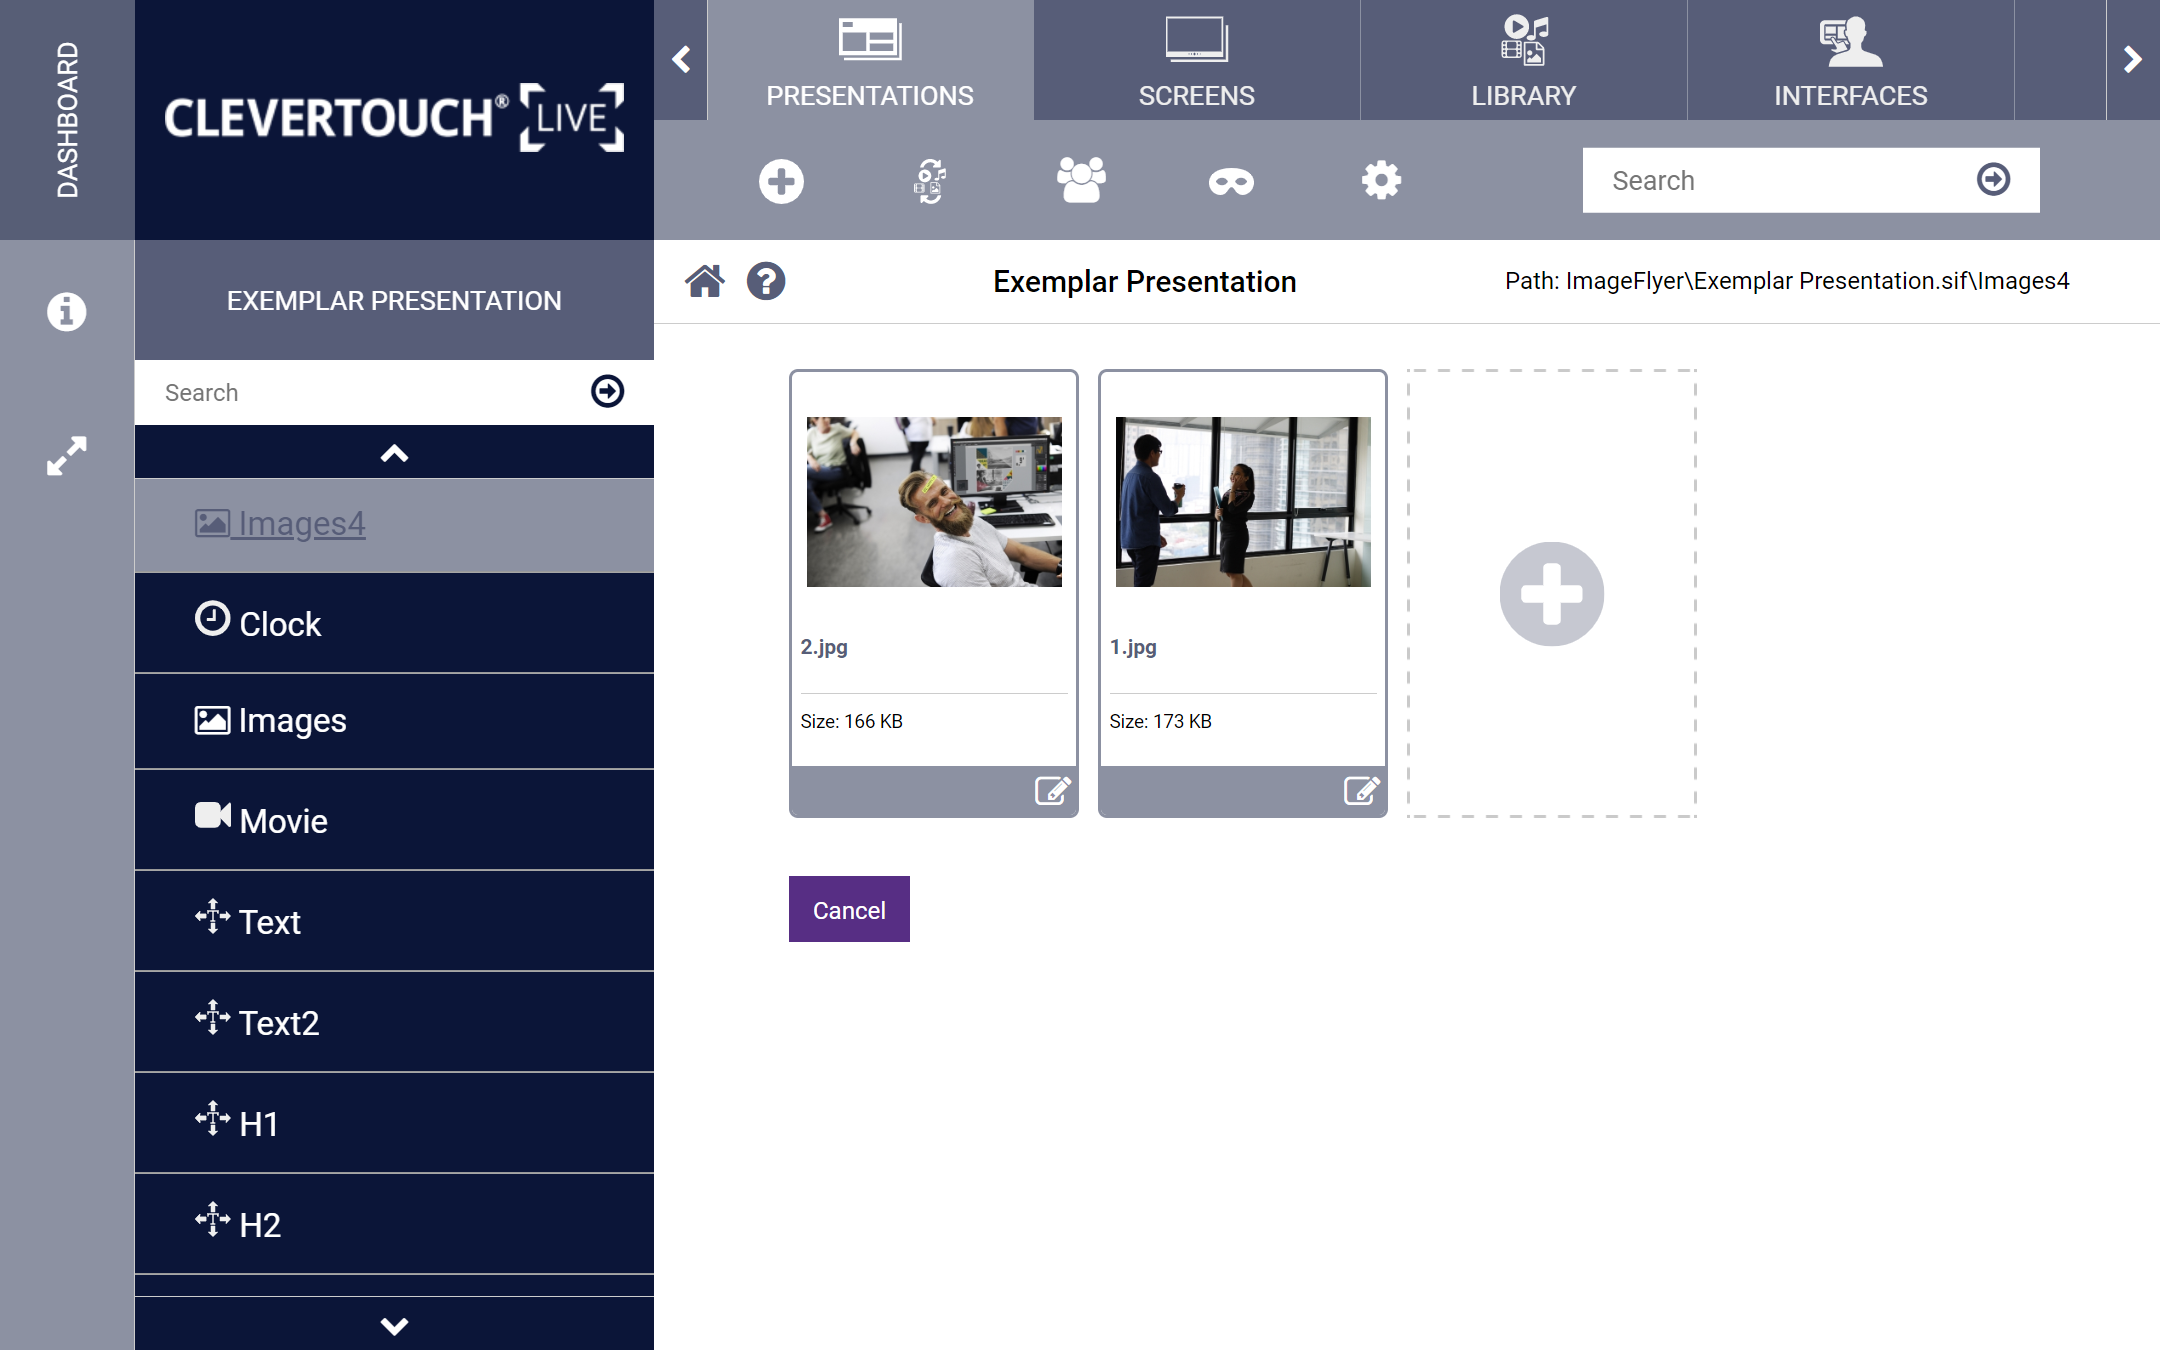
Select the 'Edit' icon for the image you want to adjust. Drag-and drop to change their order, or select an image then choose the ‘delete’ option to remove it. Alternatively, select the upload (+) icon to upload a file of your choice.
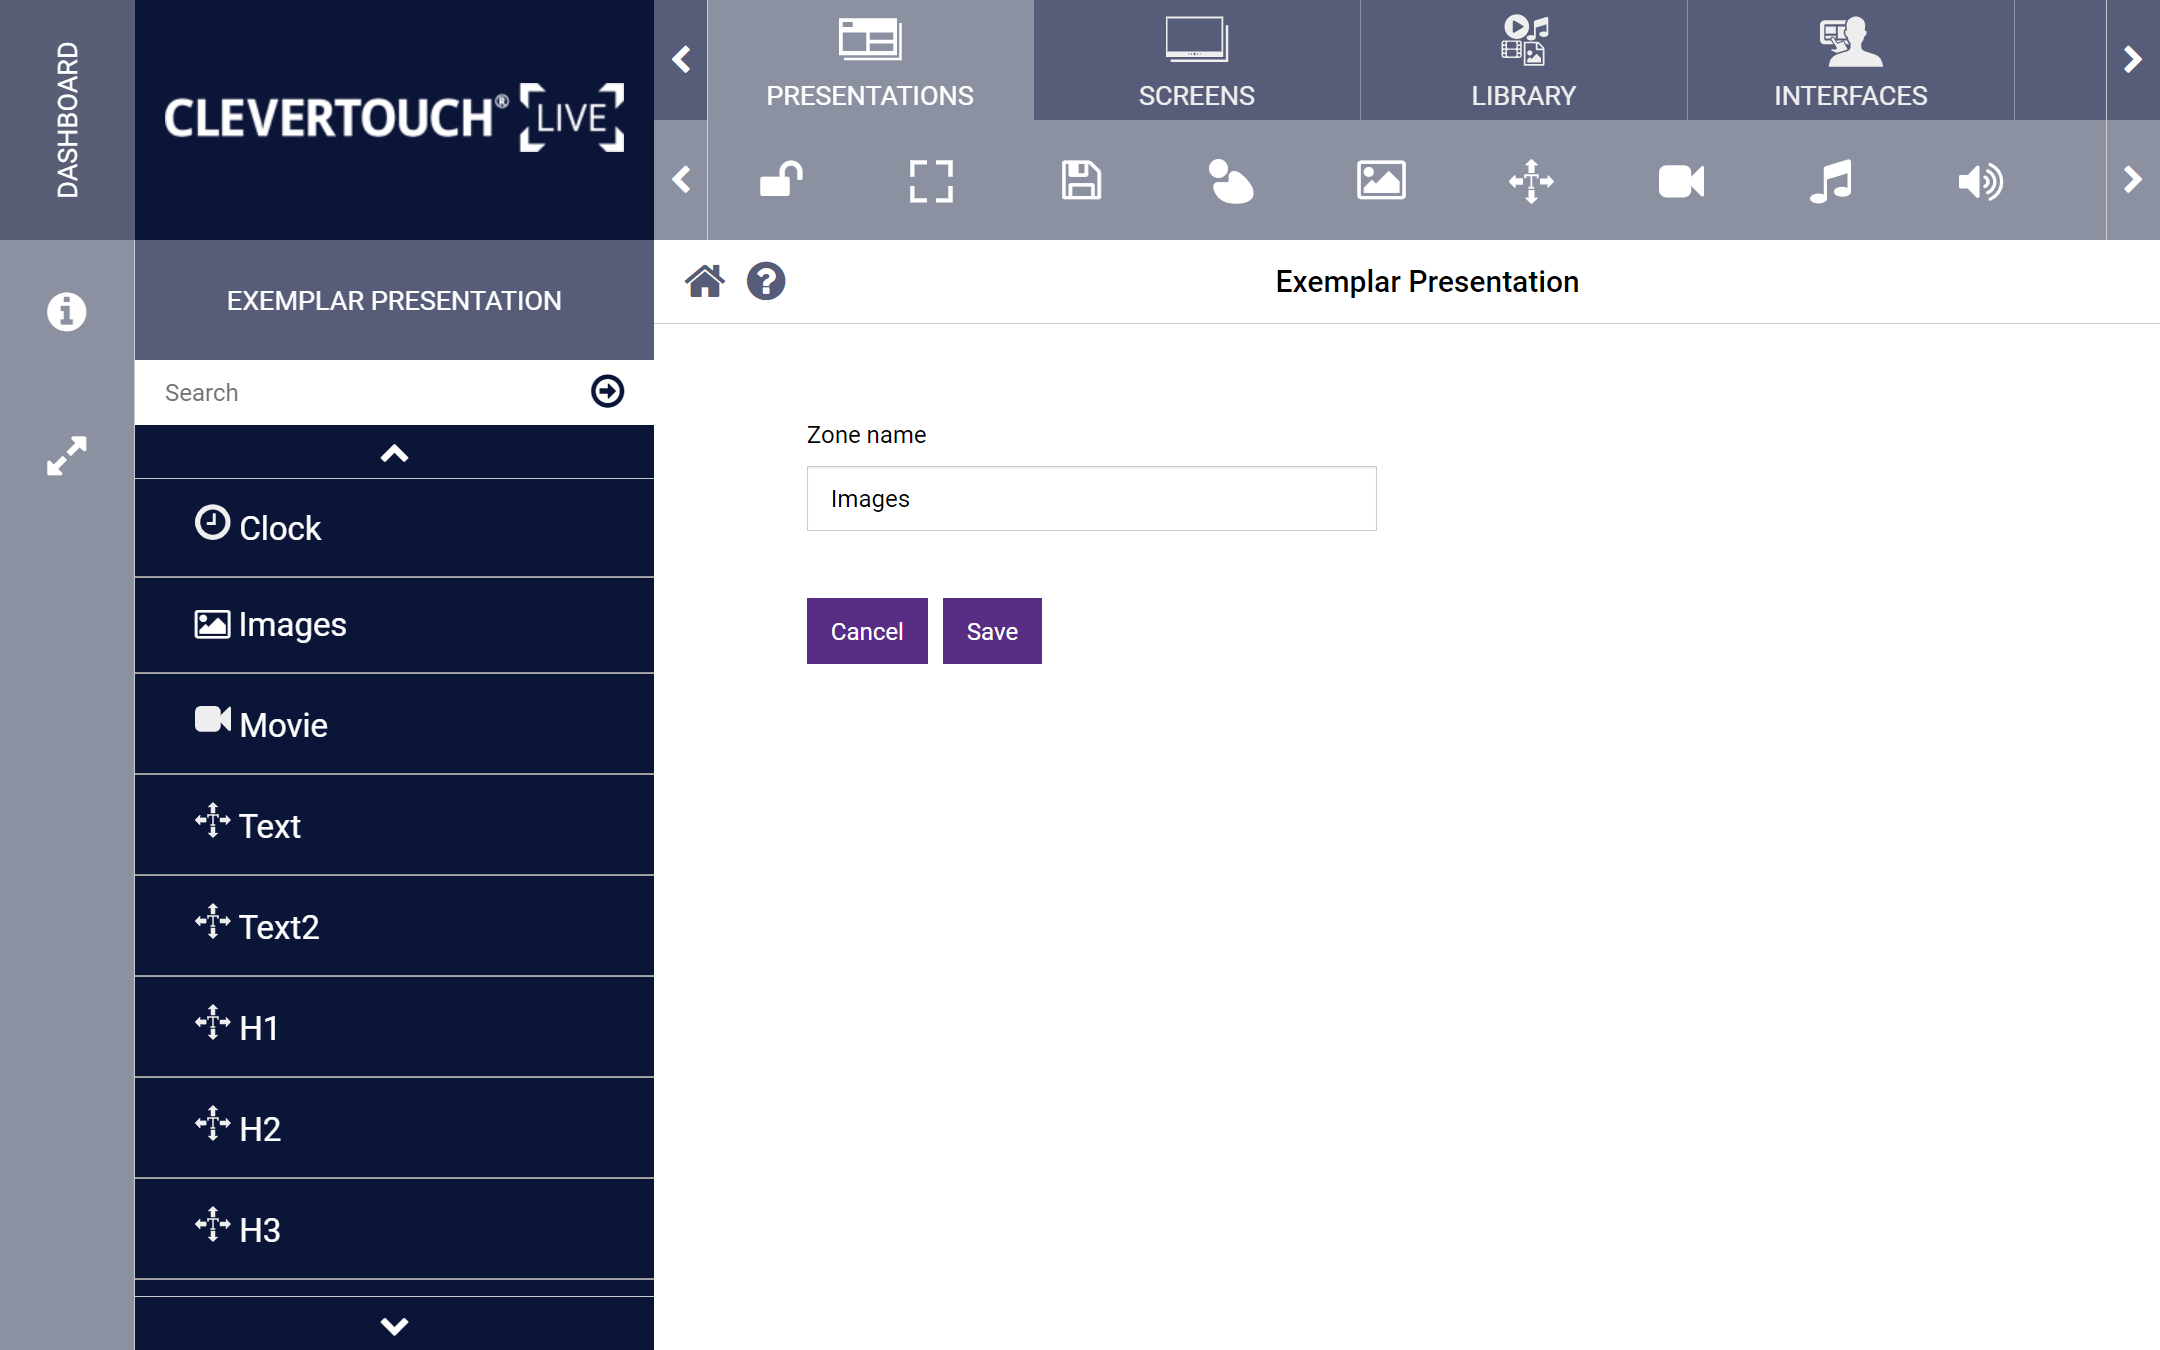
06
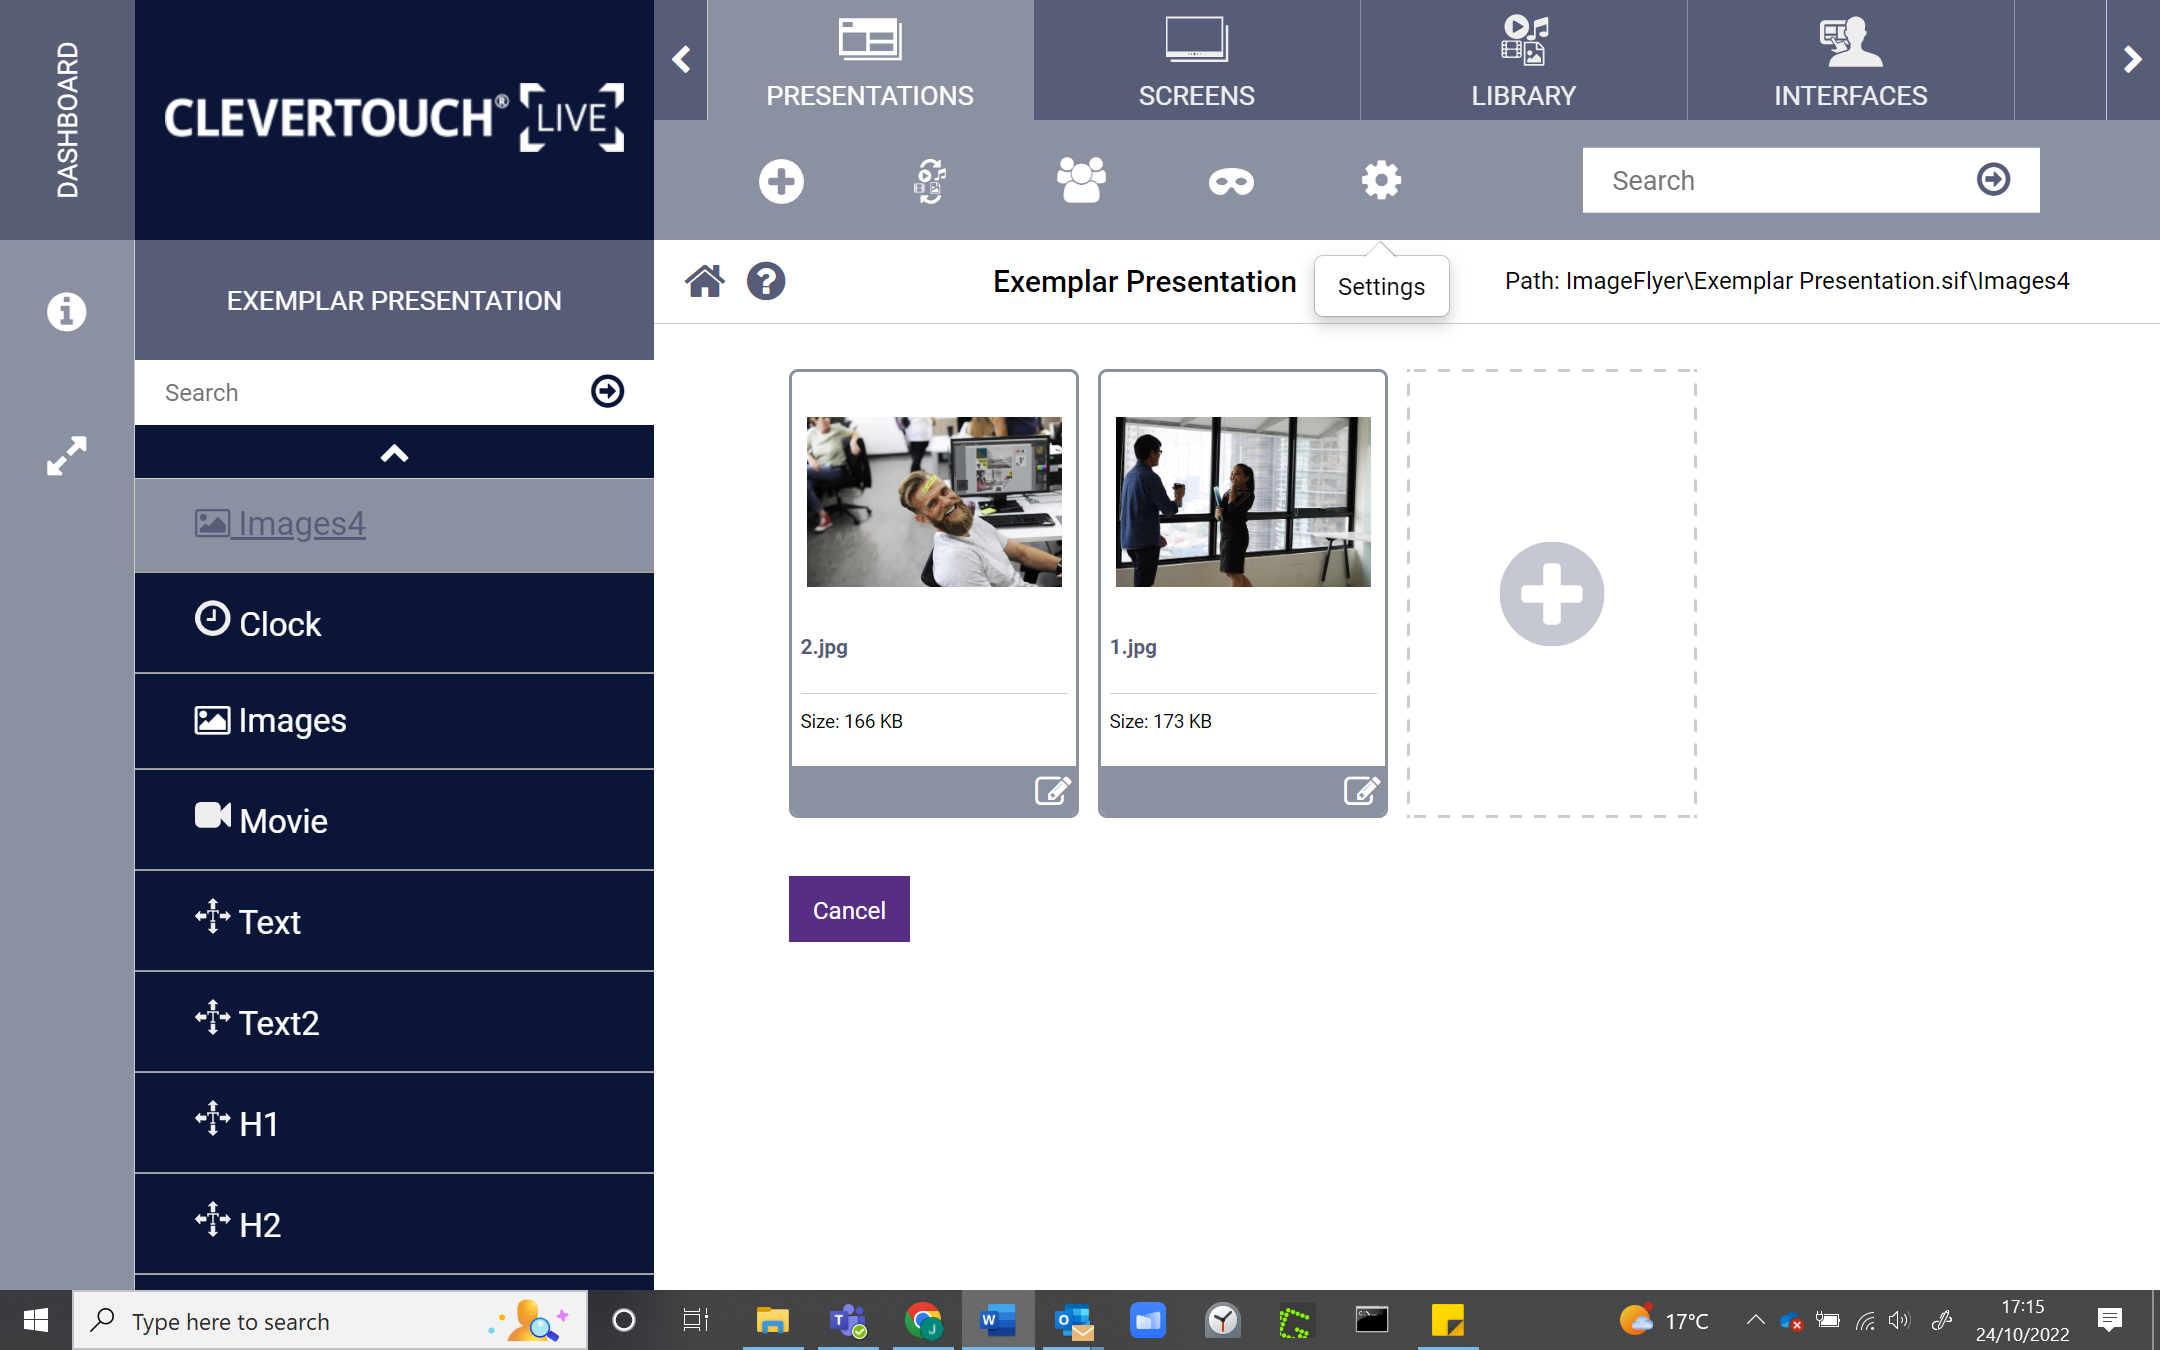
Select the ‘Settings’ icon to set the zone’s name, image duration, animation speed, animation type, and scale.
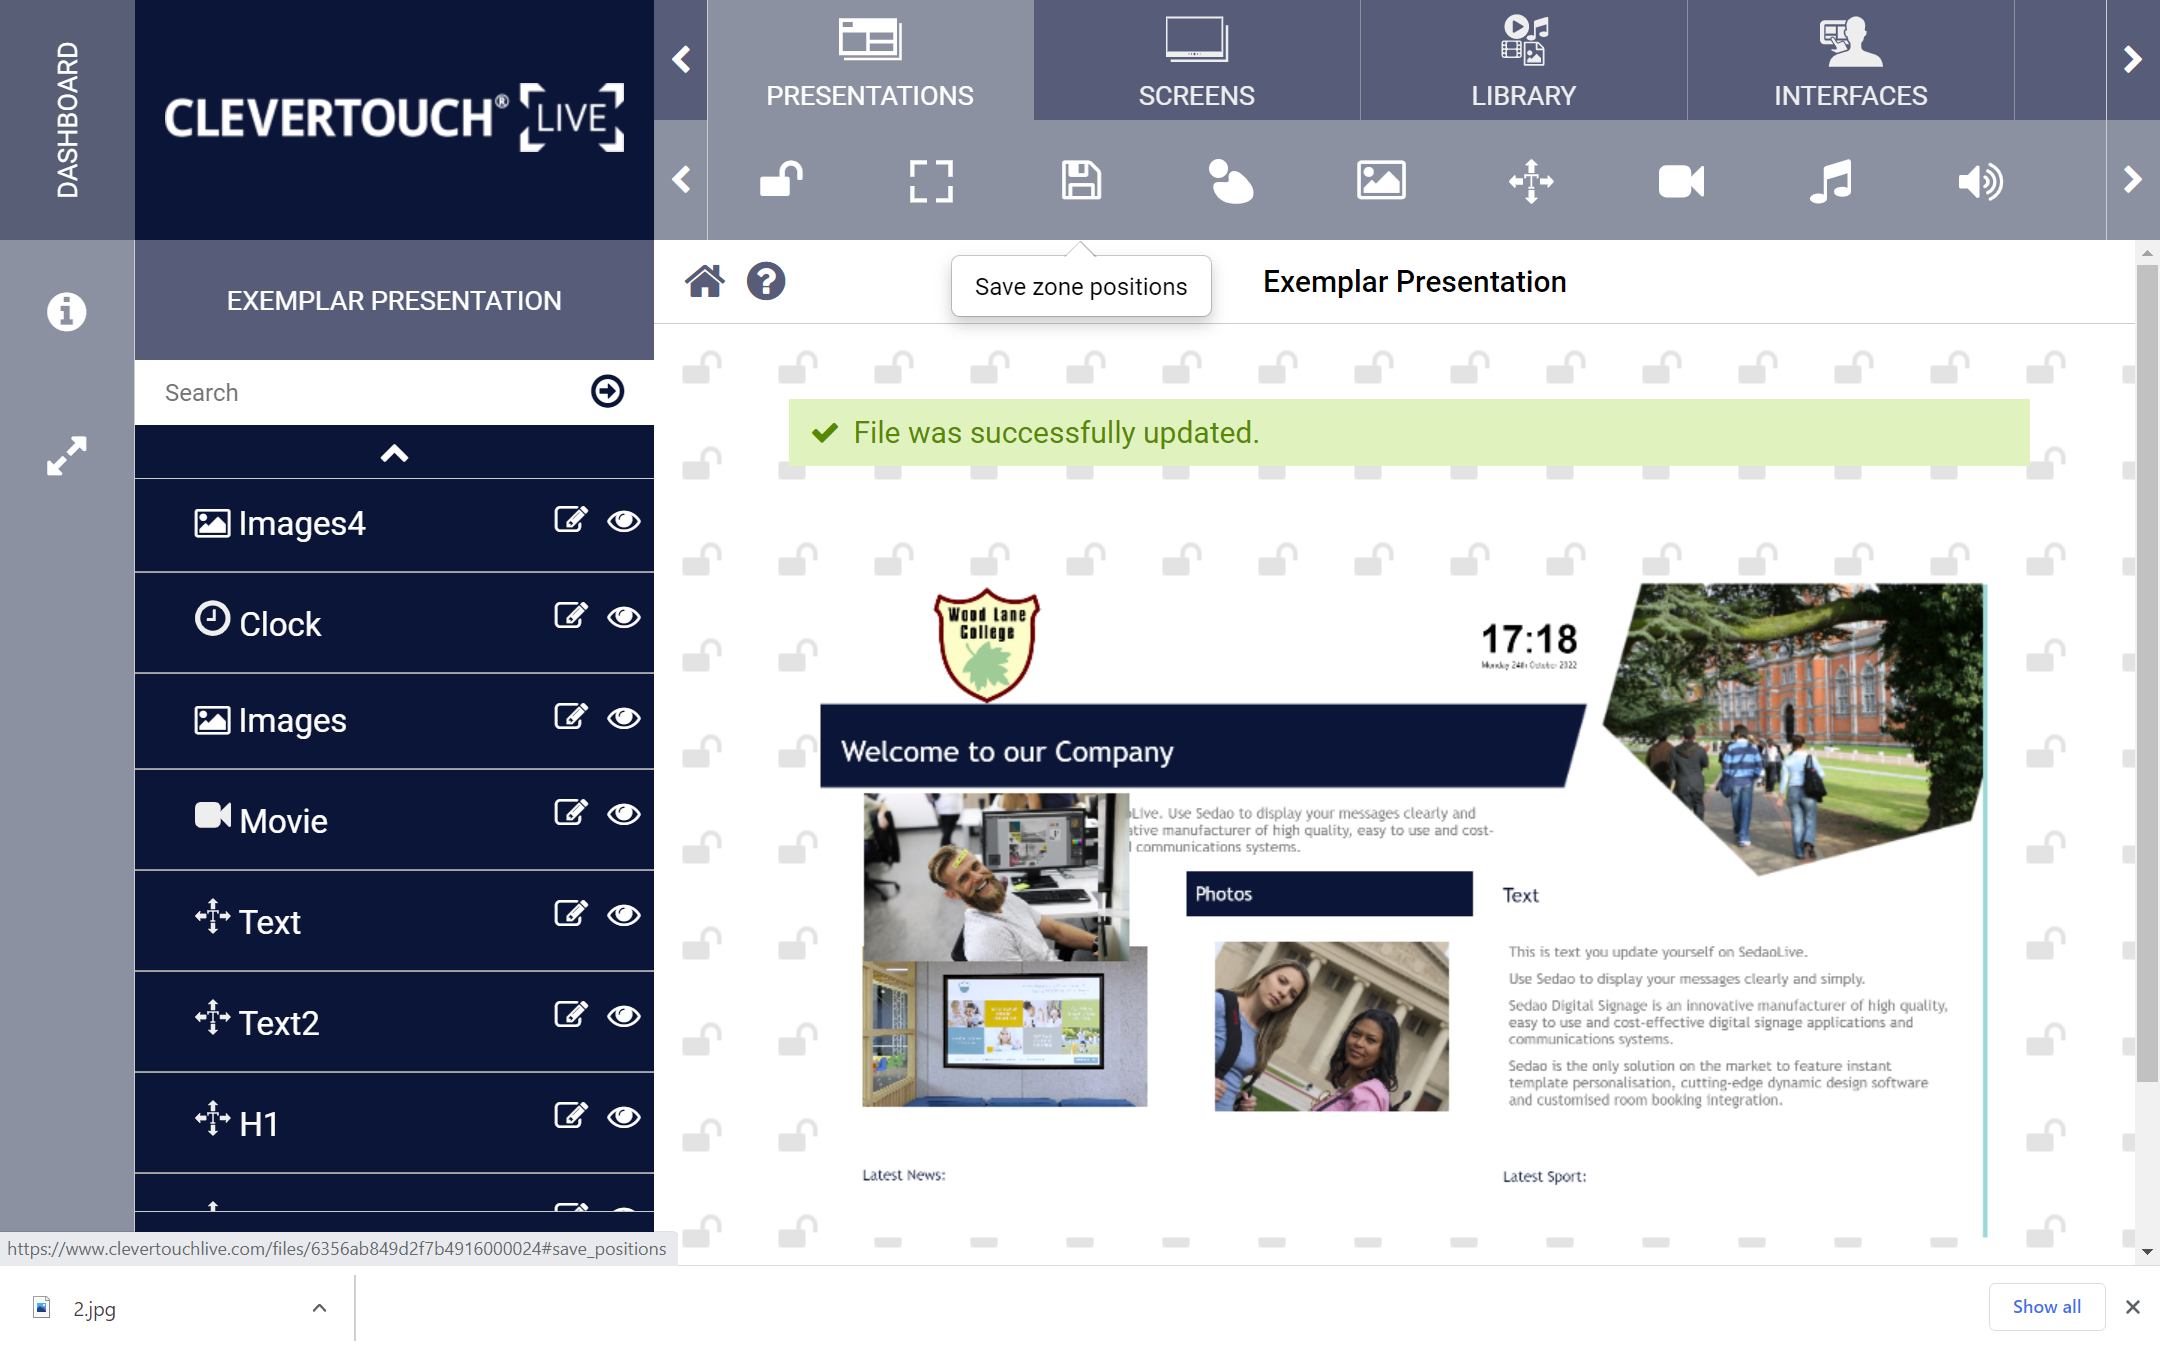
09
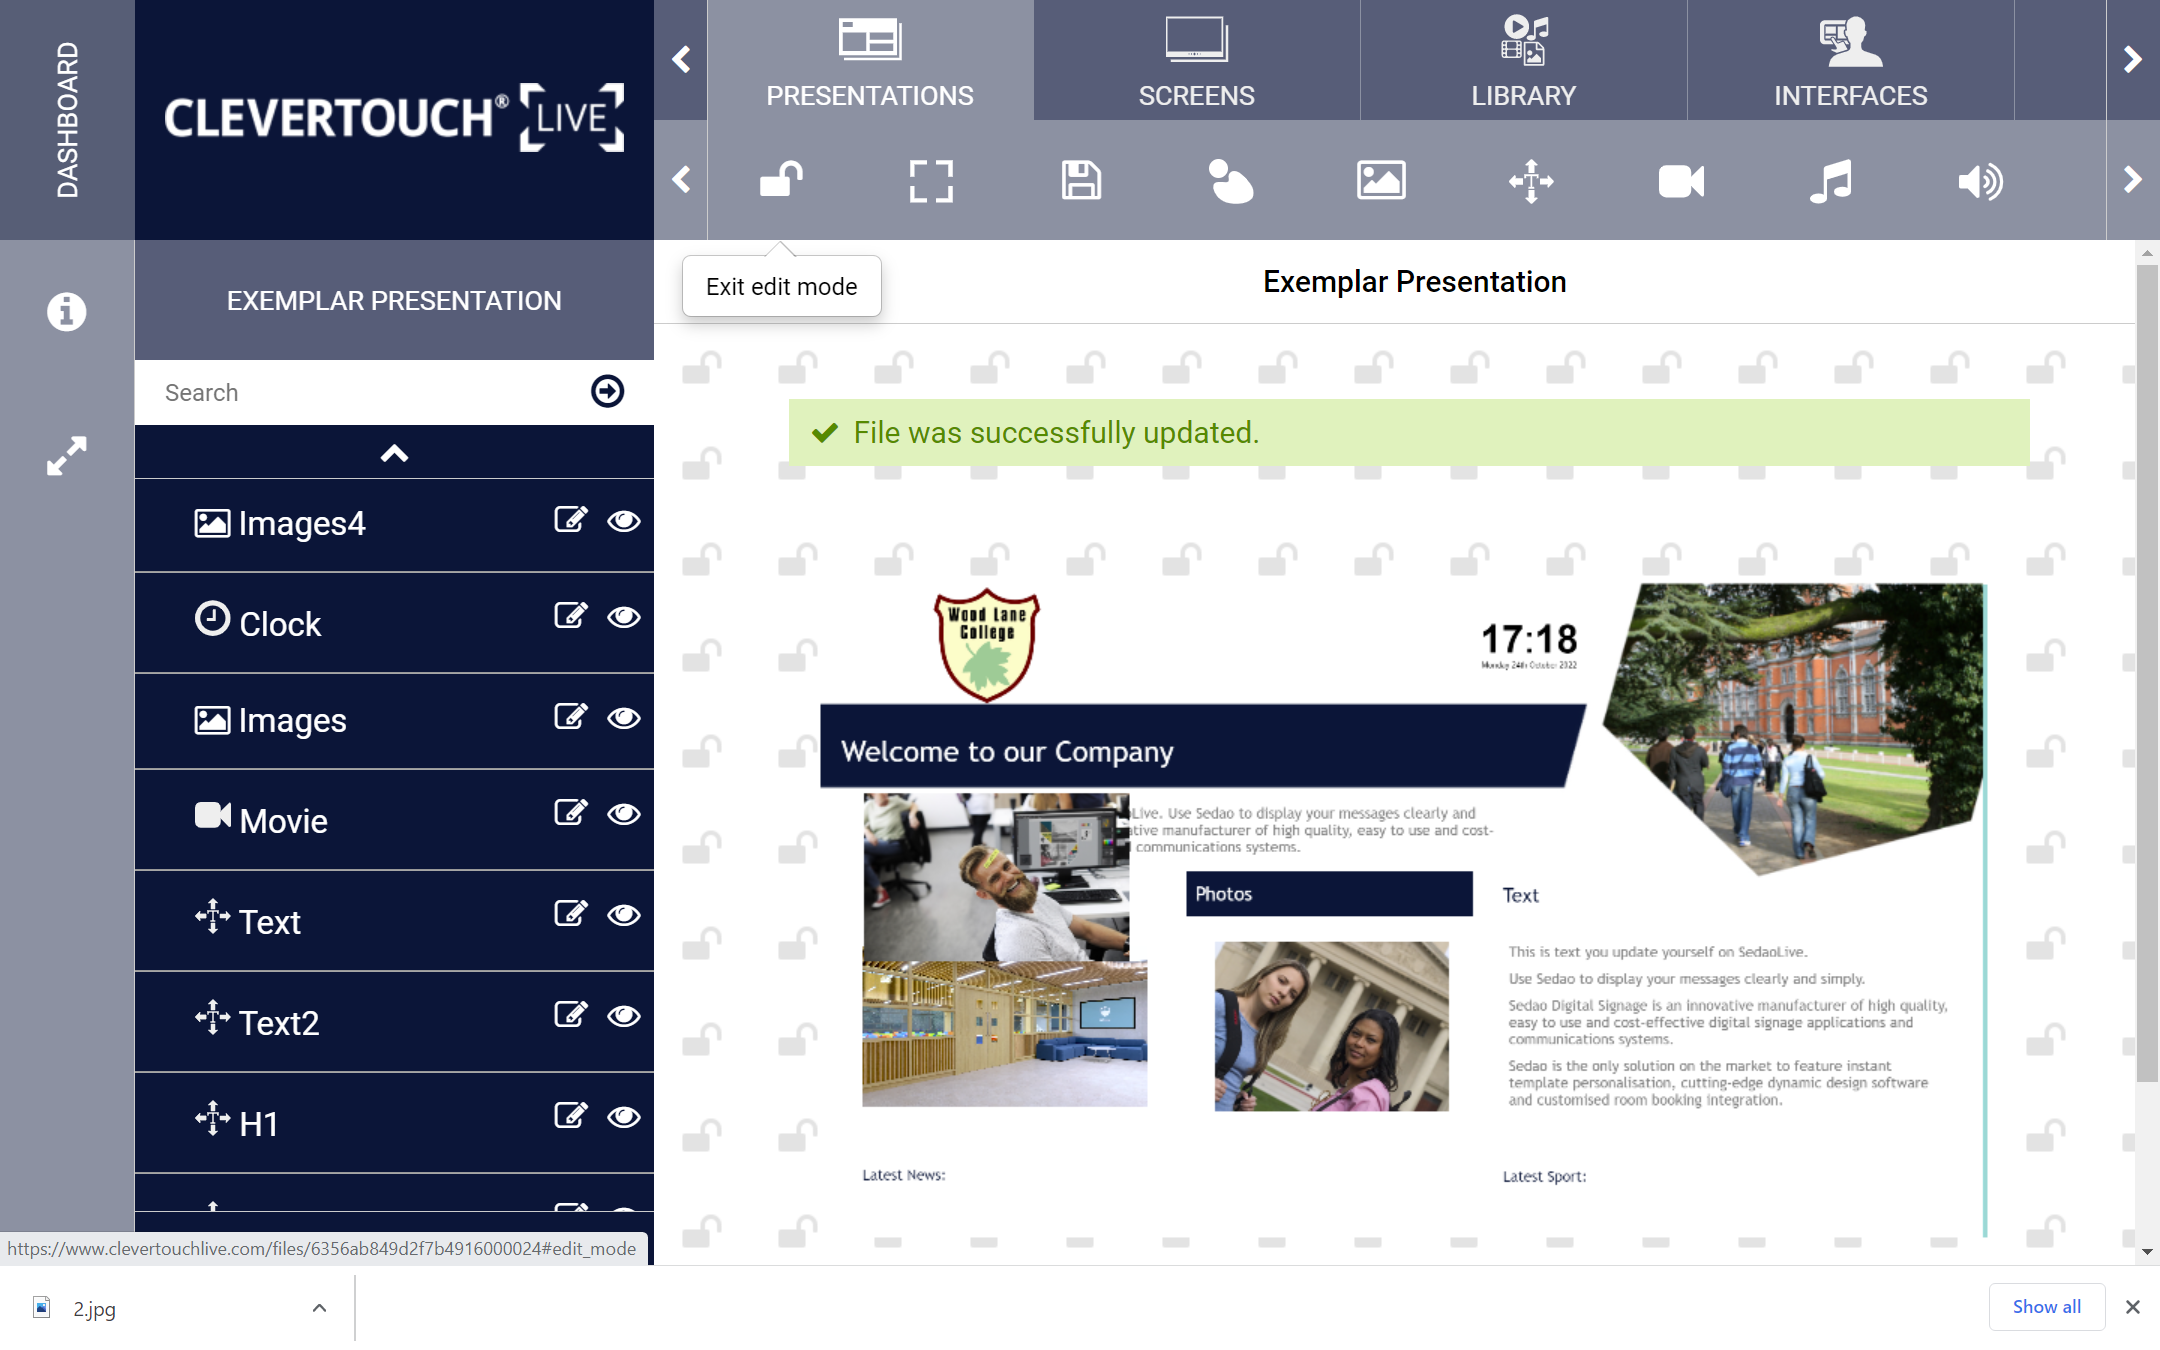
When you are satisfied with your changes, re-select the ‘Lock’ icon to commit them to the presentation.