FAQ 19:

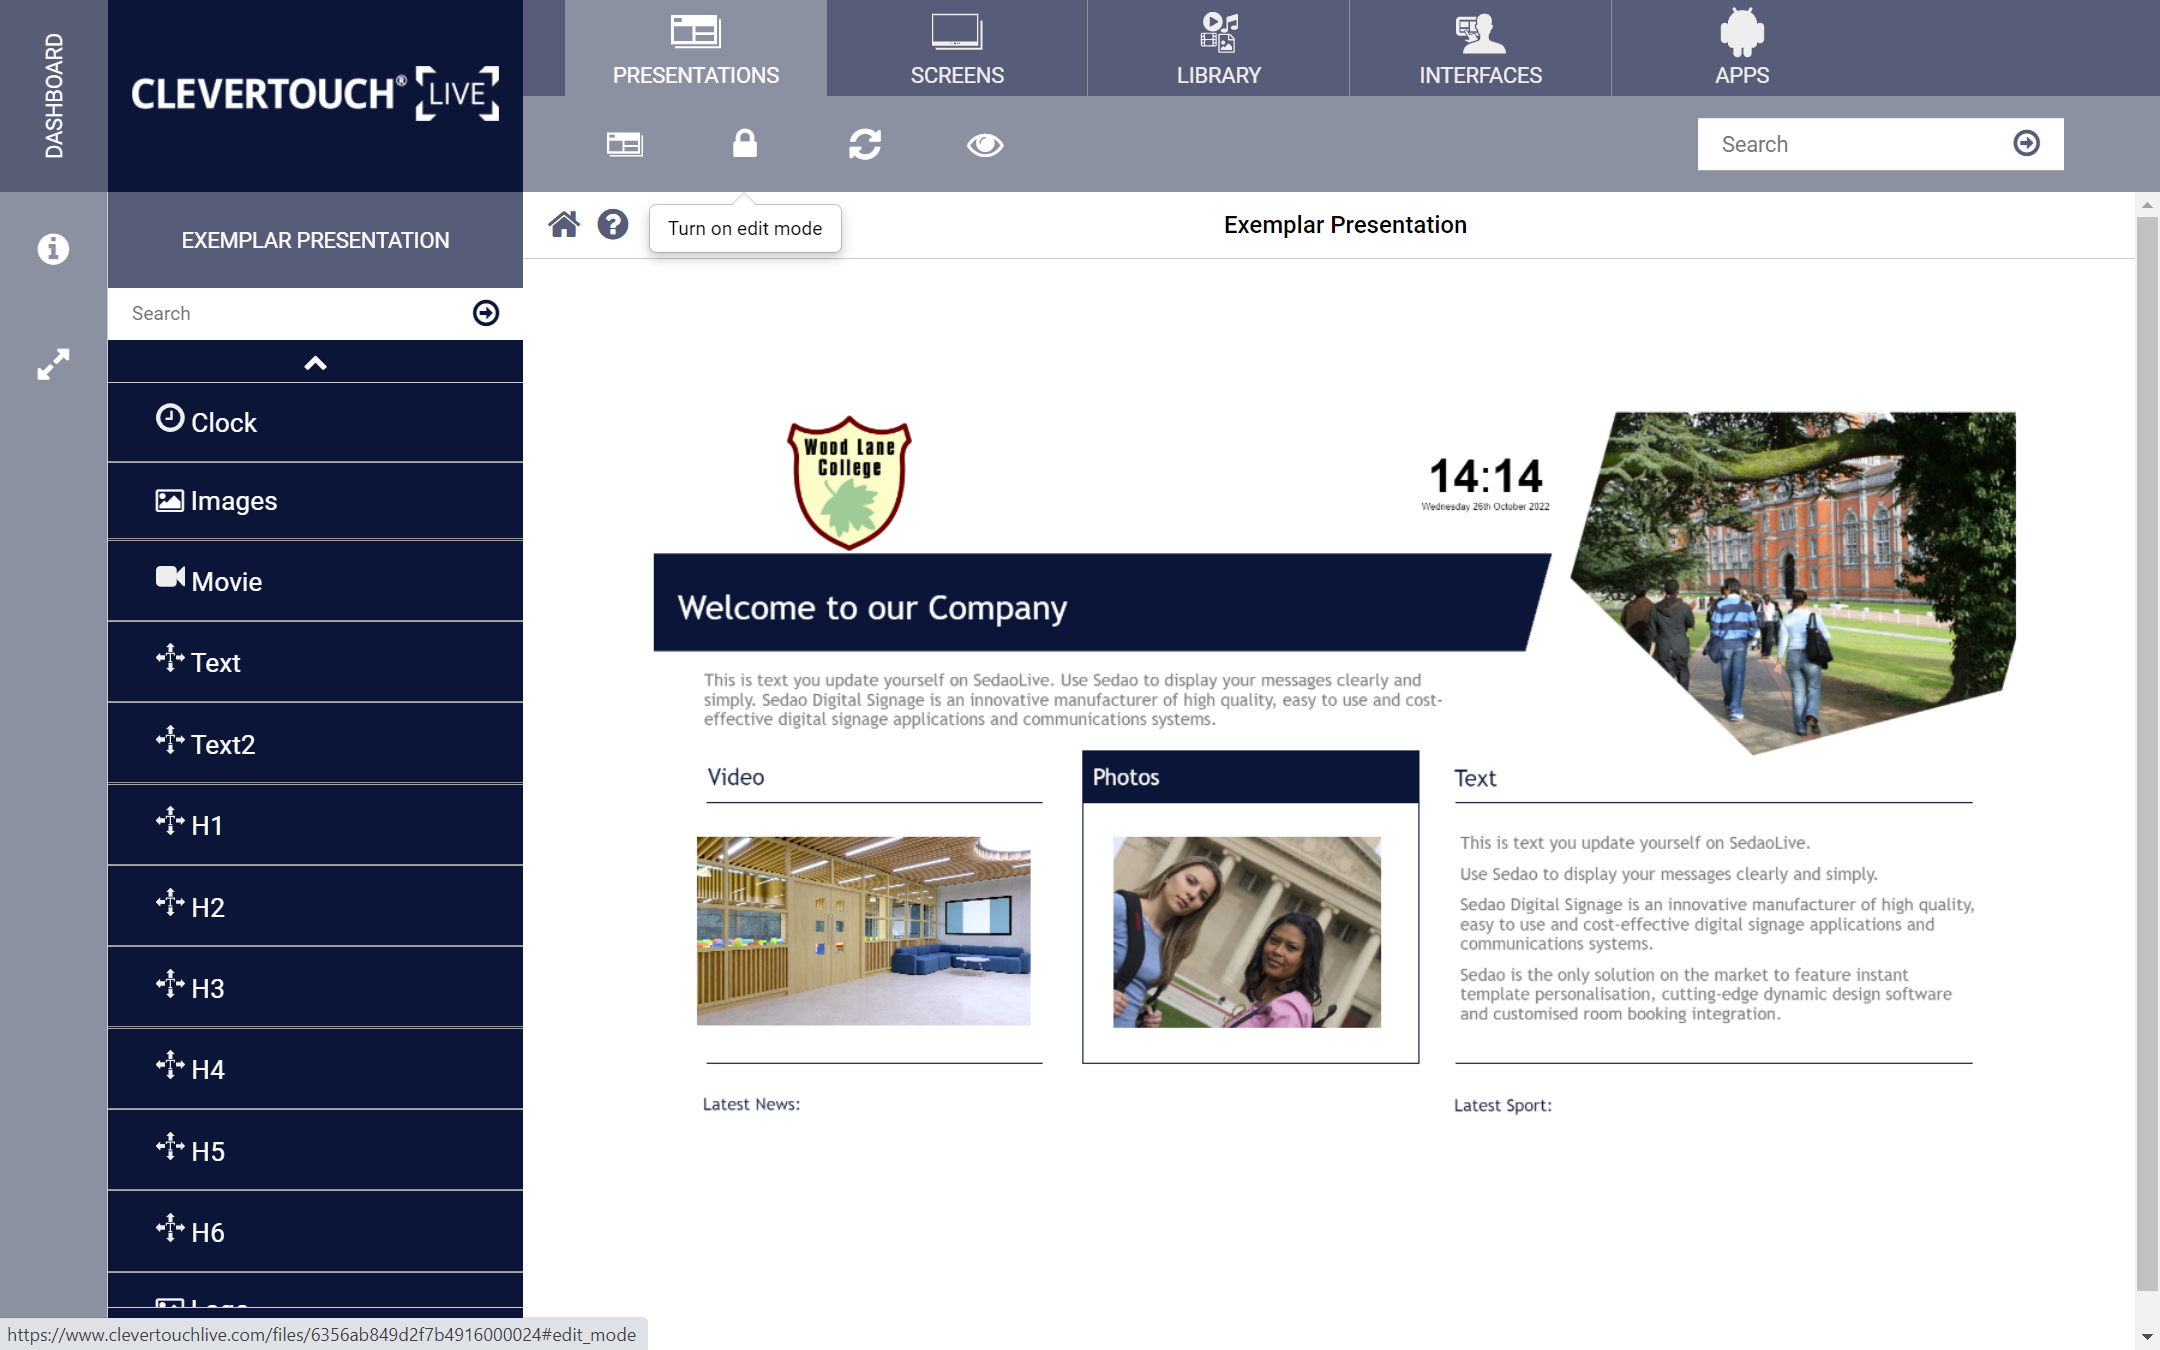
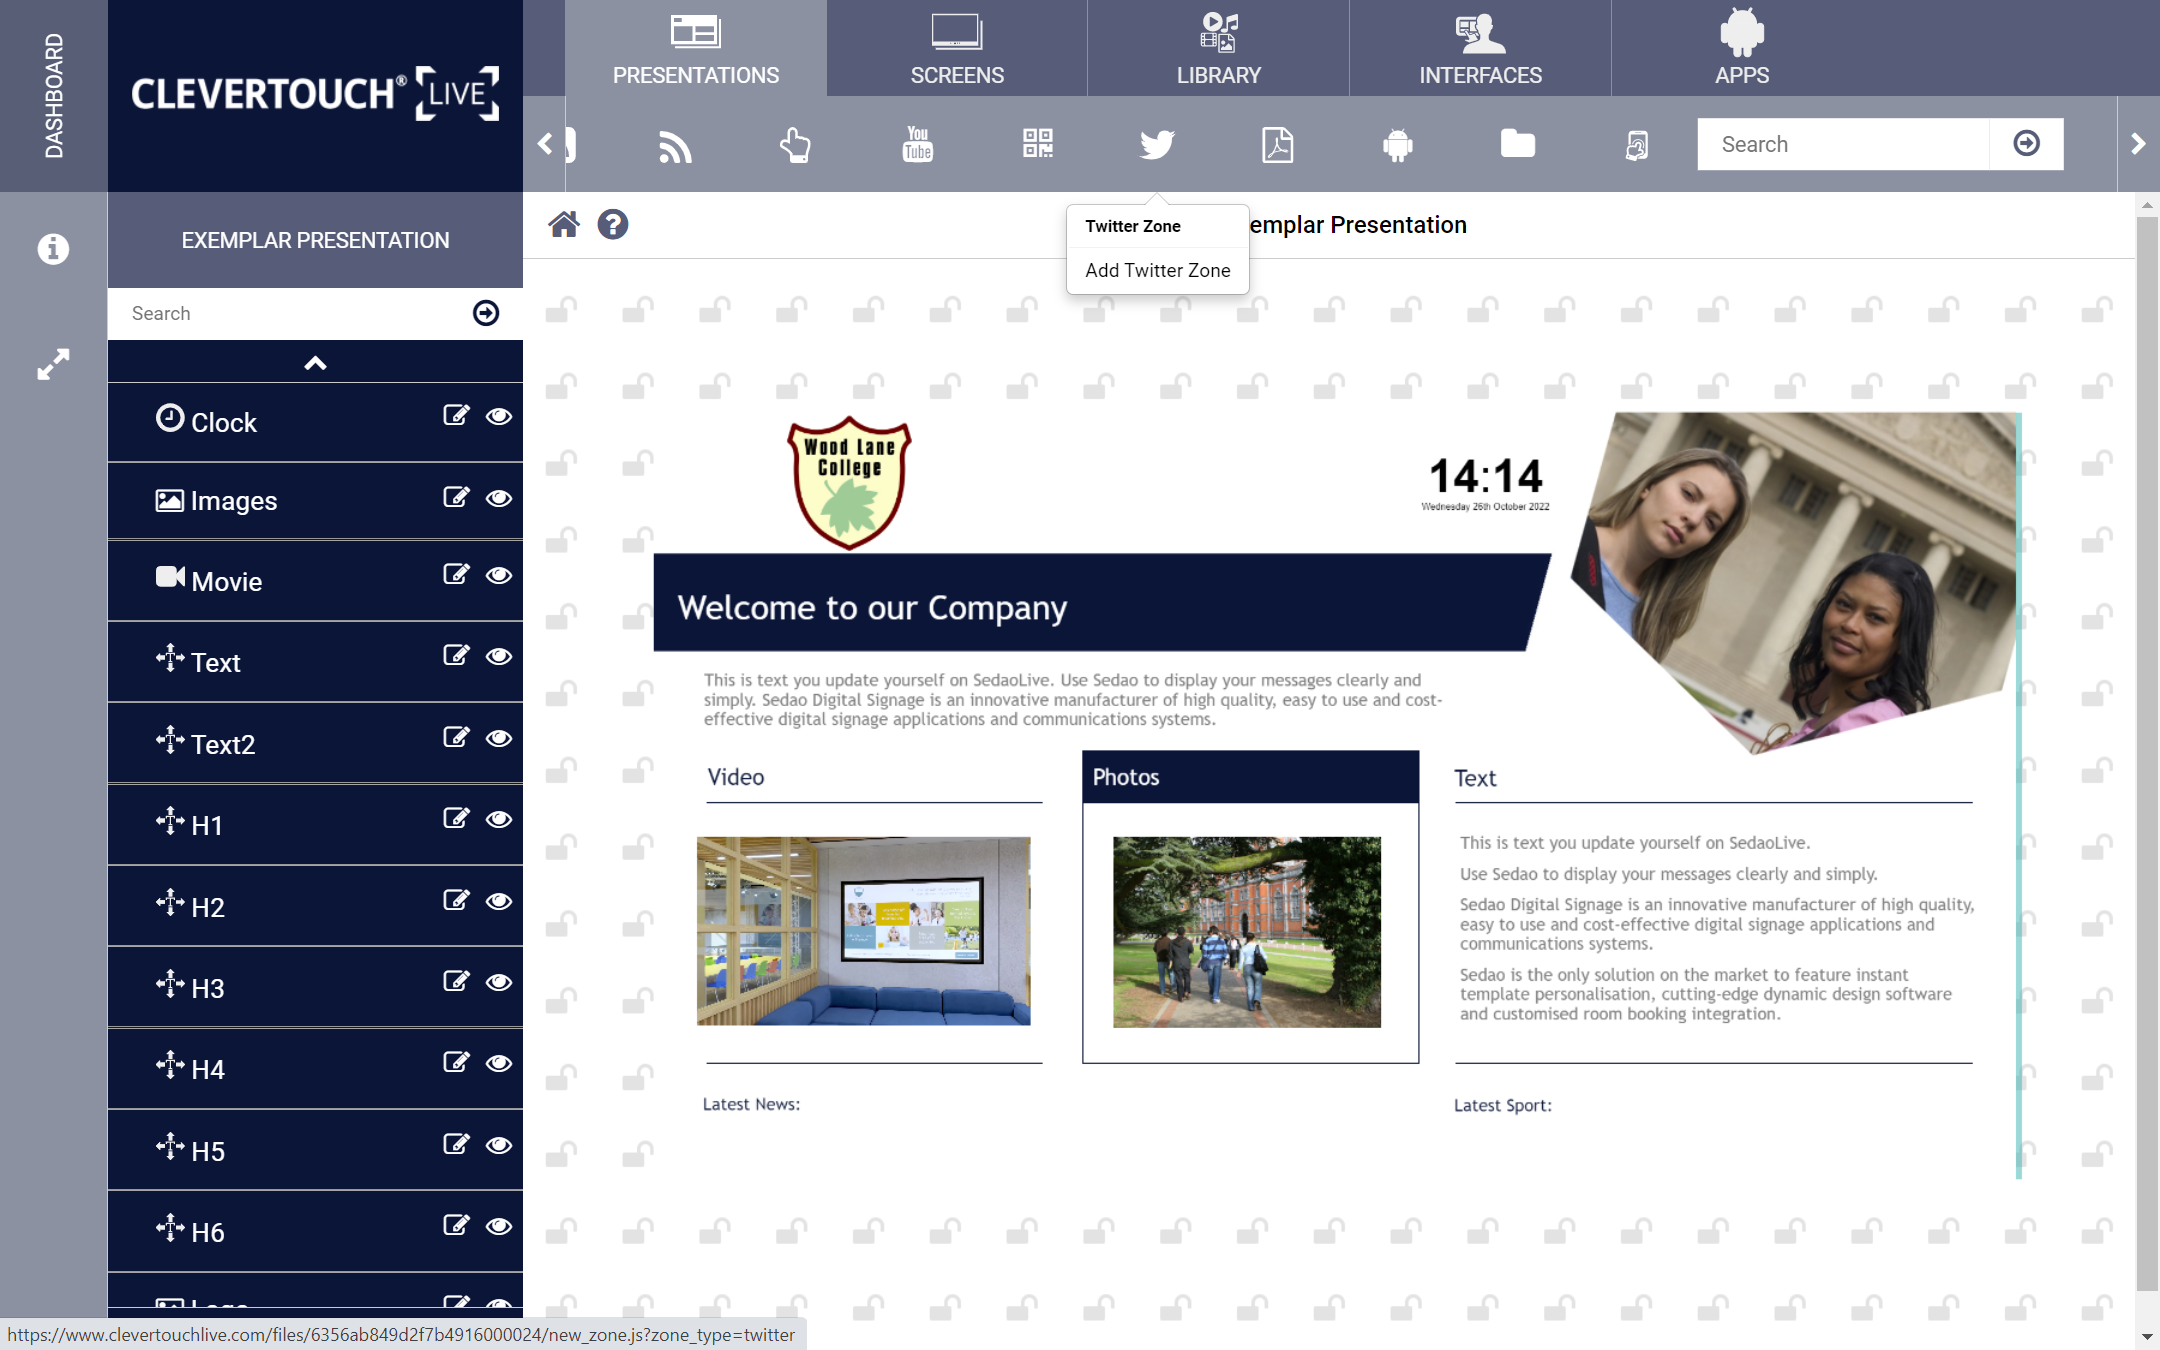
How do I add a Twitter Zone to my presentation

01 +
Image for FAQ step 1

Select the ‘Lock’ icon to unlock your presentation for editing.

02 +
Image for FAQ step 2

Select the ‘Twitter Zone‘ icon.

03 +
Image for FAQ step 3

Set the name for your field then select the 'Save' button.

04 +
Image for FAQ step 4

Select and drag the zone to set its dimensions. Once correct, select the ‘Save’ menu option.

05 +
Image for FAQ step 5

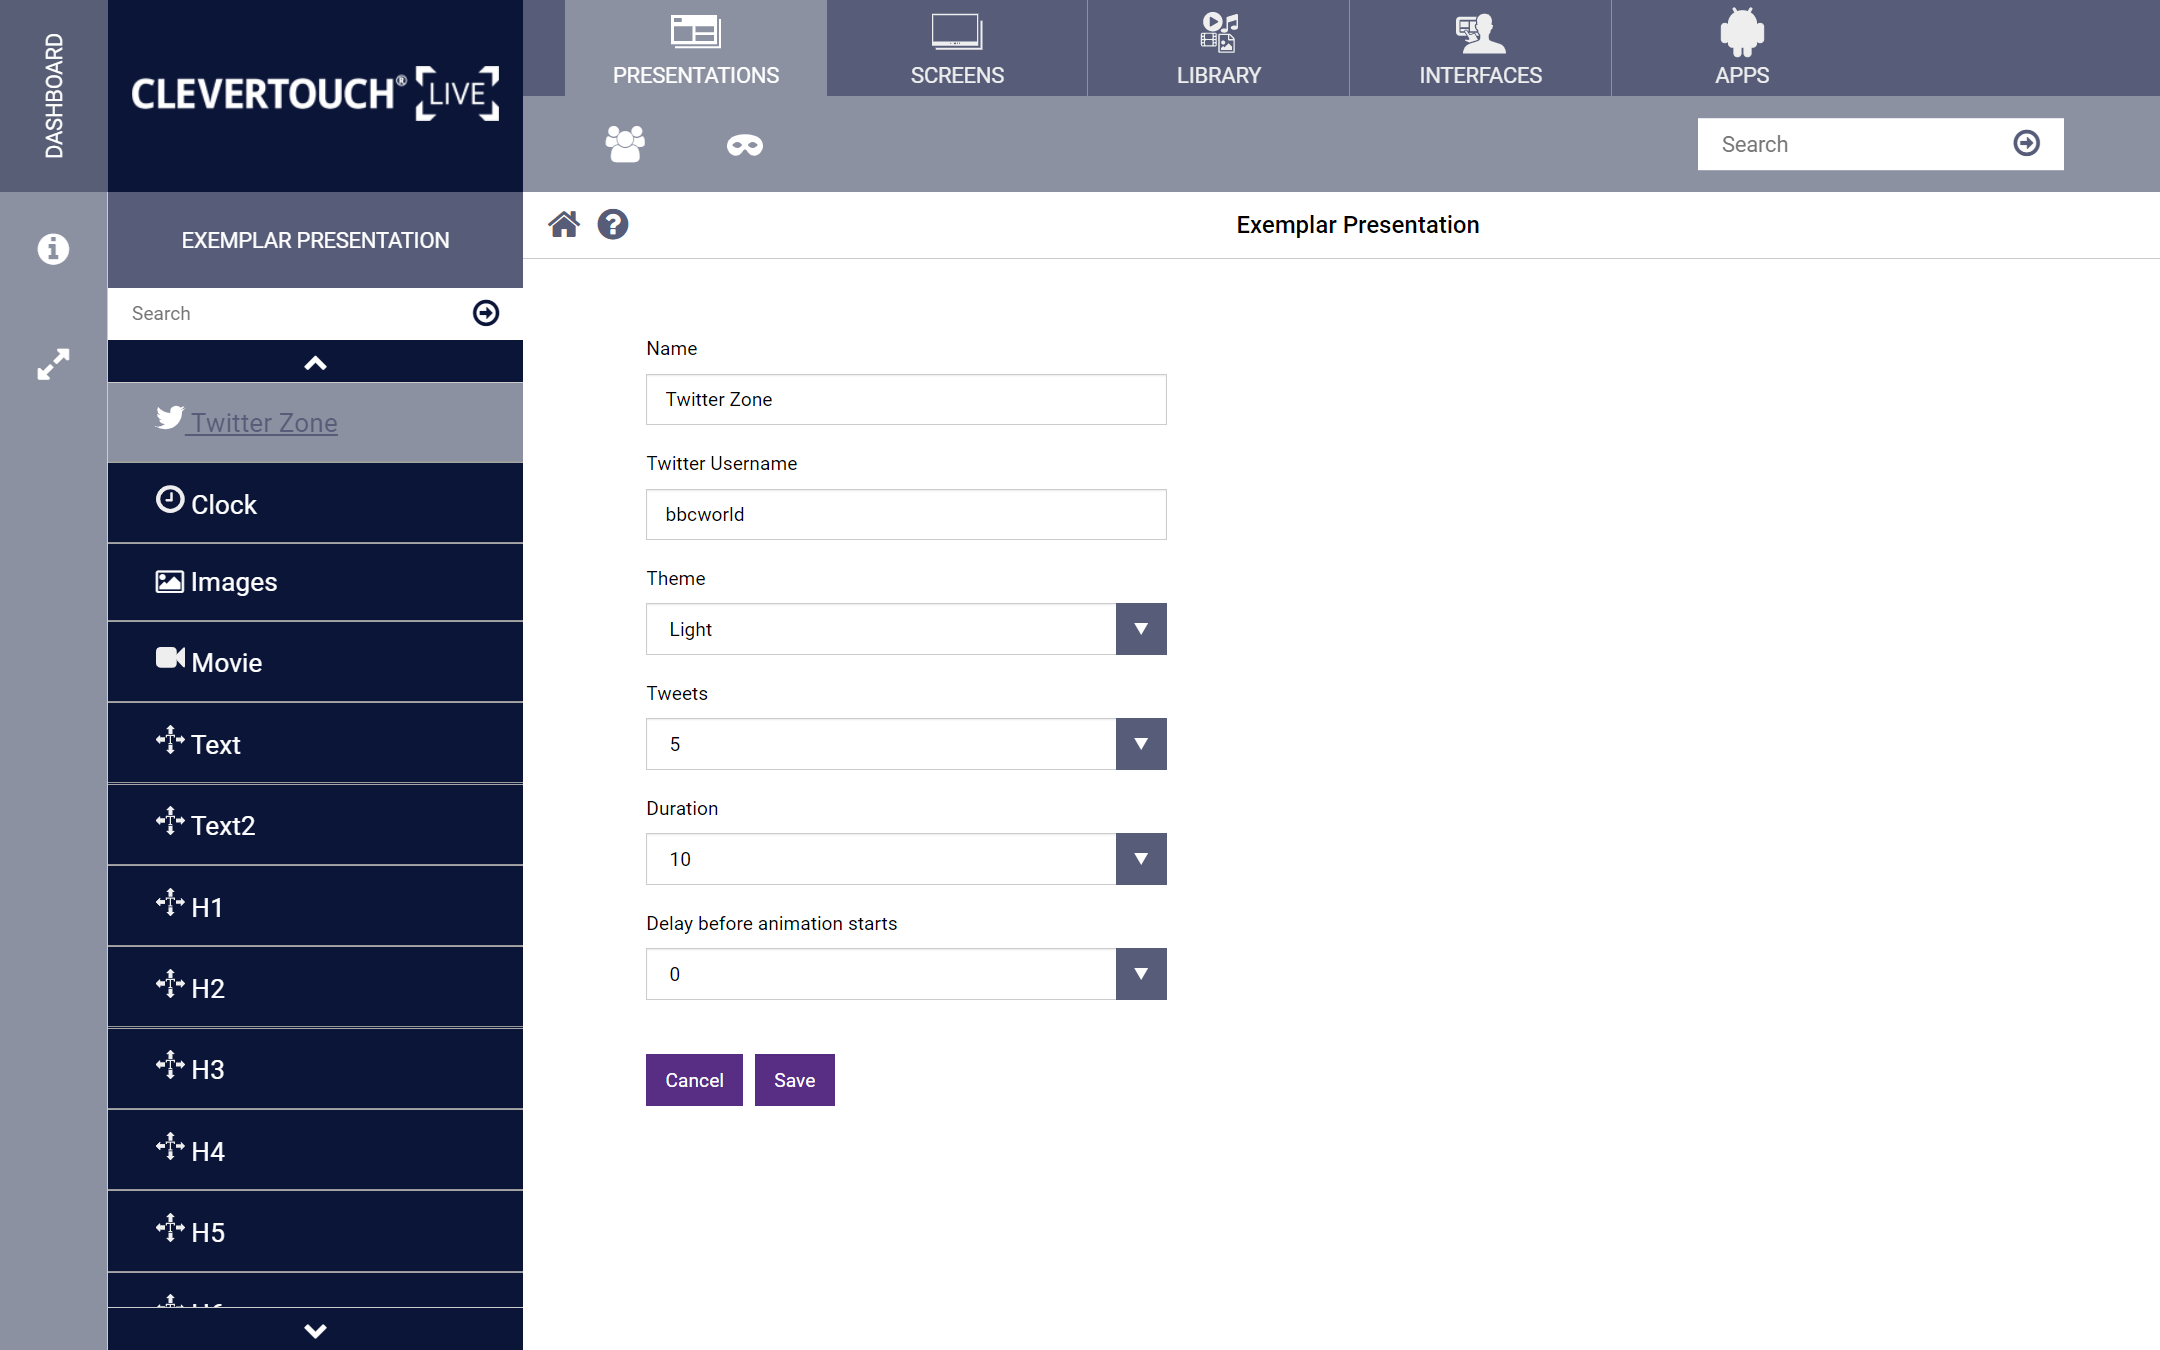
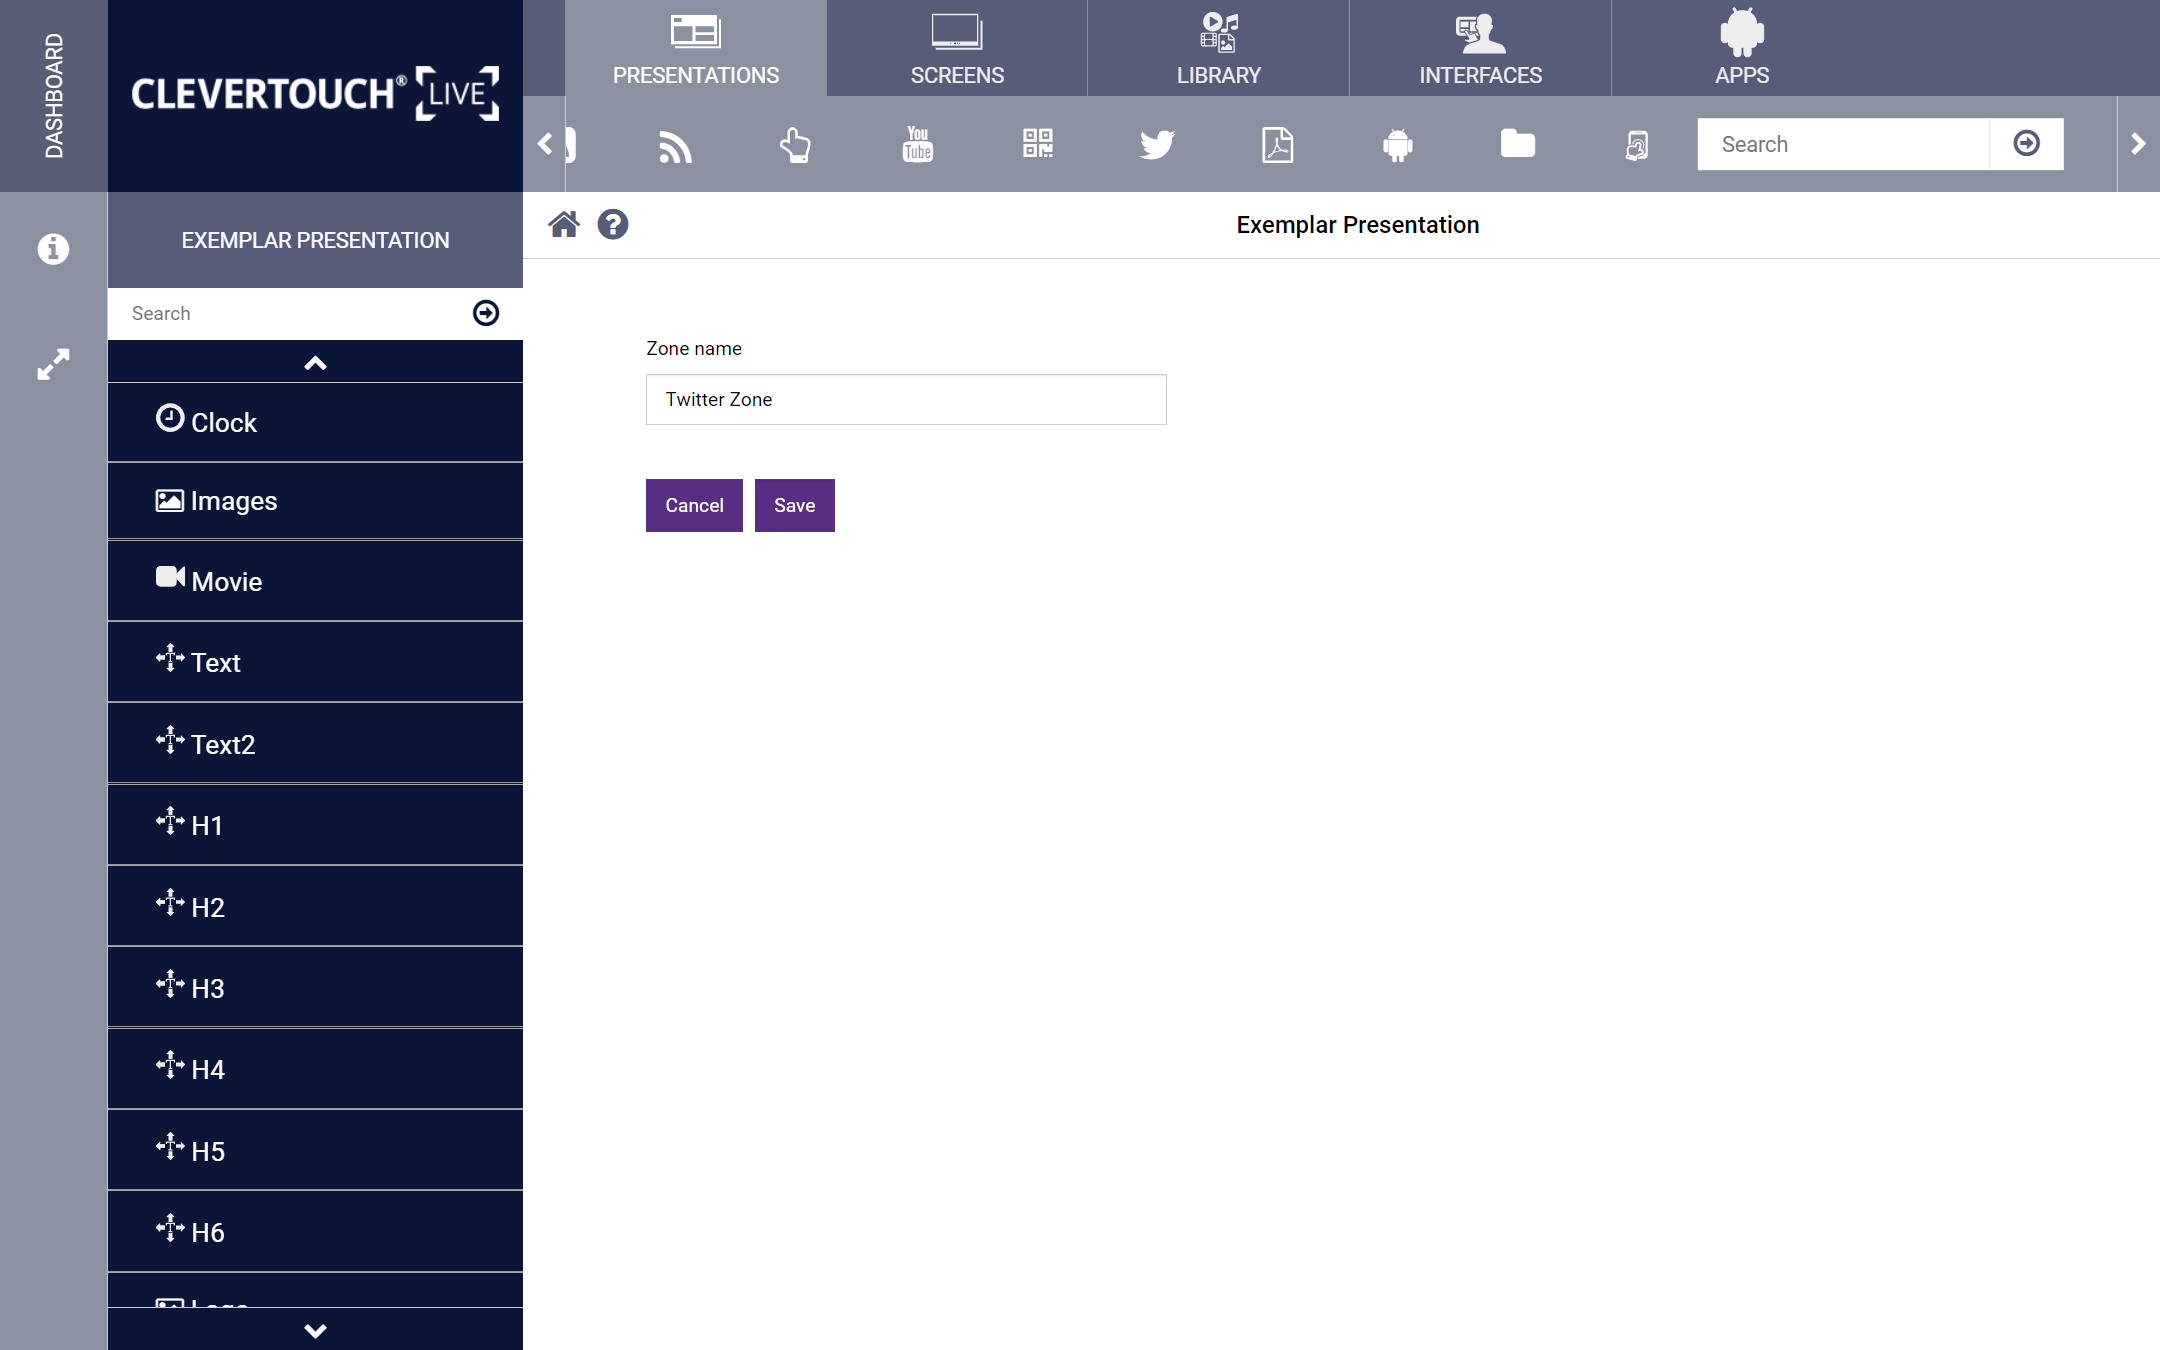
Double-click the zone to configure it. You can set the name, a twitter username, a theme, the number of tweets on display, their duration, and any delay on animation.

06 +
Image for FAQ step 6

When you are happy with your changes, select the ‘Save’ button

07 +
Image for FAQ step 7

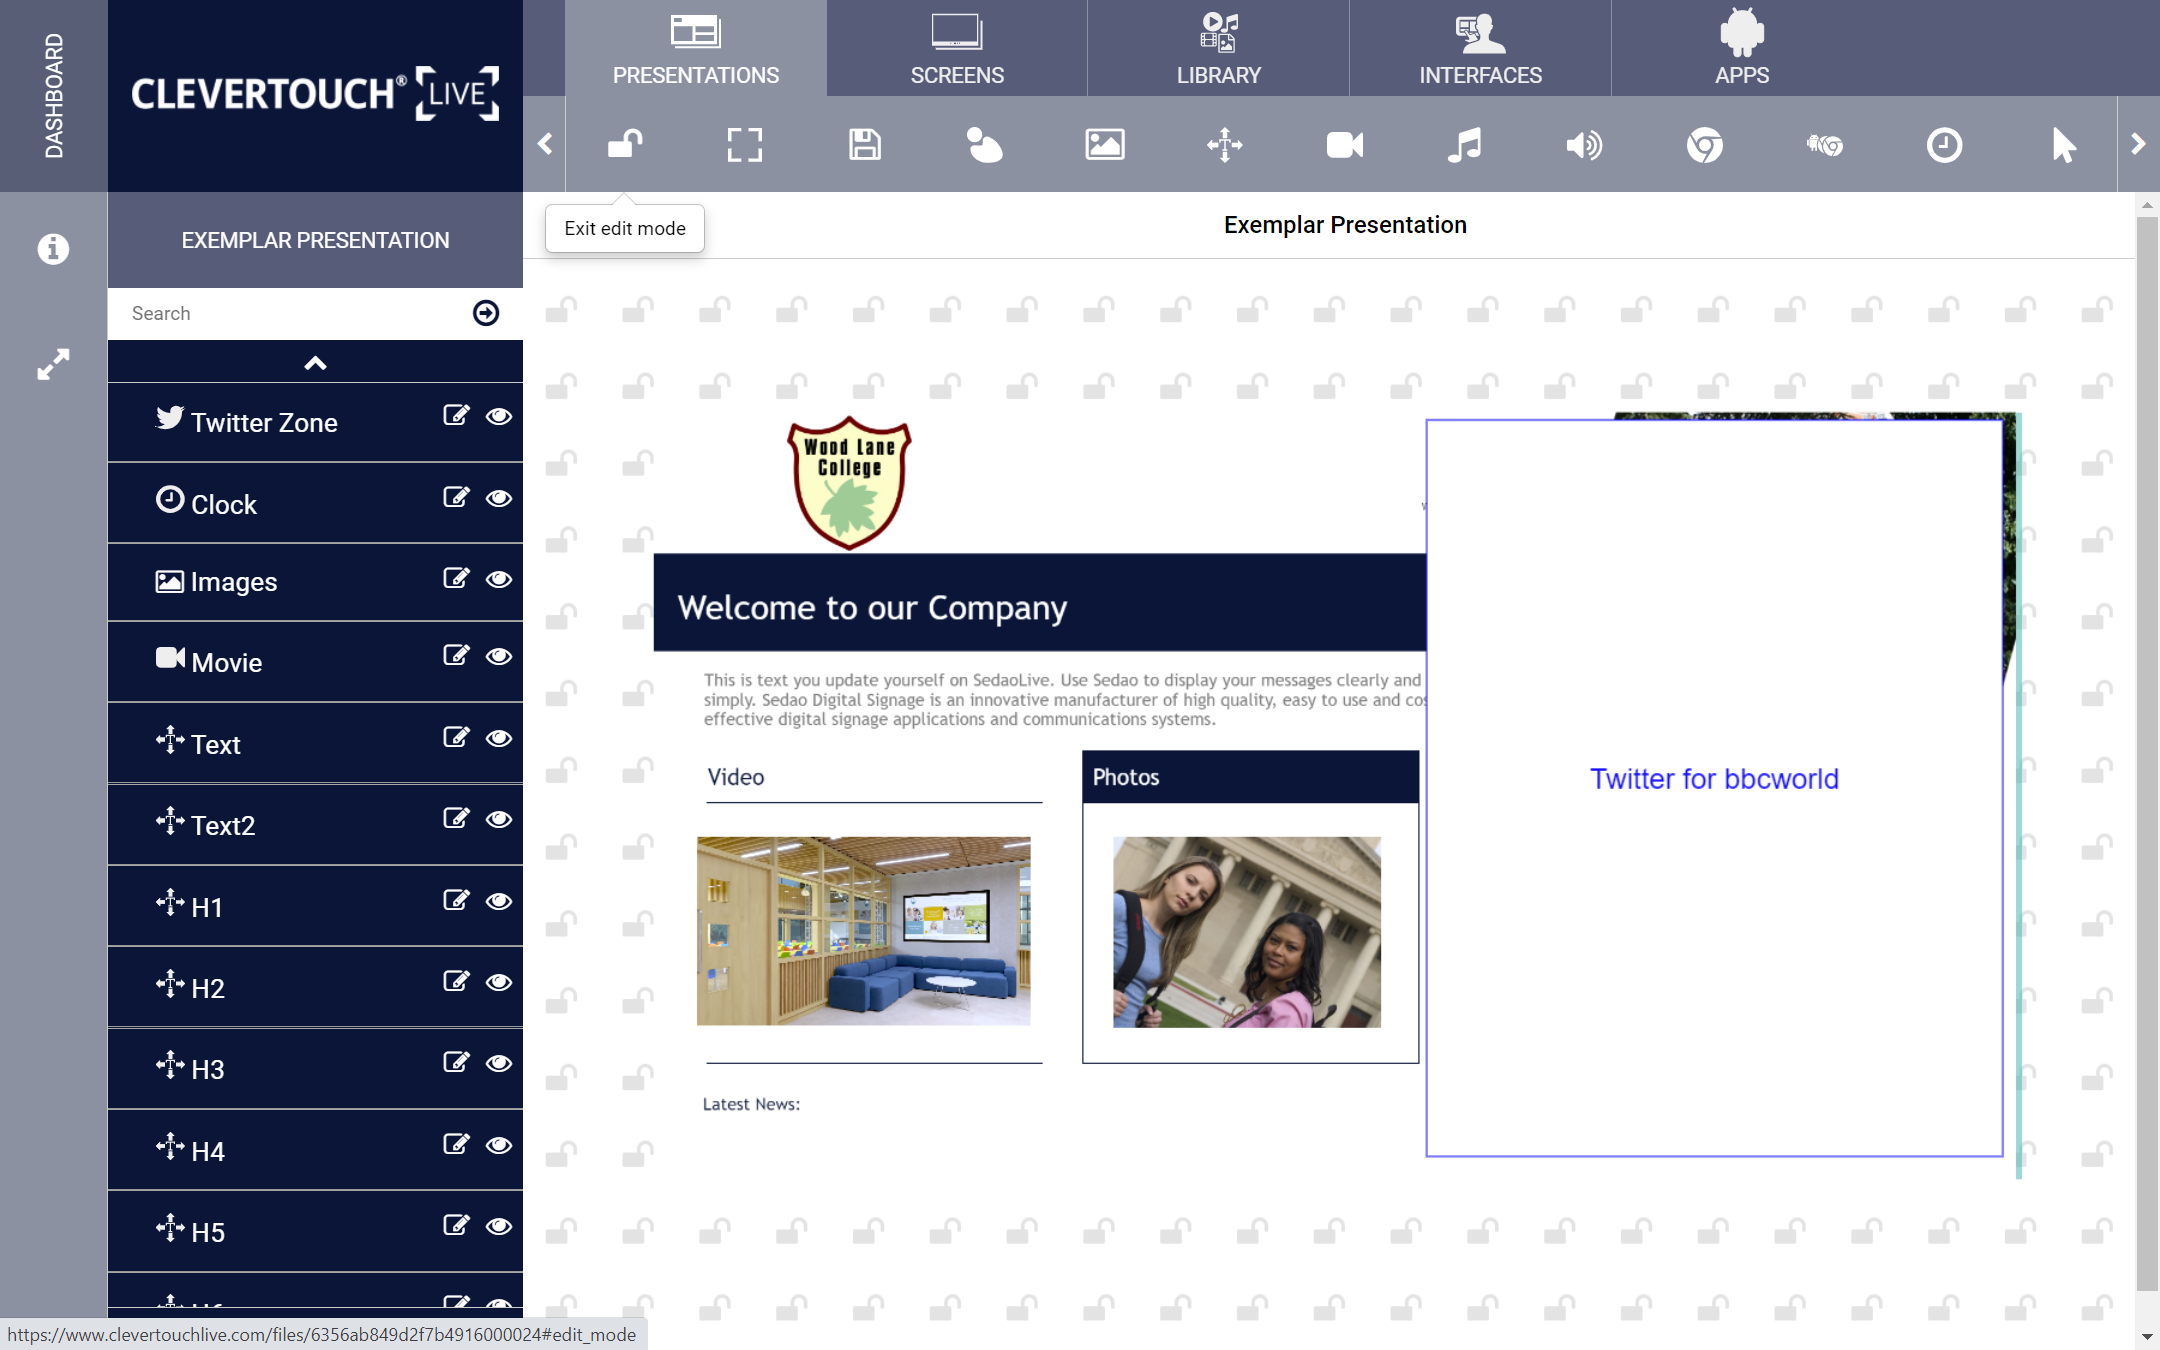
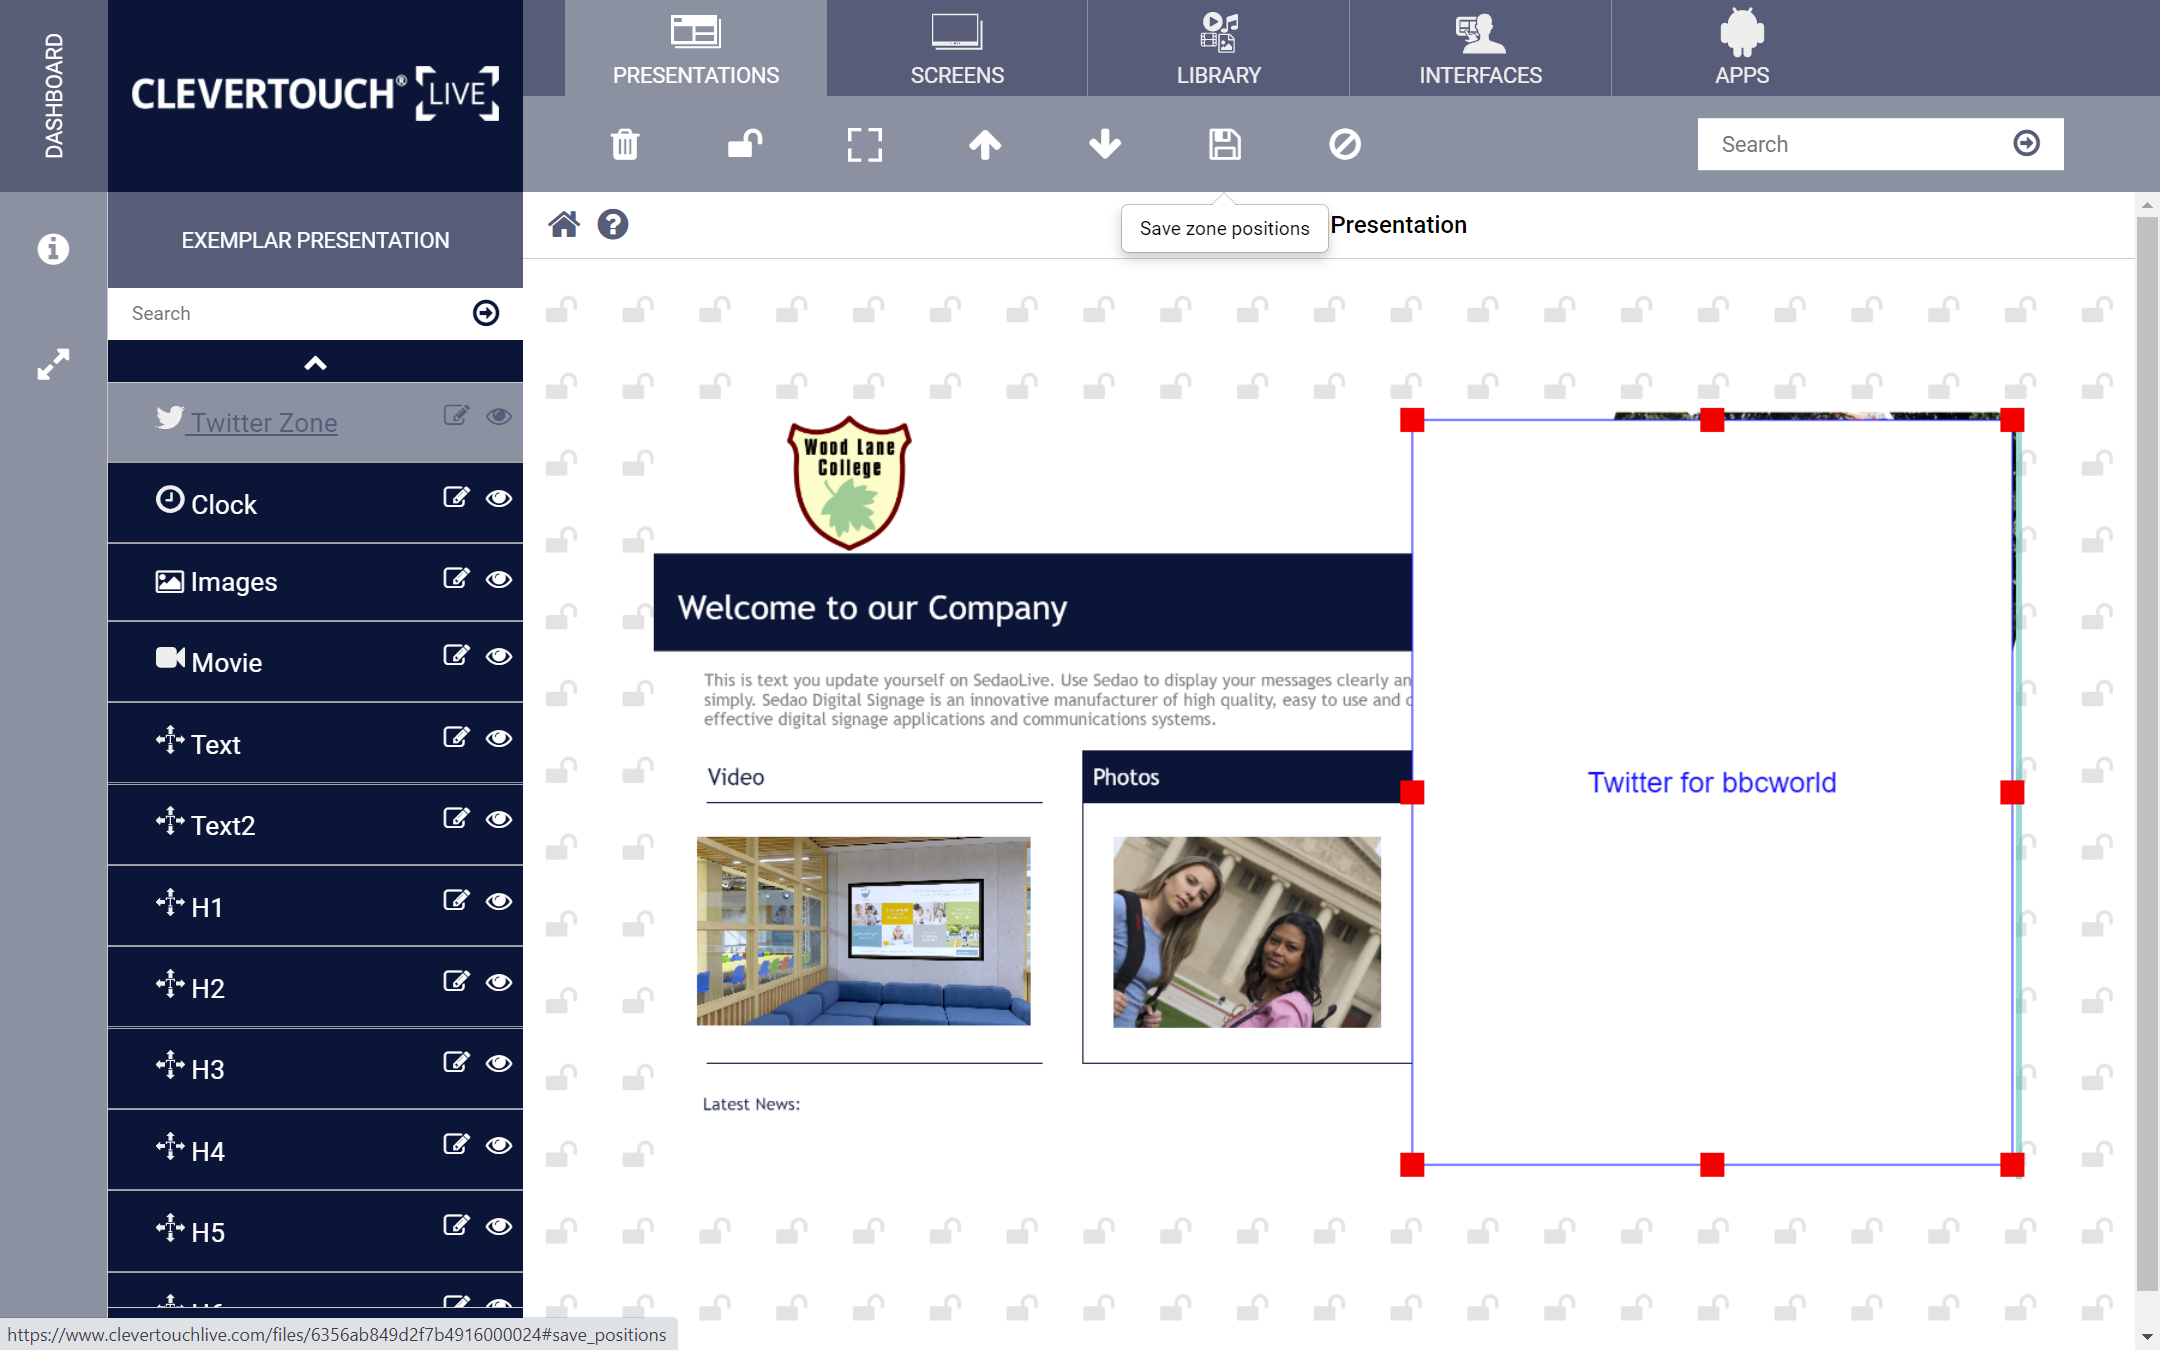
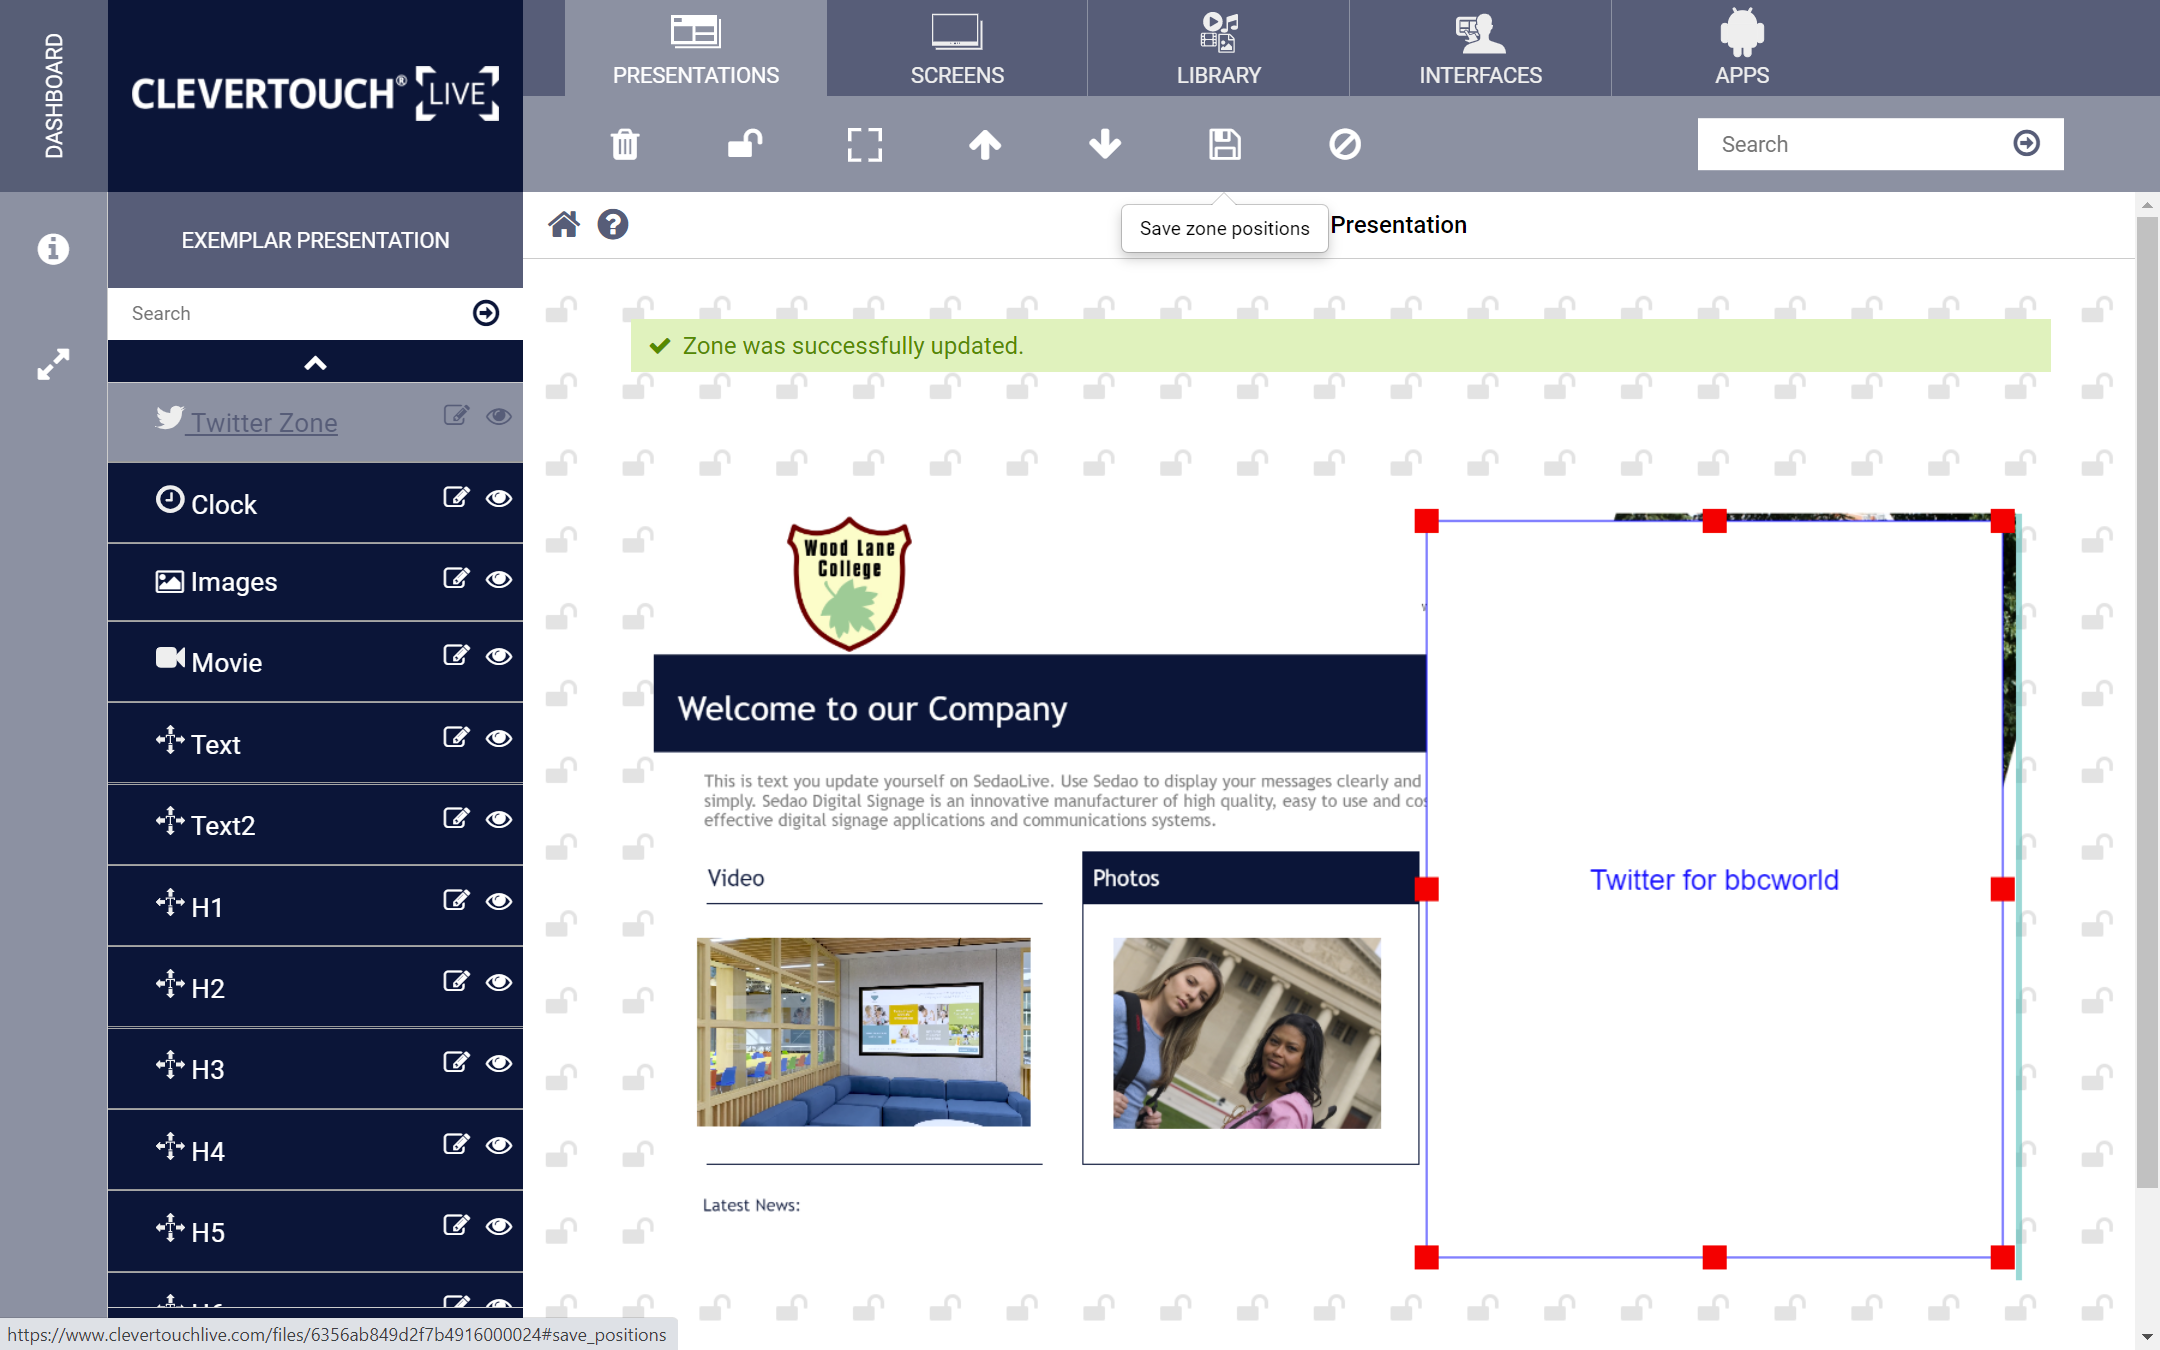
Select the ‘Lock’ icon again to commit your changes to the presentation and make it available for use.